
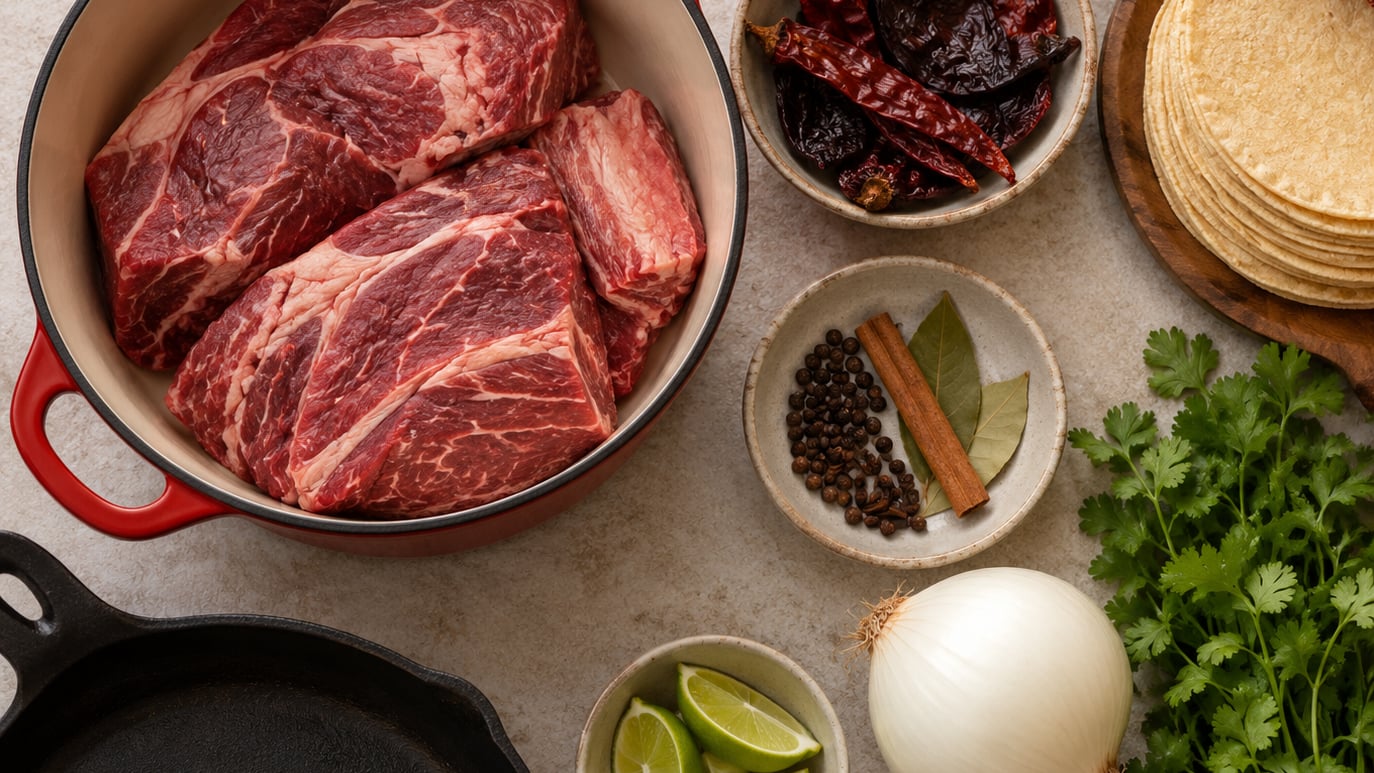
Updated for 2026
Birria tacos are slow-braised beef cooked in a chile-based consommé, shredded, tucked with melting cheese into corn tortillas, then pan-fried in the red fat skimmed off the broth until the shells crisp and turn red. Learning how to make birria tacos at home comes down to three things: a deeply seasoned braise, fat lifted off the top instead of broth poured in, and tortillas fried fast over hard heat.
From counter to table, budget about three and a half hours, and most of that is the oven doing its work while you do something else. It is not a difficult recipe, but it is a slow one, and the part beginners rush is the chile paste. Get that right and the rest is forgiving.
If you like handling dough by hand, our guide to how to make pizza dough at home covers the resting and kneading basics that carry over nicely to masa.
What You Need
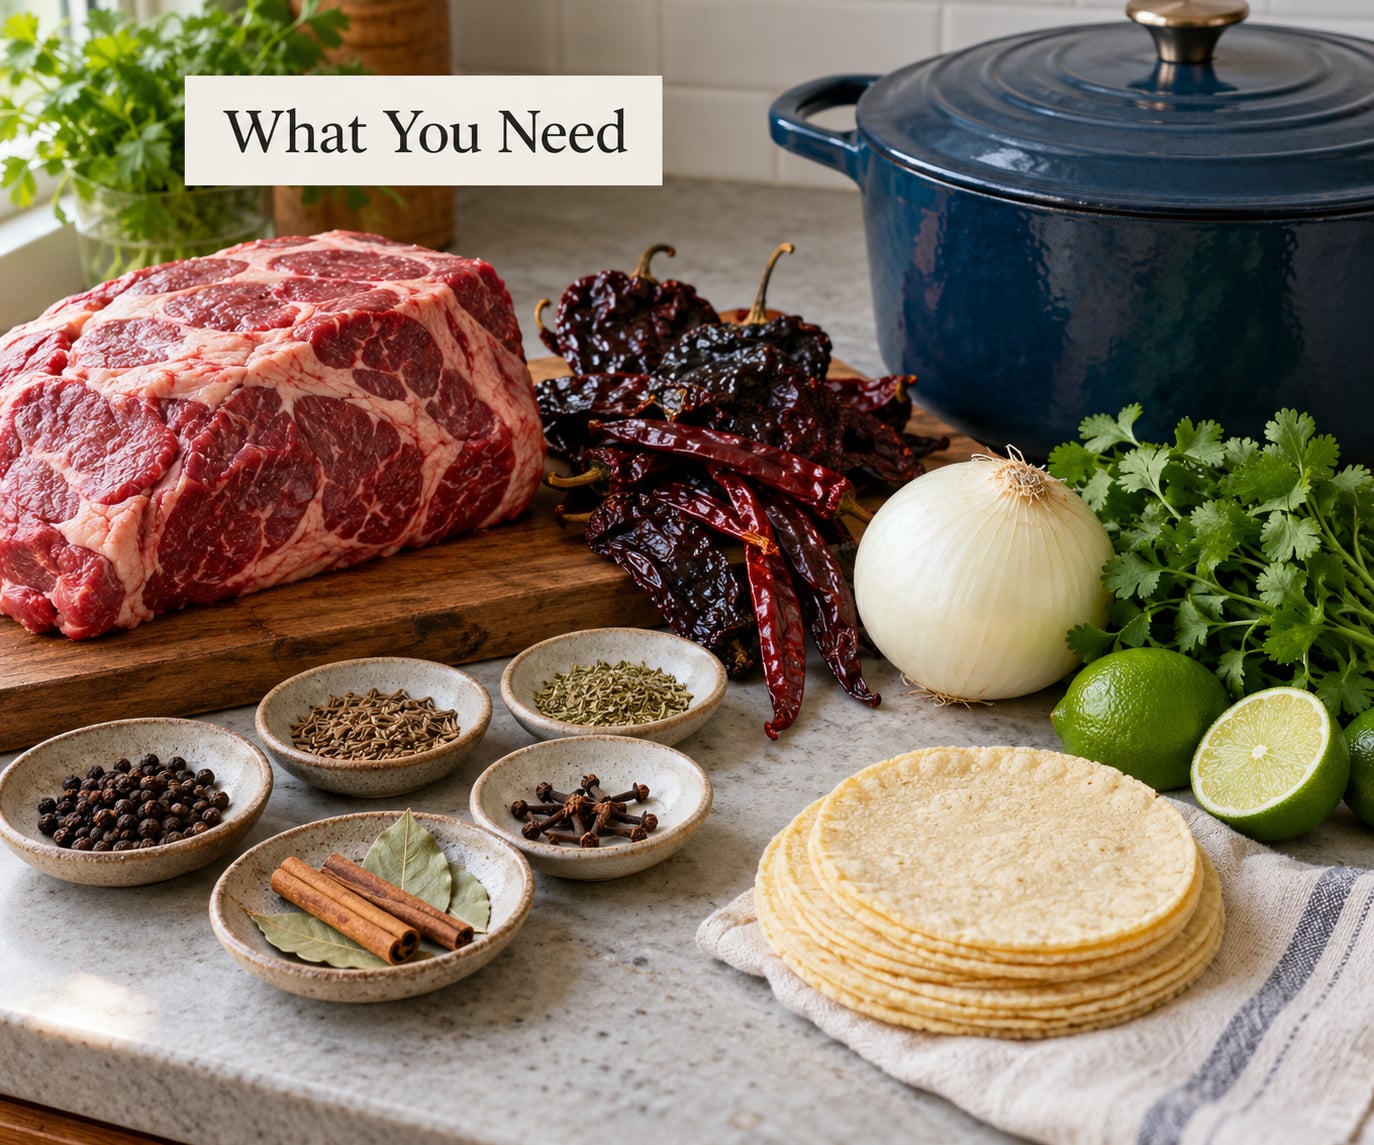
Equipment
You need very little that most kitchens don’t already own.
- A heavy Dutch oven or stockpot with a lid, big enough that the meat sits in one layer. A wide pot gives you more surface for searing.
- A stick blender or high-power blender. Dried chile skins are tough, and an immersion blender in the pot avoids blending hot liquid in a countertop jar.
- A cast iron skillet or comal for crisping. A nonstick pan works, but cast iron holds heat better and gives you a better crust.
- Tongs, a slotted spoon, and a fine-mesh strainer for skimming and separating the consommé from the solids.
- A small bowl and a spoon to catch the red oil as it rises. You want the oil separate, not poured back into the pot.
Ingredients for the Meat
- 3 to 4 lb beef chuck roast, trimmed of the thick outer fat and cut into chunks
- Optional: 1 lb bone-in beef short ribs or 1 lb oxtail, for a deeper broth
- Kosher salt, about 1 tablespoon per pound
- Neutral oil for searing
The recipe below fills a pot with enough beef for roughly 20 to 25 tacos, which is what most home cooks actually need. If you like rolling your own, our pizza dough method and its resting logic will make sense for pressed tortillas too.
Ingredients: The Dried Chiles
Three chiles do the work, and all three are usually available in the same bag at a Mexican grocery store or online. Measure them by weight, not by count. Ancho chiles vary in size more than almost any other dried chile, and that is the single most common reason a home batch tastes flat.
| Chile | Weight | Roughly | Heat (SHU) | Job in the paste |
|---|---|---|---|---|
| Guajillo | 45 g | 4 to 7 pods | 2,500 to 5,000 | Colour and a warm, sweet base |
| Ancho | 30 g | 2 to 3 pods | 1,000 to 2,000 | Deep red colour, mild raisin and dried plum notes |
| Chile de arbol | 2 to 3 g | 1 to 2 pods | 10,000 to 15,000 | Heat; use sparingly and taste as you go |
For reference, 45 g of guajillo is about a scant half cup of whole pods, and 30 g of ancho is roughly a third of a cup. If you cannot find dried Mexican chiles anywhere near you, a jarred chipotle in adobo is the closest stand-in: use two chopped chipotles in adobo for the two anchos and add a spoon of the sauce for smokiness. The colour lands slightly darker and the flavour leans more on smoke than on dried fruit, but the technique is unchanged.
Ingredients: Sauce, Aromatics and Liquids
- 1 white onion, halved
- 6 garlic cloves
- 2 roma tomatoes
- 2 tablespoons neutral oil
- 2 tablespoons chili powder
- 1 tablespoon Mexican oregano
- 1 teaspoon ground cumin
- 1 teaspoon Mexican cinnamon
- 4 whole cloves
- 2 bay leaves
- 1 tablespoon apple cider vinegar
- 2 cups low-sodium beef stock, plus water as needed
- Kosher salt and cracked black pepper to taste
Mexican oregano is worth hunting for; it tastes earthier and less sharp than the Mediterranean jar in the spice aisle. Mexican cinnamon is a single bay leaf that tastes nothing like cinnamon on a shelf, and it is the detail that makes the broth taste slow-cooked.
Ingredients for the Tacos
- Corn tortillas, 4-inch size, 24 to 30
- Shredded Oaxaca or quesillo cheese, about 1 cup
- Chopped white onion
- Chopped cilantro
- Lime wedges
- Salsa, plus radishes, pickled red onion, or a small bowl of chopped tomato if you like
Which Meat Should You Use?
Chuck roast is the reliable answer. It has enough connective tissue to break into strands and enough fat to render into the red oil that crisps the tortillas. Cook times below assume a gentle simmer with the pot barely moving.
| Cut | Braise time | What it adds | Worth it? |
|---|---|---|---|
| Beef chuck roast | 2.5 to 3 hours | Tender shredded beef, plenty of rendered fat | Yes, the default |
| Bone-in beef short ribs | 3 to 3.5 hours | Collagen and marrow, noticeably richer consommé | Yes, if your grocer carries them |
| Beef shank | 3.5 to 4 hours | Dense, meaty shreds, less fat | Good, needs more time |
| Oxtail | 3.5 to 4 hours | Very gelatinous broth, sticks to the ribs | Use as a flavour addition, not alone |
| Goat or lamb shoulder | 3 to 3.5 hours | Lighter, gamier, traditional in parts of Jalisco | For variation, not quesabirria |
Mixing chuck with a pound of bone-in short ribs is what many home cooks reach for, and it is the version that produces a consommé worth dipping into.
Step-by-Step
How to Cook the Birria Beef
Step 1: Soak and deseed the chiles. Remove the stems and shake out the loose seeds. Look inside each pod and pull out the small cluster of pale seeds, which are the main source of bitterness. Cover the chiles with 3 cups of hot water and soak 20 to 30 minutes until soft. Keep the soaking water; you will use it in the blender.
Step 2: Blend the adobo paste. Drain the chiles, reserving the soaking water. Blend the guajillo, ancho, and arbol with one of the onion halves, four garlic cloves, both tomatoes, the oregano, cumin, Mexican cinnamon, cloves, bay leaves, chili powder, vinegar, and about 1 cup of the soaking water. Blend for a full minute, scraping the sides, until absolutely no chile skin survives. A gritty paste means the fat and the colour never come out clean.
Step 3: Sear the meat. Salt the beef all over. Heat the oil in the pot until it shimmers, then brown the beef in batches. Give it 3 to 4 minutes a side without moving it, and let each batch develop a real crust before you turn it. Brown too many pieces at once and the pot steams instead of sears, and you lose the deep flavour that carries the whole pot. Pull the browned meat out and set it aside.
Step 4: Fry the paste. Lower the heat to medium. Spoon all the excess fat from the pot, leaving a thin film, and pour in the remaining half onion. Add the paste and cook it for 4 to 5 minutes, stirring constantly, until it darkens by a shade and starts to smell toasted rather than raw. If it catches and browns fast, drop the heat. Burnt paste tastes bitter for the whole braise.
Step 5: Braise. Return the beef to the pot with the short ribs if using, pour in the beef stock and enough water to come about two-thirds up the meat, and bring to a boil. Then turn the heat down until you see one bubble every second or two. Cover and cook until the chuck gives way to a fork.
Times vary by pot, burner, and how fatty the meat was. Use the table to pick your appliance.
| Method | Time to fork-tender | Setting | Notes |
|---|---|---|---|
| Oven braise | 2.5 to 3 hours | 325°F, covered | Most even heat; the broth does not scorch |
| Stovetop | 2.5 to 3 hours | Barest simmer, covered | Stir the pot every 45 minutes so nothing catches |
| Slow cooker | 6 to 8 hours | Low, or high for 4 to 5 | Reduce the liquid by about a cup; slow cookers run moist |
| Pressure cooker | 45 to 60 minutes | High, natural release | Fast, but the consommé stays cloudy; skim longer |
Check the beef well before the clock says it should be done, because a tight Dutch oven runs hot. Two pieces of meat tell you the timing: one you pull at 2 hours, one at 2.5. The pulled one can rest in the broth while you wait.
For food safety, cook sliced or portioned beef to an internal temperature of 160°F, or 145°F for intact whole cuts, and let it rest before shredding.
How to Make the Consommé
Pull the meat out onto a board and let it rest 10 minutes. Then shred it with two forks against the grain, keeping big, juicy shreds rather than shredding it into paste.
Lift the solids out of the pot with a slotted spoon, leaving the liquid behind. Pour that liquid through a fine-mesh strainer into a clean pot or a heatproof bowl. Discard the aromatics and chile paste bits; they have given everything they have.
Let the strained broth settle for 5 to 10 minutes. The red fat rises and separates, and that clean layer on top is the birria oil. Spoon it off into a small bowl and keep it. This is the single step most home cooks skip, and it is why their tortillas never colour or crisp properly.
Now season the consommé. Taste it and add salt, and add vinegar if it tastes flat rather than sour. If it is thin, simmer it for 10 to 15 minutes until it coats the back of a spoon. It should taste like a broth, not a stew, and a well-reduced one is worth the extra minutes.
Toss the shredded beef back into the hot consommé for a few minutes before you stuff the tortillas. Dry beef tastes like cardboard in a taco, and this step costs nothing.
How to Crisp the Tortillas and Assemble the Tacos
Heat a cast iron skillet or comal over medium-high heat for a full minute, until a drop of water skates across it and vanishes. Add a thin film of the reserved red oil and wipe it around, then let the pan heat up again.
Warm one tortilla directly in the dry pan for 15 to 20 seconds per side. It should puff slightly and turn pliable. If it is stiff or cracking, it is too cold or too old, and 10 more seconds per side is usually the fix.
Brush or spoon a little red oil on the warm tortilla, then scatter cheese over one half, leaving a bare edge at the fold. Add a generous mound of shredded beef on the cheese, top with onion and cilantro, and fold the tortilla over. Press gently so the filling stays put.
Set it in the oiled skillet seam-side down. Cook 2 to 3 minutes until the underside is deep red and blistered, hold it steady with the tongs if it curls, then flip and give the other side 1 to 2 minutes. The cheese should be fully melted when it comes off the heat.
Serve two or three per person, with a wide shallow bowl of consommé. The ritual is to dip the whole taco, not to pour broth over it.
How to Keep Birria Tacos Crisp
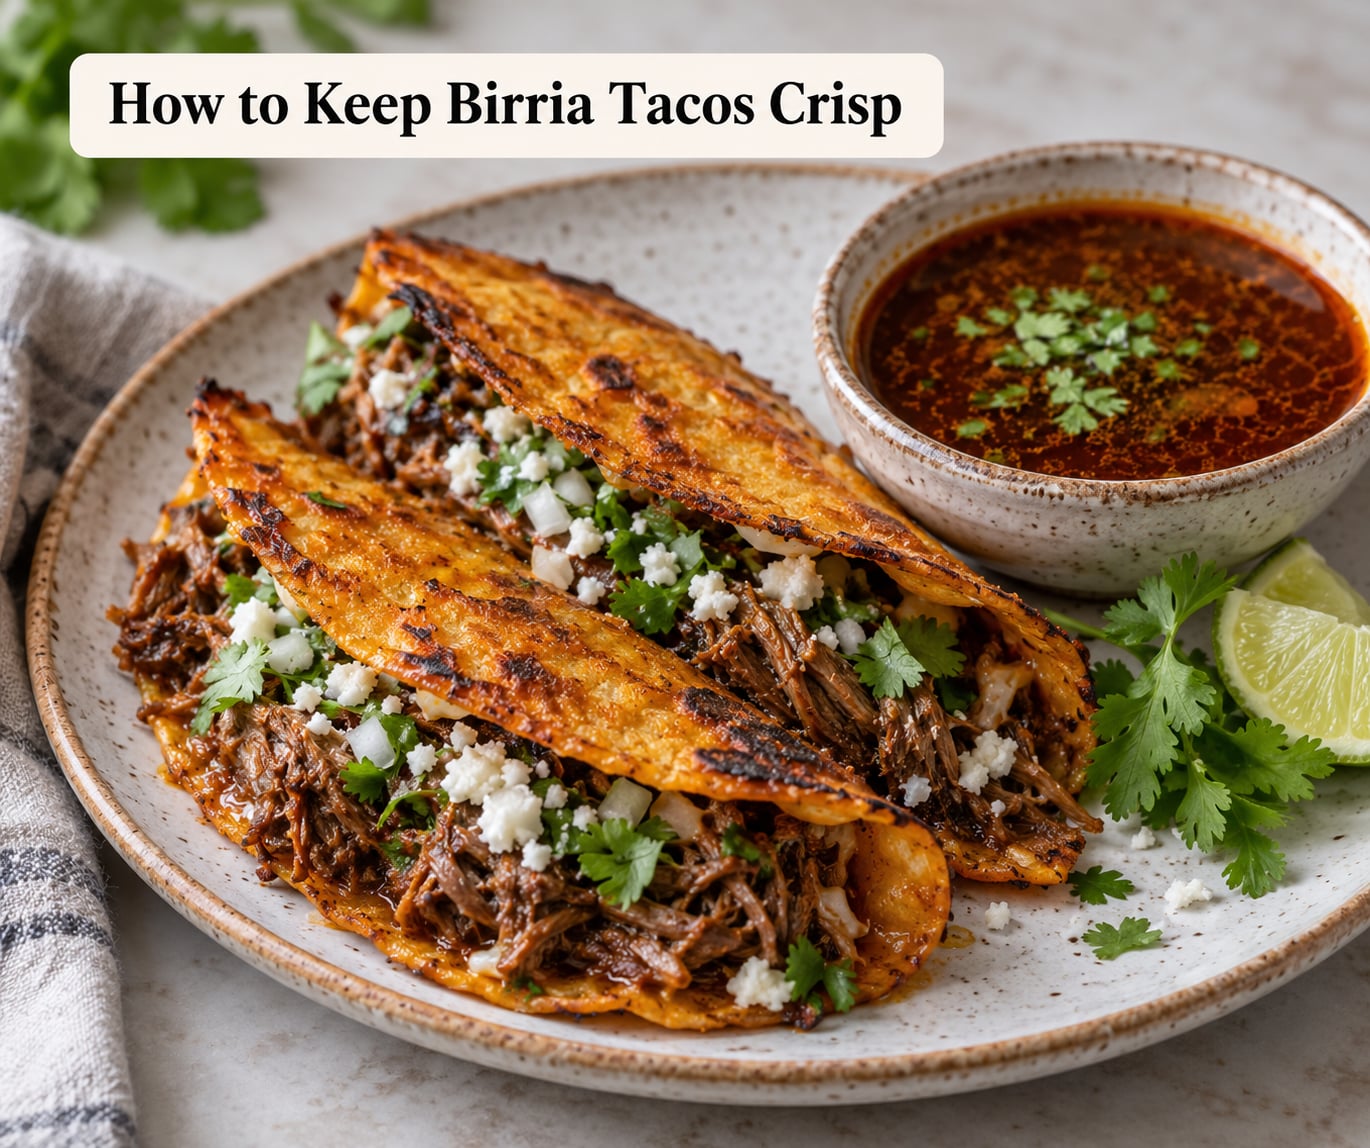
Crisp birria tacos have a short window, roughly fifteen minutes, before steam softens the shell. Cook for the table as a whole, not the person at it.
- Fry in batches of four to six, so the pan stays hot and the tortillas are never crowded or steamed.
- Put the cooked tacos on a rack over a tray rather than a plate, so condensation runs off instead of pooling underneath.
- Toppings like onion and cilantro release water. Add them after frying, at the table, not before.
- Never dunk the taco in consommé ahead of time. Serve the broth alongside and dip each one right before eating it.
- For a crowd, keep the skillet going and fry to order. A taco bar with a cook at the pan beats any keep-warm method.
- If tacos must wait, hold them on a rack in a 200°F oven for no more than 10 minutes.
Common Mistakes When Making Birria Tacos at Home
Tortillas that crack when you fold them
That is a temperature problem, not a technique problem. Corn tortillas taken straight from the bag are cold, stiff, and full of air pockets that seal when they hit heat. Warm each one in the dry pan first, then press it flat with the tongs. Older tortillas have lost their moisture and need more time, sometimes 30 seconds a side. If yours crumble at the fold, buy tortillas labelled for soft corn or fresh-pressed masa.
Tacos that go soggy
Water is the culprit, not fat. Dunking a tortilla into a thin, watery consommé drags liquid into the pan and the shell steams itself soft in seconds. Use the skimmed red oil for the tortillas and keep the consommé for dipping. If your consommé is thin, reduce it first. Shredded beef also releases liquid, so drain it and pile it high rather than spreading it flat.
Bland beef and flat broth
Almost always the same cause: chiles measured by count instead of weight, or the paste underblended. Anchos can double in size between bags. Blend the paste longer than feels necessary and taste the broth before you strain it; it should taste like a strong, savoury stew, and it usually needs more salt and a little more vinegar than you expect.
Meat that stays tough
Two causes, and both are fixable. The braise was too short for the cut, which is common with short ribs or shank, so plan for 3 to 3.5 hours rather than the 2.5 the pot suggests. Or the pot was too hot and the meat only simmered on the surface. If it shredded at the end, great. If not, put it back with more liquid and another 45 minutes; connective tissue that has softened halfway will usually give.
A greasy, flat-looking consommé
You are eating the rendered fat that never got skimmed. Skim patiently, leave the spoon resting at the surface for a moment so the pot’s top layer runs into it, and skim a second time after fifteen minutes. Cooks who make the broth a day ahead say the fat solidifies on top overnight and scoops out in one clean sheet, which is easier than chasing a film.
A pale brown instead of deep red
Either the paste was underblended and the skins stayed grainy, or the pan heat was too low to render colour. Blend the paste a full minute, push it through a fine-mesh strainer so no grit survives, and fry it longer until it darkens. Guajillo carries most of the red, and underusing it makes the whole pot taste flat.
Overcooked, dry, stringy meat
Birria can be overcooked. Once the collagen has converted, another hour of simmering turns the shreds fibrous and squeezes the moisture out. Pull the meat at 2.5 hours if the pot is small, and use the fork test rather than the recipe time. If you have to choose between tough and dry, pull it earlier.
Serving and make-ahead
Cook the meat and make the consommé a day or two ahead, refrigerate the pot uncovered until the fat solidifies, then scoop the oil off. Shred and stash the beef and keep the broth separate so nothing turns to mush.
Refrigerated, the beef and broth keep 3 to 4 days and reheat better than most leftovers: warm the broth gently, add a splash of water if it thickened overnight, and re-shred the beef. Re-crisp finished tacos in a dry skillet for a couple of minutes per side.
Leftover birria is a good thing. Shredded beef works over nachos with melted cheese and pickled onion, folded into quesadillas, spooned over loaded fries, or dropped into a bowl of broth with noodles for a fast birria ramen. Our guide to appetizers you can prep ahead has the same make-ahead logic, since most of the work here is done hours in advance.
Set out the garnishes in small bowls and let people build their own. If you are serving wine with it, something with a little tannin and body suits the rich broth; our notes on building a small home wine rack cover how to store bottles at serving temperature.
Frequently Asked Questions
What cut of meat is best for birria tacos at home?
Beef chuck roast is the most reliable choice for home cooks. After about three hours at a gentle simmer it pulls apart into tender strands and renders enough fat to make the red oil that crisps your tortillas. Add a pound of bone-in short ribs if your grocer carries them, since the collagen gives the consommé real body. Shank works too, but budget closer to four hours.
How long does it take to make birria beef?
Plan on three to three and a half hours from counter to table. Prep takes 30 to 45 minutes, mostly soaking and blending the dried chiles. The braise itself runs about two and a half hours for chuck roast, then another 15 minutes to shred the meat, skim the red oil, and strain the consommé. A pressure cooker cuts the braise to 45 to 60 minutes plus a natural release.
Can I make birria without a Dutch oven or pressure cooker?
Yes. Any heavy pot with a tight lid handles the braise, and the oven takes over the heat so nothing scorches at the bottom. If you only own a skillet, braise in it and cover it with a second pan turned upside down. A pressure cooker is fine but finishes the broth faster than the fat can separate, so expect a cloudier consommé and take extra time skimming the surface.
Why are my birria tortillas not getting crispy?
Most likely you are crisping them in the watery consommé instead of the fat. Spoon off the red oil that rises to the top of the broth, use that in the pan, and keep the broth for dipping at the table. Second cause is heat: give the skillet a full minute to heat, use a thin film of oil, and fry two to three minutes per side without crowding, so the shells blister and brown.
Can birria tacos be made ahead and frozen?
Yes, and the beef actually seems to improve after a day. Make the meat and broth up to two days ahead and refrigerate them separately; let the fat solidify on top so you can scoop the birria oil out in one piece. Freeze the shredded beef and broth for up to three months. Re-crisp finished tacos in a dry skillet rather than a microwave, which softens the shell.
What toppings go on birria tacos?
Traditional and best: chopped white onion, fresh cilantro, and a squeeze of lime, with Oaxaca or quesillo melted into the tortilla as it fries. Additions that work well are diced tomato with onion, pickled red onion, radishes, and a spoon of consommé over the meat before folding. Keep wet toppings off until after frying, and offer hot sauce at the table so each person controls the heat.
Start with the chiles and the beef: weight the chiles, take your time with the paste, and give the braise an extra 20 minutes if you are unsure. Everything else in the process takes minutes, and once you skim that red oil off the top and give the tortillas a full two minutes a side in a hot pan, you have the version that tastes like the ones people line up for.