

Dry scones are usually the result of four things: thin liquid, warm butter, flour packed too tightly into the measuring cup, and too long in the oven. Fix those and the crumb turns tender almost immediately. If you learn how to make scones that are not dry, the whole batch comes out better on the second try, not just the lucky one.
Moisture in a scone comes from fat and liquid, not from baking time. Cold butter and cold cream melt in the hot oven and release steam that puffs the layers, while pulling the scones out while the centers still feel faintly tender keeps the inside from setting into something dense.
What You Need
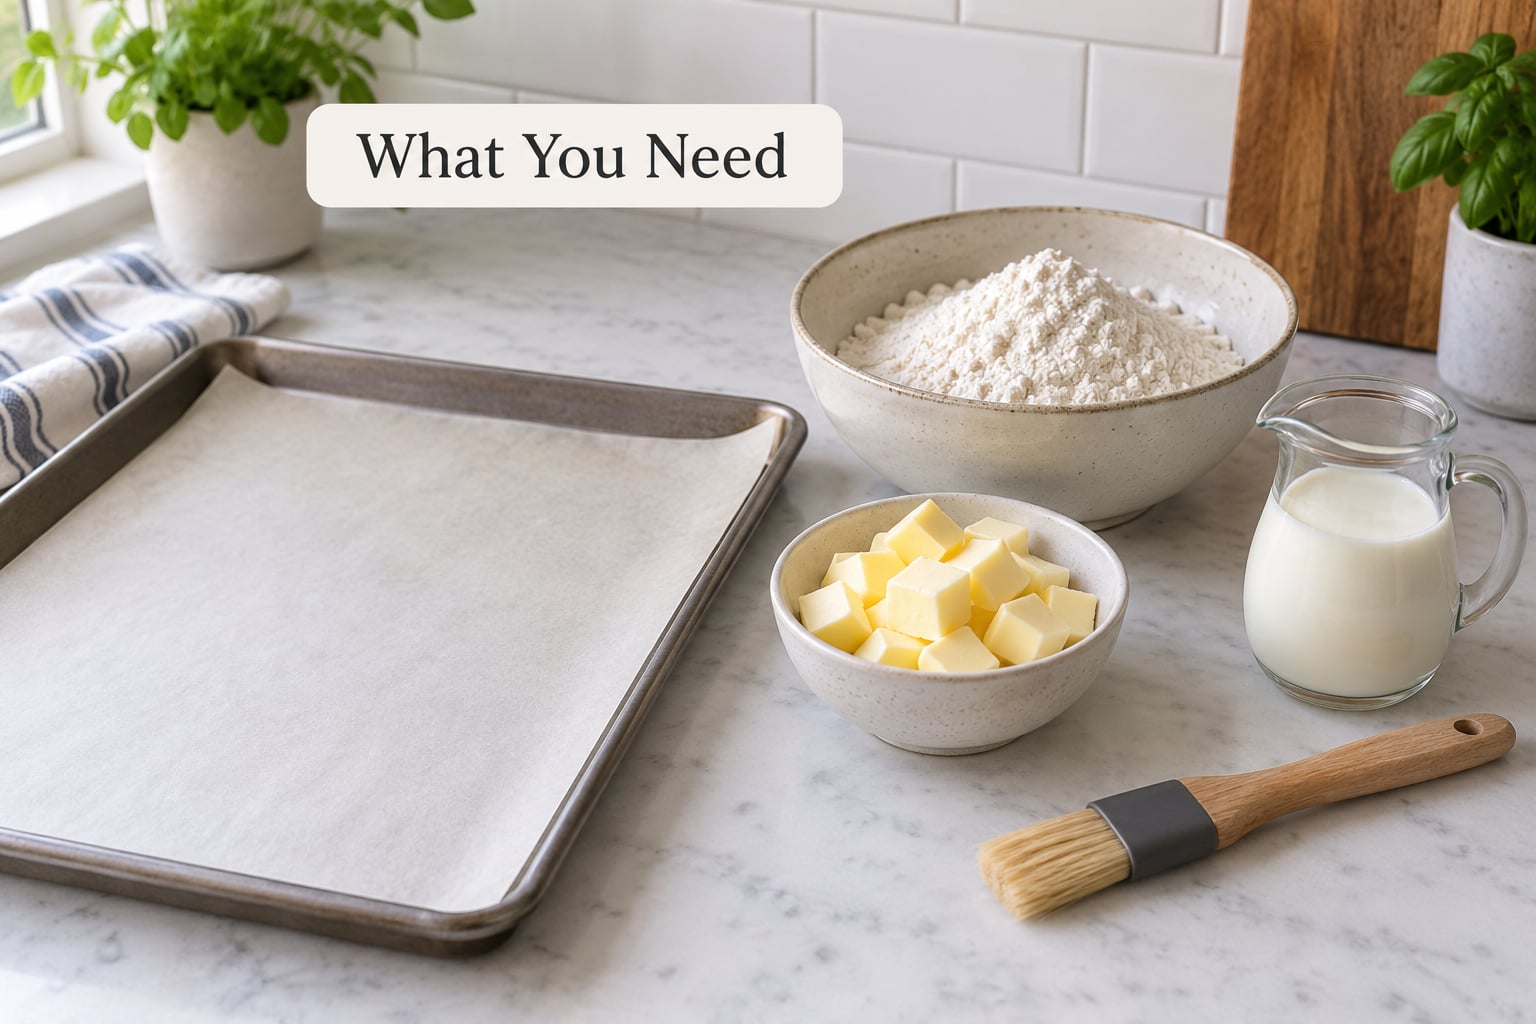
A basic American-style scone needs surprisingly little, and every item below has a job to do in keeping the interior tender.
- All-purpose flour, 300 g (2 cups). Weigh it if you have a scale. Spoon-and-level leaves you with about a tablespoon of packed flour in the bowl, and that extra dry starch is the most common reason dough feels thirsty and scones bake up sandy.
- Baking powder, 1 tablespoon (about 4 g). Double-acting is fine. If your canister has been open since last year, replace it, because old powder is what gives you flat, dense results no oven time can fix.
- Granulated sugar, 3 tablespoons. Sugar holds water in the crumb and keeps the texture tender for a day or two.
- Fine salt, 1/2 teaspoon. Salt does not make a scone dry; it sharpens the butter and helps you taste the fat.
- Cold unsalted butter, 115 g (1/2 cup). Cut into 1 cm cubes and freeze them for 20 minutes, or freeze the stick and grate it on a box grater while solid.
- Heavy cream, 180 ml (3/4 cup), plus 2 tablespoons for brushing. Heavy cream carries 36% fat. Whole milk is second best; skim milk will make a drier scone every time.
- Large egg, 1. Cold from the fridge. Egg adds structure and fat without making the dough sticky.
- Vanilla extract, 1 teaspoon. Optional, but it rounds out the butter flavor.
For tools, a baking scale beats cups, a box grater beats a pastry cutter for frozen butter, and a bench scraper saves you from overworking the dough with your hands. Parchment or a silicone mat matters too, because scones that stick to bare metal spread and lose moisture. A wire cooling rack and a clean kitchen towel finish the job.
For the oven, put an empty heavy baking sheet in there while it heats. A hot surface gives the scones an immediate sear so the outside sets before the moisture inside can escape.
Step-by-Step
This is how to make scones that are not dry, in the order the steps actually matter. Do not skip ahead to the shaping, because the moisture is decided before the dough ever meets the counter.
1. Chill the butter and ingredients
Chill the butter, and chill the cream and egg too if you have a few minutes. Cold fat stays in distinct pieces through mixing and shaping, and those pieces turn into steam pockets in the oven. Warm butter melts into the flour early, which is what gives you flat, dense, buttery-tasting scones instead of flaky ones.
The tell that you did it right: when you press the frozen butter into the flour, you hear distinct scraping sounds and see pea-sized crumbs rather than a uniform sandy dough. That texture is the whole game.
2. Mix the dry ingredients first
Whisk the flour, baking powder, sugar and salt together in a large bowl. Thirty seconds of whisking distributes the baking powder evenly, so the scones rise at the same rate instead of one puffing up while its neighbor stays flat.
If you skip the whisk and spoon baking powder on top of the flour, pockets of it can taste bitter in the finished scone and leave dry spots behind.
3. Add liquid without overmixing
Pour in the cold heavy cream and the cold egg, add the vanilla, and stir with a fork or a flat-bladed knife just until you see no more dry liquid streaks. Ten to fifteen seconds, maybe less.
The dough should look shaggy and slightly under-mixed, with loose crumbs at the bottom of the bowl. That is the target, not a failure. Stop the moment the streaks disappear, because gluten development starts with every extra stir and a tough dough bakes into a dry one.
4. Fold in the butter for flaky layers
Scrape everything onto a lightly floured surface and fold the dough over on itself three or four times, using a bench scraper and a light hand. Press gently with the flat side of the scraper rather than kneading.
After the folds, press the dough into a rectangle about 2.5 cm (1 inch) thick. You should see visible flecks of butter when you slice it later. If the butter vanished into the dough, it was too warm or you worked it too much.
5. Chill and shape the scones
Wrap the dough and refrigerate it for 20 to 30 minutes. This rests the gluten that did develop and re-chills the butter, and it is the step most people skip. Bakers on home baking forums call it the 15-minute rule; anything in the 15 to 30 minute range works.
Then cut the chilled dough into wedges with a sharp knife or a bench scraper. Push straight down. Do not twist the cutter, because twisting closes the top of the wedge and prevents an even rise. Pat the wedges with a clean towel or roll the edges lightly in flour so they stand up straight.
Space them at least 5 cm (2 inches) apart on the tray. Scones touching or nearly touching spread into each other, and a spread scone dries out fast because more surface area means more evaporation.
For taller rise and an extra tender crumb, freeze the shaped scones for 20 to 30 minutes while the oven finishes preheating.
6. Bake until the centers are just set
Bake at 425 F (220 C) for 12 to 16 minutes, until the tops are pale golden brown and the centers still feel slightly tender when you press one gently with your fingertip.
That fingertip test matters more than the timer. Two extra minutes in a hot oven will take a tender scone and dry it all the way through. Pull them when they look done minus a little, and if you bake on a dark metal tray in a hot oven, take off a minute earlier.
7. Cool before serving
Move the scones to a wire rack and cool for 10 to 15 minutes before cutting. The crumb is still setting as it cools, and cutting too early leaves you a gummy, compressed center that can read as underbaked rather than moist.
Once they are only just warm, wrap them loosely in a clean kitchen towel or store them in an airtight container with a damp paper towel tucked inside. That keeps the crust crisp and the crumb soft for hours.
Common Mistakes
These are the failures I see most often, along with the exact fix for each.
- Scones are dry and crumbly inside. Usually too little fat or liquid. Use heavy cream instead of milk, and add 15 to 20 ml (1 tablespoon) more liquid if the dough looks dry at the mixing stage.
- Scones are tough or chewy. Overmixing developed gluten. Stop mixing the second the liquid streaks disappear, and drop the dough rather than kneading it.
- Scones spread flat into puddles. The dough was too warm or the butter melted in. Chill the dough 30 minutes before cutting and freeze the shaped wedges for 20 minutes.
- Bottoms burn before centers cook. The oven runs hot, or you skipped the preheated sheet. Use an oven thermometer and bake on a preheated heavy sheet at 425 F (220 C).
- Scones are hard all the way through. Baked too long. Pull them at pale golden with a tender center, usually 2 minutes earlier than the recipe states.
- Scones taste sandy and flat. Flour got packed down in the cup. Weigh it at 300 g (2 cups), or spoon and level without pressing.
- Dough feels dry before shaping. Liquid was under-measured or started to evaporate. Add cream 1 tablespoon at a time until the dough holds together when pinched.
One thing worth knowing: there is no single fix for a wide, flat scone. Over-spreading and dryness are the same problem, because a scone that spreads has more surface area losing water to the oven.
Tips for consistently moist scones
Adjust for humidity. In a humid summer kitchen, use the cream as written. In dry winter air, or above about 1,500 m (5,000 feet) where liquid boils away faster and flour wants more moisture, add an extra 2 tablespoons of cream and expect to drop the baking temperature by 25 F (15 C) so the centers set before the outsides scorch.
Swap liquids with a plan. Buttermilk works because of its acid, which tenderizes the gluten and slows staling. If you have none, stir 1 tablespoon of lemon juice or vinegar into 180 ml of milk, let it stand 5 minutes, and use it in place of the cream. Plain water is the one to avoid; it has no fat to carry flavor or structure.
Make ahead safely. The dough keeps well wrapped in the fridge for up to two days, and bakers on cooking forums report that an overnight rest actually improves the texture. Some home bakers find long fridge holds dry the dough out, so if you are baking the next day, keep the hold to 24 hours rather than longer.
Freeze before baking. Shaped scones freeze on a tray until solid, then transfer to a bag. Bake straight from frozen at 425 F (220 C), adding 3 to 5 minutes to the bake time and skipping the usual chill, because they are already cold.
Freeze after baking. Cool completely, wrap individually, and freeze for up to a month. Refresh in a 350 F (175 C) oven for 5 to 8 minutes, or 20 seconds in a microwave with a damp paper towel wrapped around the scone.
Rescue scones that are already dry. Split them, brush the cut faces with cream or melted butter, and warm at 325 F (165 C) for 4 to 6 minutes. A short microwave blast with a damp paper towel also works, and it takes about 20 seconds.
Pick flour by protein. All-purpose flour at about 10% protein gives the best balance of rise and tenderness. Pastry flour, which is lower protein, produces a finer, crumblier crumb that dries faster, so bump the liquid by 1 tablespoon if you use it. Self-raising flour already contains baking powder, so skip the added powder and go easy on the salt.
Pick fat by style. Cream-based scones with no butter at all are the moistest and crumbliest, good with berries. Butter-based scones are richer and slightly drier, and benefit from the extra tablespoon of liquid. Biscuit-style scones use both and lean toward savory pairings.
Add mix-ins last. Fresh berries release juice and can make the dough soggy and gummy rather than moist. Toss them in a tablespoon of flour, use them frozen, or stir them in at the very last moment before shaping.
Frequently Asked Questions
What is the secret to moist scones?
The secret is fat and liquid plus restraint in the oven. Use heavy cream instead of milk, keep the butter cold enough to stay in visible pieces, stop mixing while the dough still looks shaggy, and pull the scones when the centers are just barely set. Weighing flour instead of scooping matters too, since a tablespoon of packed flour per cup quietly drains moisture from the dough.
Is a scone supposed to be dry or moist?
Neither extreme. A good scone is crisp and crumbly at the edges with a soft, moist, flaky interior, and it should never be dry or sandy all the way through. British scones lean heavier and drier, closer to a warm biscuit, while American brunch scones are lighter and creamier. If your scone is crunchy from edge to center, something went wrong regardless of which style you aimed for.
What is the 15-minute rule for baking scones?
It refers to chilling, not baking. Rest shaped scones in the refrigerator for about 15 minutes before baking, or freeze them for 20 to 30 minutes, and the butter firms back up while the gluten that did develop relaxes. Cold fat is what produces the flaky layers and the lift, and this short rest is the cheapest way to get a taller scone with a tender crumb.
Do you brush scones before baking?
Yes, and it adds moisture rather than taking it away. Brush the tops with a little heavy cream or buttermilk just before they go in, or finish with melted butter the moment they come out. An egg wash gives you shine and color but dries faster, so cream is the better choice when moisture is what you are chasing.
Can you freeze scone dough before baking?
Yes, and it is one of the best things you can do for moisture and rise. Shape the scones, freeze them on a tray until solid, then bag them for up to a month. Bake straight from frozen at 425 F (220 C), adding 3 to 5 minutes to the bake time and skipping the chill step since the dough is already thoroughly cold.
Why are my scones dry inside?
The usual causes are skim milk or plain water instead of cream, flour packed tightly into the measuring cup, and overbaking by two or three minutes. Overmixing is the other big one, because developed gluten gives you a chewy crumb that dries as it cools. Check your oven with a thermometer too, since a hot oven browns the outside before the moisture inside can set.
How do you reheat scones so they stay soft?
Warm them at 325 F (165 C) for 4 to 6 minutes, or microwave for about 20 seconds with a damp paper towel wrapped around the scone. A few drops of melted butter brushed on the cut face first makes an already-dry scone noticeably better. Store them in an airtight container with a damp paper towel so they do not go stiff again overnight.
How to make scones that are not dry: key takeaways
Start with the fat and the liquid. Heavy cream instead of milk, butter cold enough that you can still see flecks of it in the dough, and flour weighed at 300 g rather than packed into a cup.
Then protect the texture: mix for ten seconds and stop at the shaggy stage, rest the dough 15 to 30 minutes in the fridge, and cut wedges by pushing straight down without twisting.
Finally, watch the oven. Bake at 425 F (220 C) on a preheated sheet for 12 to 16 minutes, and take them out while the centers still feel slightly tender. If the dough looks thirsty as you shape it, add another tablespoon of cream before it is too late.