
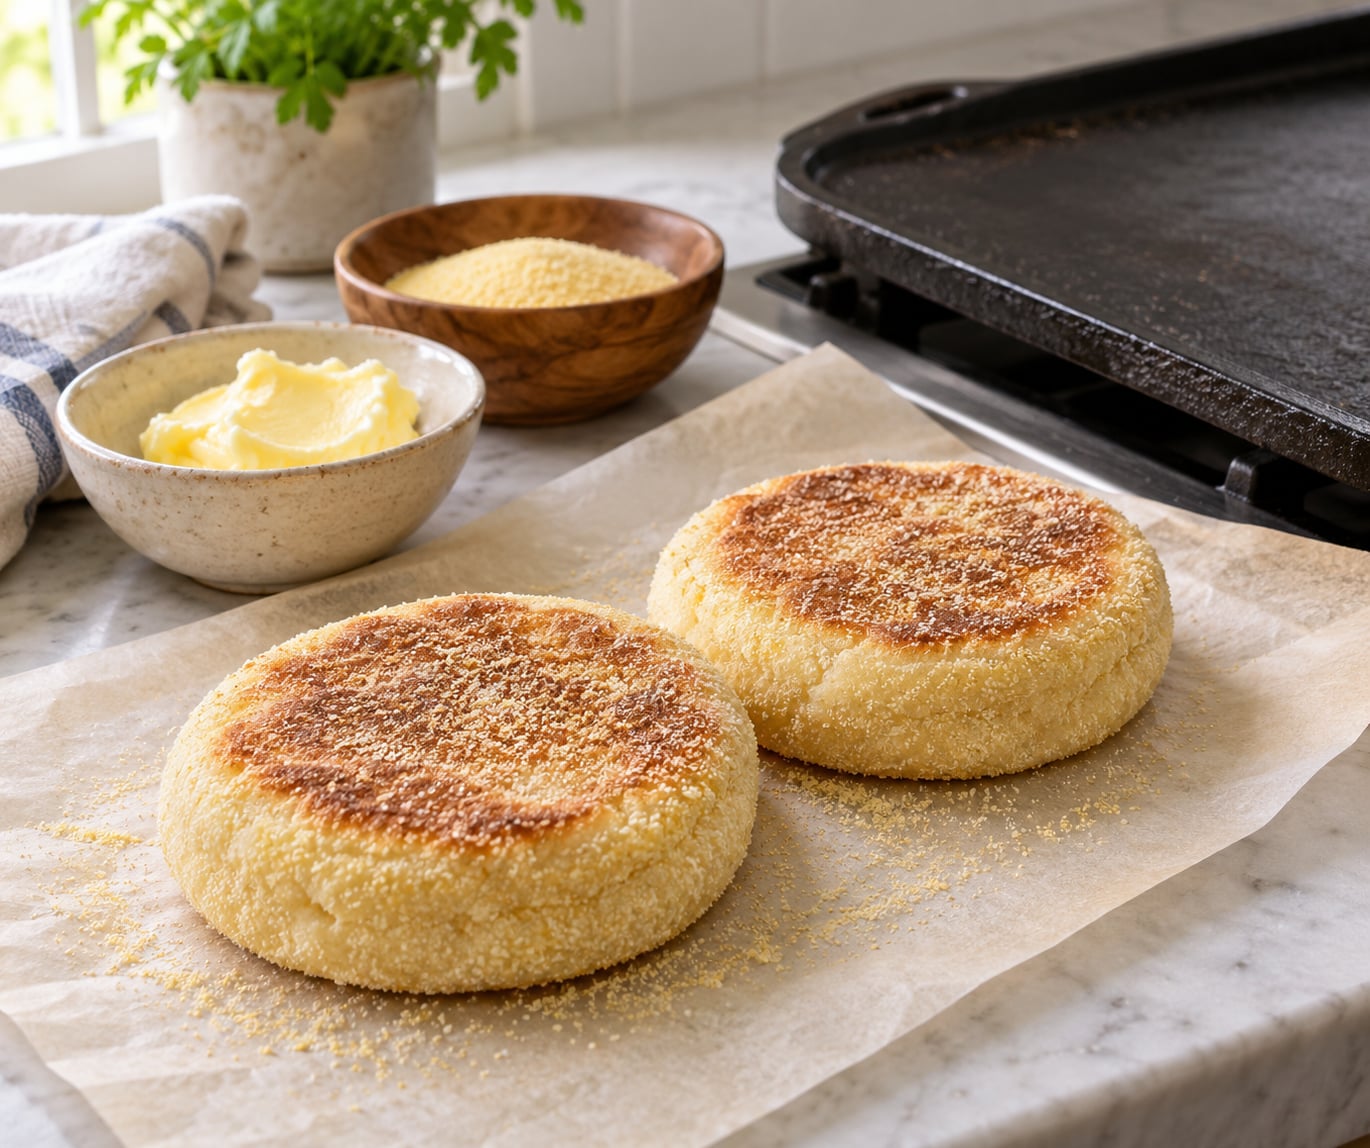
To make English muffins on a griddle, cook proofed dough rounds on a flat griddle or large skillet preheated to 300-350°F for about 6 to 8 minutes per side, until both sides are golden brown and the centers spring back. No oven involved. Low, steady heat browns the outside while a lid or foil pan traps the steam that cooks the middle through.
The whole job takes roughly three hours, and most of that is waiting. The dough is a simple yeasted bread enriched with butter, milk, and egg, and it is deliberately wetter than bread dough, which trips up first-time bakers who keep reaching for more flour. It is supposed to feel like thick pancake batter that has decided to become bread.
Get two things right and the rest is patience: an evenly proofed dough, and a griddle that is hot enough to toast but not hot enough to scorch. Turn the heat too high and you get a dark shell around a raw middle, which is the single most common complaint I see about griddled English muffins. Cook them lower and slower than instinct suggests, and the crumb comes out open, tender, and fully set.
This guide covers a from-scratch dough that yields about eight muffins. If you want a side dish for a long table, the same dough becomes a breakfast spread when you add bacon and eggs on the griddle, and it scales without changing the method, which I cover in grilled cheese with crisp bread territory as far as technique goes: same heat control, same patience.
Table of Contents
- What You Need
- Step-by-Step: How to Make English Muffins on a Griddle
- Common Mistakes
- Frequently Asked Questions
- Do English muffins need to be steamed before cooking on a griddle?
- What heat setting is best for English muffins on a griddle?
- How do you know when English muffins are cooked through?
- Can I make English muffin dough ahead of time?
- How do I keep griddled English muffins from becoming flat?
- What is the best way to reheat English muffins?
- Conclusion: Start With a Low-and-Slow Griddle
What You Need
Eight muffins is the sweet spot for a home griddle, because you can cook four at a time without crowding and you still have enough to freeze. A 12-inch griddle handles them in two batches; a larger flat top gets the whole round in one pass, which matters when you are feeding more than four people.
For the dough
- 3 cups (360g) bread flour, or 2 cups all-purpose flour plus 1 cup whole wheat flour
- 2 1/4 teaspoons active dry yeast, or 2 teaspoons instant yeast
- 1/4 cup (60ml) warm milk, between 105°F and 115°F
- 1 large egg
- 2 tablespoons (30g) unsalted butter, softened, plus more for the griddle
- 1 tablespoon granulated sugar
- 1 teaspoon fine salt
- Semolina or fine cornmeal for dusting, about 1/4 cup
For the equipment
- A large mixing bowl and a dough scraper
- A rolling pin
- A 3-inch biscuit cutter, round cookie cutter, or the rim of a wide jar or small bowl
- A wire rack for cooling
- A wide, thin spatula, the kind that slides under bread without folding it
- A digital thermometer for the griddle if you have one, plus a small sheet of aluminum foil and a loaf pan or skillet lid for doming
- Parchment paper or a floured surface for shaping
Active dry yeast and instant yeast are interchangeable here at the same weight. If you use dry yeast, it needs the warm milk to wake it up. If you use instant, stir it straight into the flour and skip the blooming step.
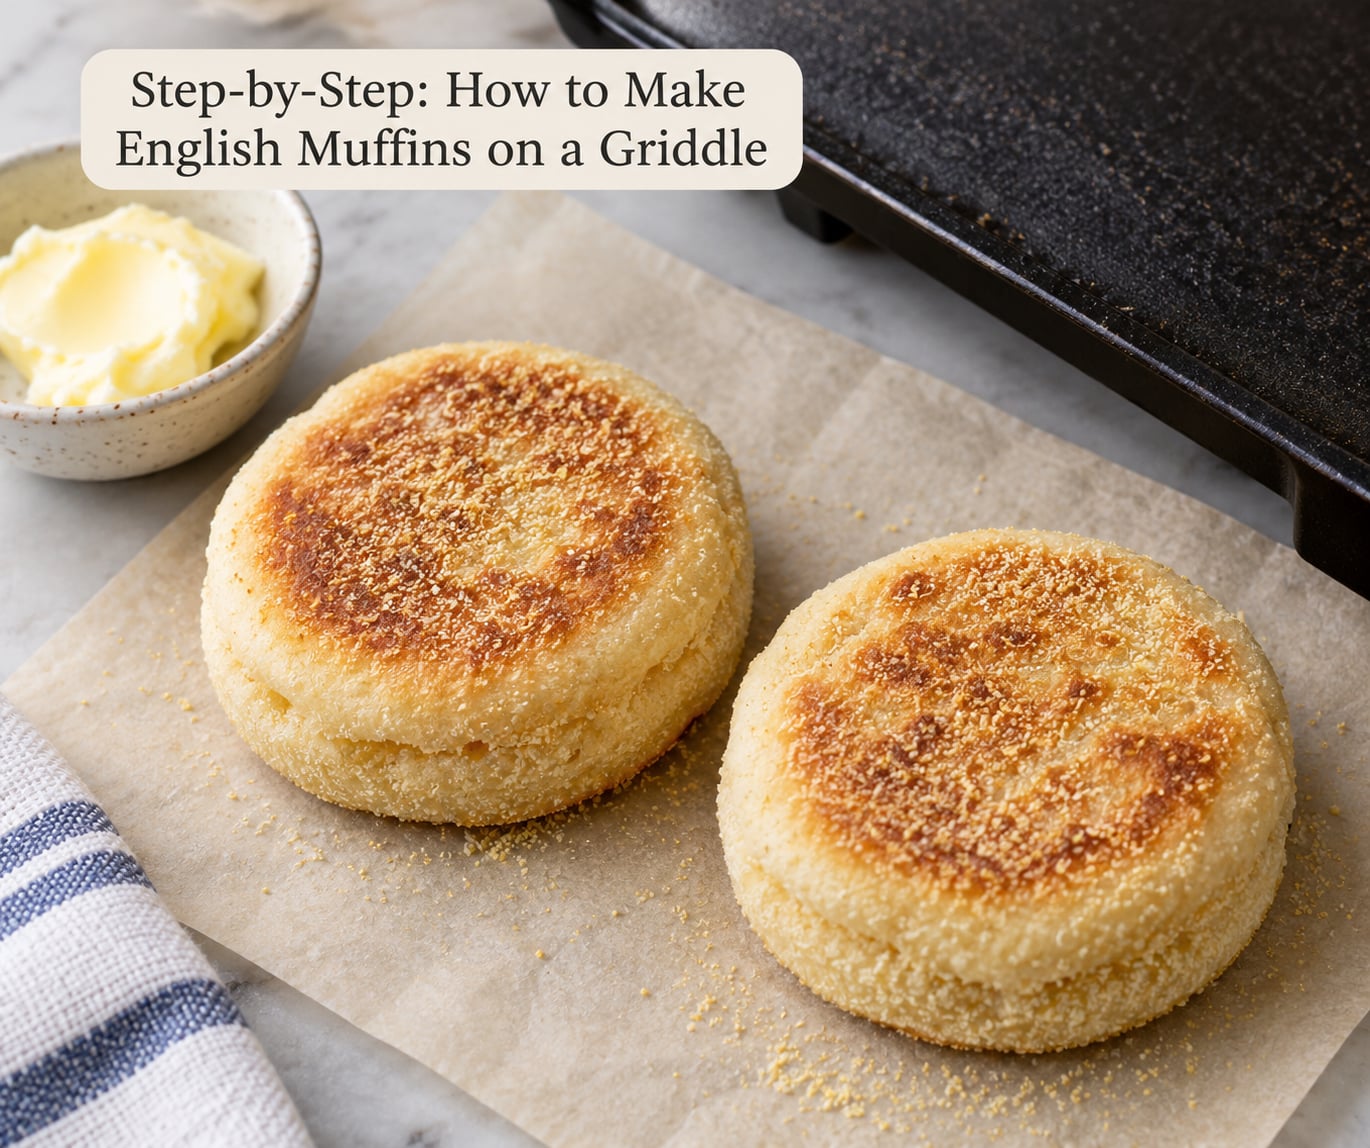
Step-by-Step: How to Make English Muffins on a Griddle
1. Activate the Yeast and Mix the Dough
Warm the milk in the microwave for 30 to 40 seconds and touch it with a finger. It should feel noticeably warm, not hot. That is roughly 110°F, which is warm enough to wake yeast and cool enough not to kill it.
Stir the active dry yeast into the milk and wait 5 to 10 minutes. If a foam develops on the surface, the yeast is alive and you can move on. No foam means the yeast has expired or the milk was too hot, and you need new yeast rather than a dough that will never rise.
Whisk the flour, sugar, and salt together in your bowl, then make a well in the center. Pour in the milk with its yeast, add the egg, and add the softened butter. Mix with a sturdy spoon until no dry flour is left, then knead it in step 2.
The finished dough should be soft, shaggy, and noticeably tacky. Aim for a dough temperature around 78°F, warm but not hot, because warm dough ferments faster and cools the griddle less when it hits the surface.
2. Knead Until the Dough Feels Smooth
Knead on a lightly floured surface for about 8 to 10 minutes by hand, or 5 to 6 minutes on low speed with a stand mixer fitted with a dough hook or paddle. Time matters less than texture.
You are looking for dough that feels smooth, elastic, and slightly tacky rather than sticky-sticky. Pull a small piece and stretch it; if it thins into a translucent membrane without tearing, the gluten has developed enough structure to hold a round without spreading. That membrane test is far more reliable than a clock.
Some dough will still feel sticky after 10 minutes, and that is normal. Flour it lightly only if it will not come off your hand, since each extra handful of flour dries the dough out and makes the muffins denser.
3. Let the Dough Rise Until Puffy
Put the dough in a lightly oiled bowl, cover it so nothing can touch the surface, and leave it somewhere between 70°F and 78°F for 60 to 90 minutes. You want it to nearly double in size, not triple.
Check with the fingertip test: press a floured finger about half an inch into the dough. If the dent fills back in slowly and only a shallow mark remains, it is ready. If the hole stays open, it needs more time. If the dough has already doubled before you check, shape it right away, because over-proofed dough goes flat and bakes up dense.
Rising slowly usually means the room is cool, not that something is wrong. Move the bowl to a warmer spot, or set it in the oven with just the light on, and give it another 30 minutes before you start troubleshooting.
4. Shape the English Muffin Rounds
Turn the dough onto a floured surface and press it down firmly with your palms to push out the big air pockets. A trapped bubble becomes a crater or a flat spot in the finished muffin.
Roll the dough to about 3/4 inch thick and roughly a 12-inch wide round. Cut 3-inch rounds with the biscuit cutter, then gather the scraps and roll them out again, which is why the dough recipe gives you a little extra.
Round each piece into a smooth-edged puck and press the seam closed. These rounds are supposed to look rough and hand-made; they are not meant to be perfectly identical. Set them on a parchment-lined tray or a semolina-dusted surface so they do not stick together, dust the tops lightly with semolina or cornmeal, and proof 20 to 30 minutes while you heat the griddle.
Portioning sticky dough is fiddly, and people on baking forums describe it as the single trickiest part of the recipe. Weighing each piece at about 80 to 85 grams turns guessing into something reliable and gives you even thickness, which is what makes them cook at the same rate.
5. Heat and Butter the Griddle
Set the griddle to medium-low and give it a full 10 minutes to heat up. The number that matters is the surface temperature, not the dial setting:
- Electric griddle with a thermostat: 325°F to 350°F
- Blackstone or other outdoor flat top: medium-low burner, roughly 325°F at the surface
- Cast iron skillet or carbon steel griddle over a burner: medium-low, roughly 300°F, which usually means one notch below what you think
- Baking steel or heavy flat top: 275°F to 300°F, since metal retains heat and runs hotter than a coated griddle
If you have an infrared thermometer, aim it at the cooking surface in a few spots and take the lowest reading, since hot spots are where the bottoms burn first. Without one, flick a drop of water onto the surface. It should sizzle and skate across the metal, then vanish, not sit there and boil.
Butter the surface lightly with a soft piece of butter or a paper towel, or use a thin film of oil if you prefer a cleaner flavor. A heavily buttered griddle is what makes rounds spread and skate, so wipe off any excess. Clarified butter works well if you want the nutty flavor without dairy solids browning.
Lower heat is the whole trick. At 375°F and above, the bottom of a 3/4-inch round browns in about three minutes while the center is still raw dough. At 325°F, the heat has time to travel inward, and the muffin finishes with the crust and the crumb done at the same moment.
6. Cook Until Golden and Tender
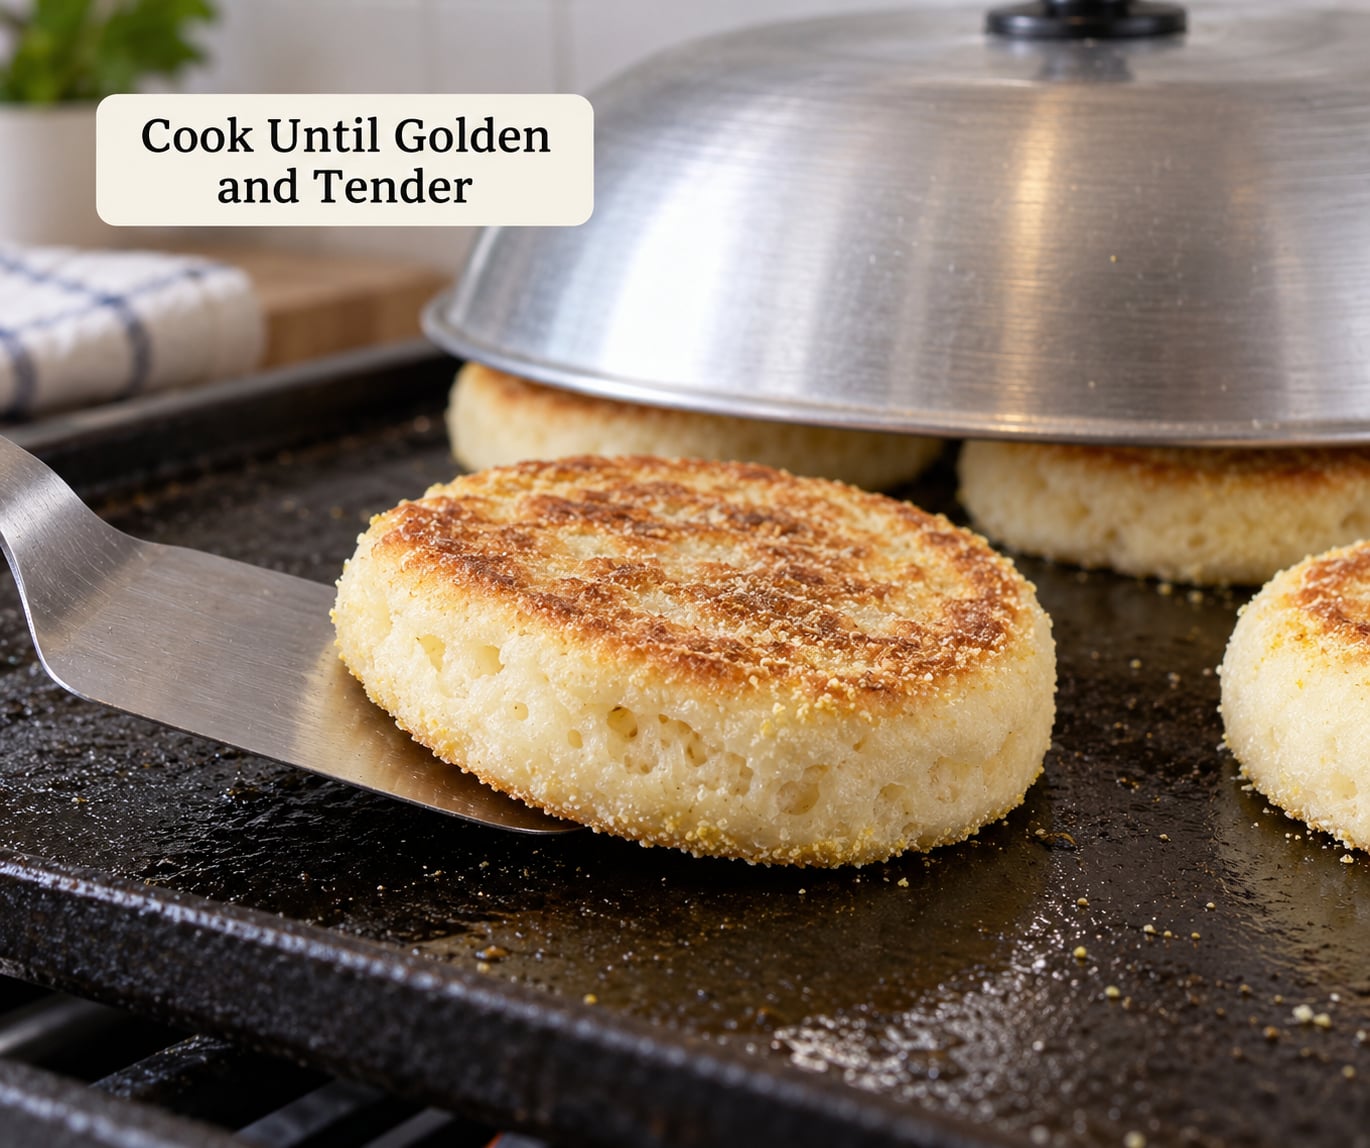
Set the rounds on the griddle leaving a full inch of space between them, and press each one down gently with your palm so the base makes full contact. Cook on the first side for 6 to 8 minutes, until the bottom is deep golden brown and the round releases from the surface on its own when you slide the spatula under the edge.
If the center is still pale and the bottom is already dark, dome the muffins now. Put an upside-down loaf pan, a skillet, or a sheet of foil tented over them and leave it for the last 2 to 3 minutes of cooking. The trapped steam finishes the crumb the way a covered pot does, and the muffin stops steaming as soon as you lift the cover.
Flip and cook the second side for 5 to 7 minutes. Expect the total cook to run 20 to 30 minutes for a full batch, and expect it to take longer than you think. Press the top gently with the spatula; it should spring back immediately and feel firm, not springy. Bakers who cook in batches over medium heat often run closer to 8 minutes per side for the same reason: the dough is thick and forgiving, not delicate.
A dry cook on a semolina-dusted surface gives a lighter, more neutral crumb and takes longer. A clarified butter fry gives a richer, darker crust in less time. Both work; the dry method is easier to control.
7. Cool and Serve
Move the muffins to a wire rack and let them cool for 3 to 5 minutes. That short rest sets the crumb so it does not go gummy when you cut into it.
Store the extra muffins in a paper bag or a loosely covered container at room temperature for up to two days. For longer storage, wrap them individually and freeze for up to two months, then reheat straight from frozen in a 350°F oven for 8 to 10 minutes.
Split them with a fork rather than a knife. Stick the tines into the side of the muffin, twist, and pull the halves apart; the crumb pulls into ridges, and those ridges are the nooks and crannies. A knife flattens them, which is the whole reason people care about the crumb in the first place.
Serve them with butter and jam for a weekend table, split and filled with a fried egg and griddled bacon for a breakfast sandwich, or split and layered with melted cheese and ham. If you are building a full spread, our guide to how to make a brunch for Mothers Day at home covers the rest of the menu, and a simple vinaigrette that emulsifies makes a good fruit-topped side beside the muffins.
Common Mistakes
The muffins come out flat. Three things cause it: over-proofed dough, a surface with too much butter, or rounds that are thicker in the middle than at the edge. Press firmly to knock out the gas before shaping, wipe the griddle with a buttered paper towel until it looks barely coated, and roll the dough to an even 3/4 inch so every round is the same height.
The centers are raw or doughy inside. The heat was too high or the cook too short. Drop the griddle a notch, add the foil dome for the last few minutes of each side, and give the rounds a full 20 to 30 minutes. An instant-read thermometer should show roughly 190°F in the middle of the muffin.
The bottoms burn before the tops color. You are on a hot spot or running the surface too hot. Move the rounds away from the burner for the first minute, or alternate between two burners on an outdoor flat top so no single section of the surface carries all the load.
The muffins are dense and heavy. Usually under-proofing, too much flour, or cutting the rounds before the yeast had time to work. Check the dough again in step 3, and resist adding flour when the dough feels sticky. A 24-hour cold ferment in the refrigerator also improves the crumb and is easier to fit around a schedule.
The dough does not rise at all. Dead yeast, milk that was too hot, or salt sitting directly on the yeast. Test the yeast in warm water before you commit to a full mix, and mix the salt in with the flour so it never touches the yeast directly.
The rounds stick and tear. Move them too early or the griddle was not seasoned or dusted. Cook until the bottom releases on its own, and keep a light dusting of semolina or cornmeal on the rounds when you set them down.
For even cooking, weigh your dough. For a big flat top, map out your space first: rounds need about an inch of clearance, so a 28-inch surface fits roughly a dozen at once, and you can hold finished batches warm in a 200°F oven on a wire rack rather than stacking them under foil, which softens the crust.
Frequently Asked Questions
Do English muffins need to be steamed before cooking on a griddle?
No. Steaming is the oven-baking shortcut, where a pan of water creates the steam a closed griddle dome already provides. On a griddle, cook the rounds uncovered for the first few minutes so the bottom sets and browns, then dome them for the last 2 to 3 minutes of each side so the center cooks through. Skipping steam entirely keeps the crust crisp instead of soft and pale.
What heat setting is best for English muffins on a griddle?
Medium-low heat, targeting a surface temperature of 300 to 350 degrees F. On a thermostated electric griddle, set it to 325 to 350 F. On a Blackstone or other outdoor flat top, use a medium-low burner. On cast iron over a gas or induction burner, go one notch lower than feels right. High heat browns the base in three minutes and leaves the center raw.
How do you know when English muffins are cooked through?
Look for a deep golden brown bottom that releases from the griddle on its own, then press the top gently with a spatula. Done muffins spring back immediately and feel firm. A thermometer is the surest check: the center should read about 190 F. Most rounds need 6 to 8 minutes on the first side and 5 to 7 on the second, with a foil dome over them for the last few minutes.
Can I make English muffin dough ahead of time?
Yes, and it usually improves the muffins. Mix and knead the dough, cover it, and refrigerate it for up to 24 hours before shaping. The long cold ferment deepens the flavor and gives a more open crumb with more nooks and crannies. Bring the dough out of the fridge about an hour before you shape it so it is workable, then let the cut rounds proof for 20 to 30 minutes as usual.
How do I keep griddled English muffins from becoming flat?
Control three things. Knock the gas out of the dough before shaping, or the big bubbles leave flat spots and cracks. Keep the griddle lightly buttered rather than dripping, since excess fat makes the rounds spread on contact. And roll the dough to an even 3/4 inch so every round is the same height. Over-proofing also flattens them, so shape as soon as the dough has nearly doubled.
What is the best way to reheat English muffins?
Use a 350 F oven for 8 to 10 minutes, which restores a crisp crust without drying out the crumb. From frozen, go straight in and give them 10 to 12 minutes. A skillet works too: warm it over medium-low, add a pat of butter, and warm each muffin for 3 to 4 minutes per side. Avoid the microwave, which heats the water in the crumb and leaves the muffin soft and gummy.
Conclusion: Start With a Low-and-Slow Griddle
Two decisions do most of the work in how to make English muffins on a griddle. Shape even, well-degassed rounds about 3/4 inch thick, and keep the cooking surface between 300 and 350°F rather than at full heat. Everything after that is timing: 6 to 8 minutes on the first side, a flip, 5 to 7 on the second, and a foil dome if the centers are still pale.
Make the first batch this morning and watch the color. If the bottoms are darkening faster than you like, drop the heat before you start round two. Once you see the timing that matches your own griddle, you will never need the recipe again.