
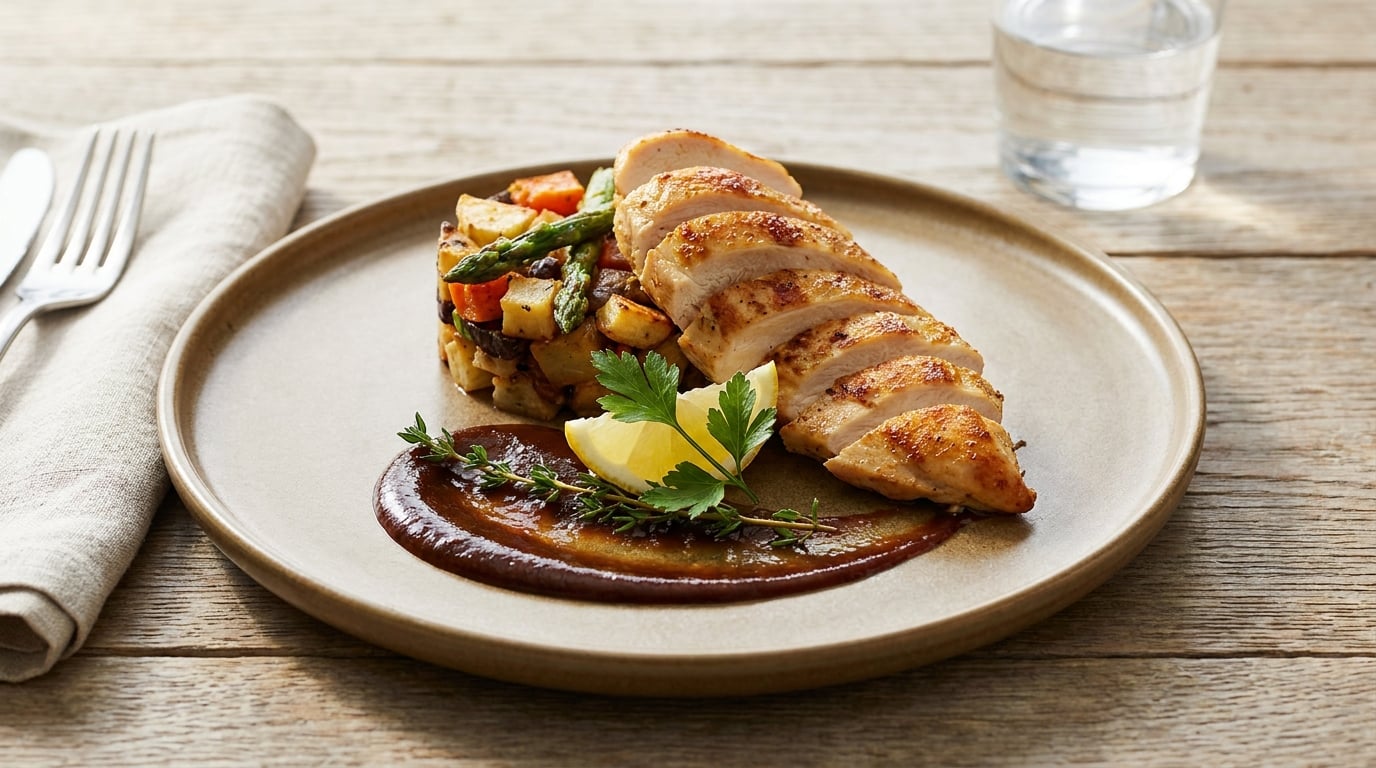
Learning how to plate food like a restaurant comes down to four moves: stage every component before you start, place the main item slightly off-center, build height by leaning and stacking, then finish with sauce and garnish while keeping the rim clean. Ten minutes of setup and one spoon is genuinely all the equipment you need.
Restaurants get the look partly because a cook repeats the same plate two hundred times a night. But the whole method is short enough to learn in one dinner, and the difference between a dumped plate and a deliberate one is mostly restraint. If you have ever made a meal that tasted good and photographed badly, the problem is nearly always arrangement, not the food.
Plating means the deliberate arrangement of a finished dish before it leaves the kitchen. It uses a small set of composition rules: one focal point placed off-center, height built by stacking, clean negative space around the rim, deliberate color contrast, and a finishing sauce or garnish. Cooks who plate consistently have read somewhere that restaurant food tastes better than home cooking, and part of that gap is visual, which is why the plate is the last thing they learn to change and the first one readers notice.
Table of Contents
- What You Need
- Step-by-Step: How to Plate Food Like a Restaurant
- Common Mistakes
- Tips for Consistent Restaurant-Style Presentation
- Frequently Asked Questions
- What is the easiest way to make a plated dish look more professional?
- Should food be served in the center of the plate?
- What colors and garnishes work best for restaurant-style plating?
- How do I keep a plate from looking overcrowded?
- Should sauces be poured over food or placed underneath?
- Can I improve the presentation of food without changing the recipe?
- Conclusion
What You Need
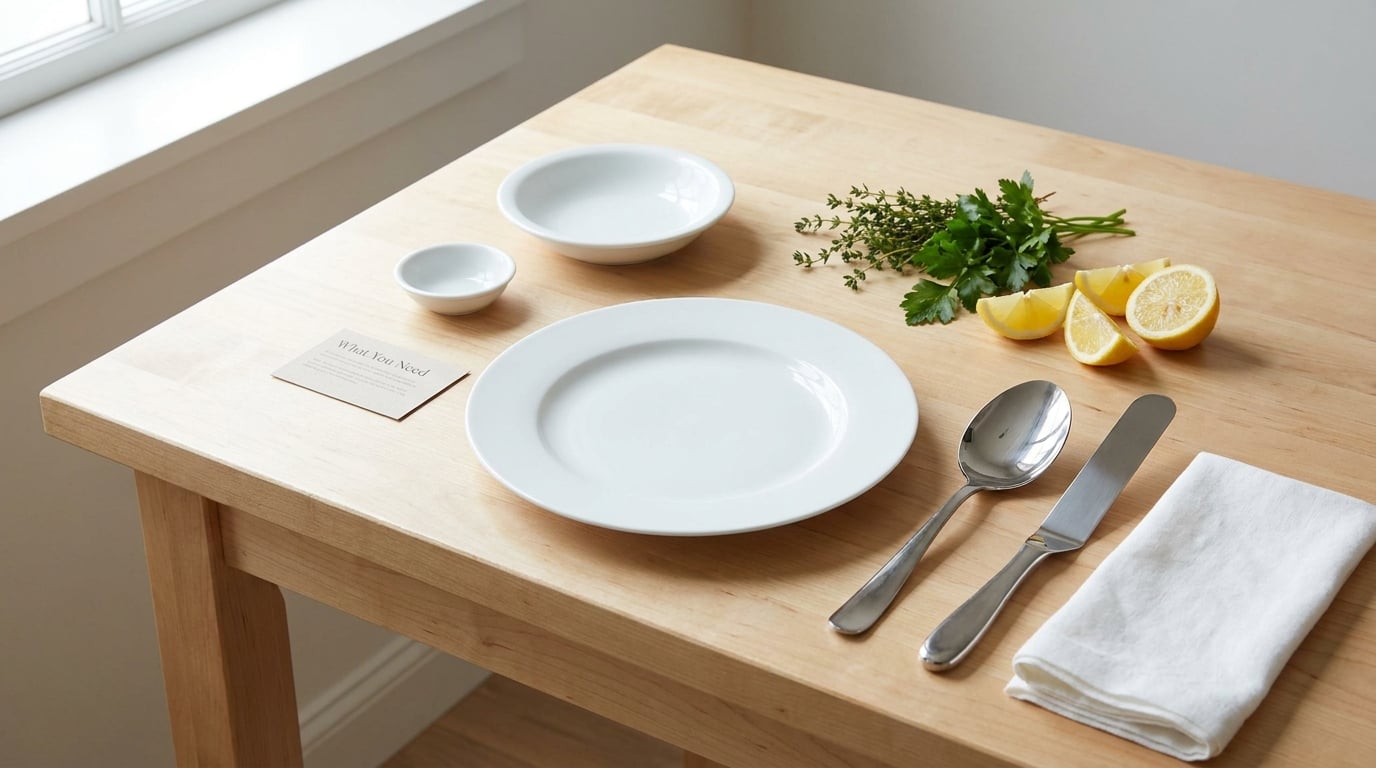
Start with three plain dishes and a spoon, then add one garnish ingredient. Everything below is optional except the spoon.
- One large white dinner plate, 10 or 11 inches. White is the workhorse because every food color reads against it, and a wide surface gives you room to keep components apart.
- One smaller plate or shallow bowl per side component. Holding the vegetables and starch in their own dishes while you build is what stops the plate collapsing into a pile.
- A small shallow dish for sauce. A saucer works, or a small bowl if you plan to pour a little extra at the table.
- A tablespoon, a fork, or a paring knife. Any of the three will place, drag and dot sauce. This is the tool that matters and it is the one everybody already has.
- One finishing ingredient. A handful of chopped soft herbs, a few toasted nuts, a lemon wedge, or a hard-cheese grating made with a fork or microplane.
- Optional but useful: a wide, shallow serving bowl for the protein. Chicken, fish and steaks look better on a platter you can slice over the plate than on a small one you crowd.
Restaurant tools and what to use instead
Nobody needs a full line of plating equipment to fix a plate. Every pro tool has a home substitute that does the same job.
| Restaurant tool | What it does | Home substitute |
|---|---|---|
| Squeeze bottle | Thin, even sauce lines and dots | A zip-top bag with one corner snipped off |
| Tweezers | Places one herb leaf at a time | The tip of a paring knife, held flat |
| Ring mold | Sets a neat round stack of starch | Turn a small glass or metal cup upside down and lift it off |
| Offset spatula | Slides a component without dragging sauce | The back of a large spoon |
| Palette knife | Wide, controlled sauce smears | The bottom edge of a teaspoon |
| Turntable | Rotates the plate for even spacing | Your wrist, turning the plate a few inches as you work |
| Microplane | Fine zest or hard cheese over the top | The small holes of a box grater |
Pre-cooked sides matter more than tools. If you are plating a roast chicken with restaurant style mashed potatoes or any vegetable, cook and dress it before the protein comes off the heat, then hold everything in separate bowls until the minute you plate.
Step-by-Step: How to Plate Food Like a Restaurant
Follow the same four steps in the same order and the results stop being accidental. The order is the part most guides leave out: sauce goes on the empty plate, the starch goes on the sauce, the protein goes on the starch, and the garnish goes on last.
Choose a Clean, Contrasting Plate
Use a plain white plate with a wide surface and let the food supply all the color. Contrast comes from the food, not the dishware, so a busy pattern or a deep-colored plate underneath makes the same meal harder to read. A 10-inch plate holds a normal portion with a visible ring of clean rim; a 7-inch plate of the same food is crowded by definition.
Warm the plate if the dish is served hot. Thirty seconds in a low oven or a rinse in hot water is enough, and it buys you a few extra minutes of margin before the food cools. Skip the rimmed charger plates for small dishes, since a wide rim pushes everything inward and encourages crowding.
Build a Balanced Arrangement
Start with your main item, place it slightly off-center, then work everything else around it. A centered plate looks static; a component set a little left or right of the middle leaves a visible third of bare plate, which is what the eye reads as composed.
Here is the version with clock positions, which is how most restaurant kitchens think about it:
- 3 to 9 o’clock: the main item, sliced or portioned, laid in one clean line or a tight stack.
- 9 to 12 o’clock: the starch, shaped into a small round or a quenelle rather than a loose scoop.
- 12 to 3 o’clock: the vegetables, either a compact pile or two small clusters with space between them.
- Anywhere from 4 to 7 o’clock: the sauce, placed on the empty plate first so it sits under the food, never on top of it.
Build height next. Lean a slice against another, prop a cut of protein against the side of the starch, or stack two elements so at least one casts a shadow on the plate. Flat food reads as unappetizing no matter how good it tastes, and a few millimetres of elevation fixes most of it. Portion size matters too, but height does more work per spoonful: a modest amount stacked high looks like more than the same amount spread flat.
Finish by cleaning the rim with a fingertip or a paper towel. A wiped rim in a clean circle is the single fastest visual upgrade, because the eye reads an empty ring as care.
Add Color and Texture to Plate Food Like a Restaurant
Add one contrasting color and one contrasting texture, and stop. The most common home plate fails because everything is the same warm beige: roasted potatoes, chicken, gravy and bread all land in the same brown family, and the plate disappears under it.
Fast fixes for a beige dinner include raw herbs like parsley, dill or chives, a spoonful of pickled red onion or slaw, a bright acid note from lemon or vinegar, toasted nuts or breadcrumbs for crunch, and a purée in a contrasting hue. Two or three garnish marks look deliberate; six turn a plate busy, so pick the two that give the biggest contrast and ignore the rest. Any savory dish with too many beige elements responds well to those techniques, and the same reasoning applies to side dishes such as pairing beer with food, where matching a garnish to the drink’s hoppy or malty character is the same idea applied to a glass.
Finish With Sauce and a Final Check
Add sauce to the empty plate, never over the top of a stacked dish where it runs and flattens everything. Four techniques cover almost every home plate, and all four work with a spoon.
- Smear. Put a spoonful of sauce on the plate, press the back of the spoon flat and drag it in one short line, then lift. One confident stroke beats three hesitant ones.
- Straight drag. Lay the spoon down, place sauce along its edge and pull it in a straight line about three inches, stopping before the rim.
- Dots. Use the corner of the spoon to set three or five small dots in a row or an arc. Squeeze-bottle dots are cleaner, but spoon dots are the same idea.
- Clam pull. Drag the spoon backward through a dot of sauce so the sauce folds over itself and pulls back into a crescent. Practice on the counter once before you try it on dinner.
Then place the garnish last, at the highest point of the arrangement so it reads as deliberate, and step back about two feet. Check three things: the rim is clean, one component clearly dominates, and there is visible plate showing between the elements. If any of those fails, remove something rather than rearranging everything.
Common Mistakes
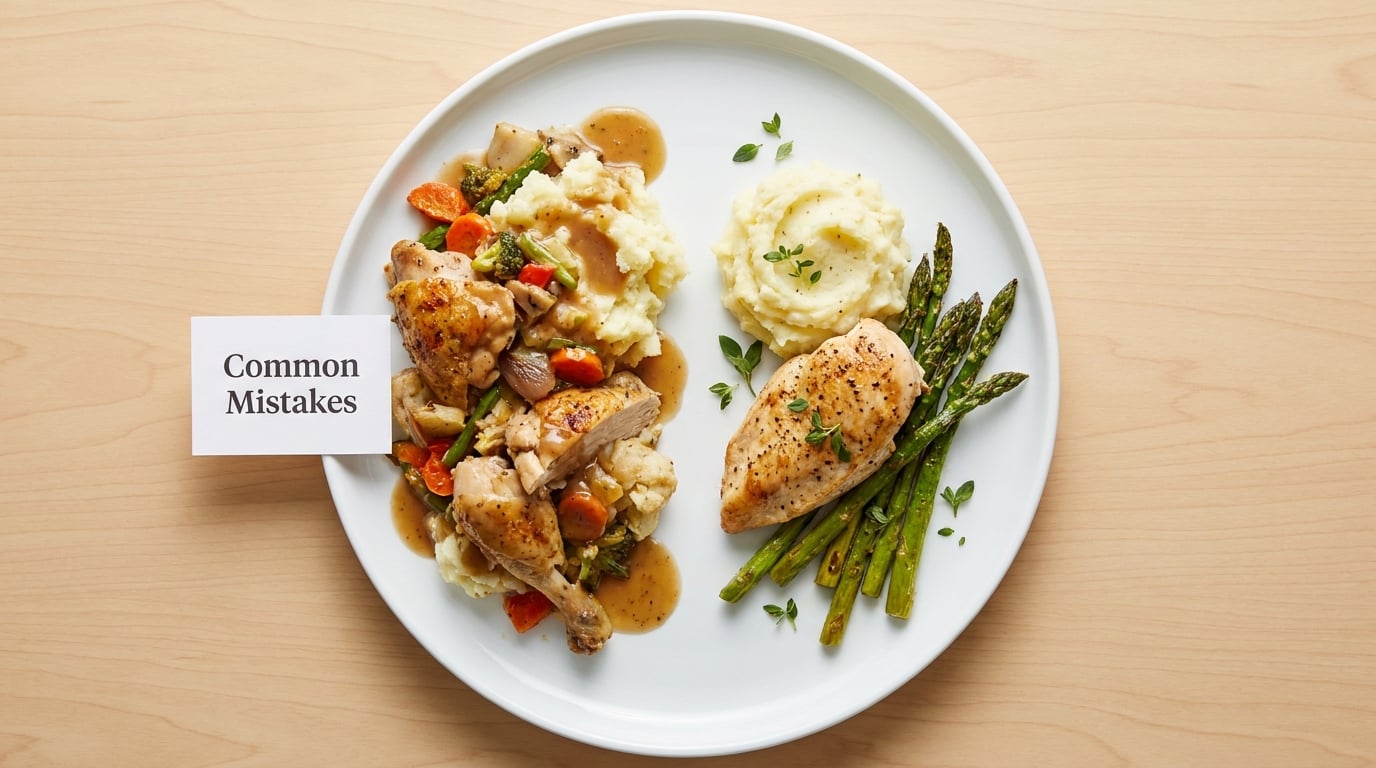
The most frequent plating errors all come from adding too much too early. Each one has a quick correction.
- Starting at the center and scooping out. Plates get built from the edge inward, so the first component has nowhere to go. Fix: pick your main item, set it down, and place everything else beside it.
- Filling the whole plate. When food touches the rim, it looks left over rather than served. Fix: leave a two-finger ring of bare plate; portions can be smaller than you think.
- Piling without height. A single flat layer wastes the most valuable thing on the plate. Fix: lean, stack or prop one element against another.
- Pouring sauce over the food. It pools, soaks the crisp bits and hides the arrangement. Fix: sauce goes down first on the bare plate.
- Everything in one color. Brown food on a white plate with brown garnish looks unfinished. Fix: one bright accent, such as herbs, pickled onion or lemon.
- Garnishing too generously. A heavy sprinkle covers the food it is meant to introduce. Fix: a few deliberate marks instead of a blanket.
- Serving straight onto a cold plate in a rush. The heat disappears before anyone tastes it. Fix: warm plates, and plate within the last few minutes.
None of these require equipment. What cooks usually want is a starting system rather than a shopping list, and the order you build in matters more than any of the tools above.
Tips for Consistent Restaurant-Style Presentation
Once the four steps are automatic, adapt them instead of relearning them.
Stage everything first. Proteins go on a board, sauces in small bowls, sides dressed and waiting. Plating a hot pan straight from the stove produces food at the wrong temperature and no room to adjust, so prep all components, then build in a couple of minutes.
Match the standard to the occasion. For a weeknight family dinner, warm the plates, put the protein slightly off-center, add one color and stop. For a dinner party, use the clock method, give each person their own plate rather than a shared platter, and add a second garnish element.
Let the cuisine set the layout. The clock positions are a default, not a rule. Rice, noodles or flatbreads belong in the 9-to-12 zone or underneath the main item, salads and raw vegetables work well spread across the top, and a soup can be the whole plate with two or three deliberate garnishes floated on the surface rather than something added beside it.
Use a different plate for a different job. A wide shallow bowl handles pasta, risotto and cutlets. A square plate suits small, precisely placed portions. A dark plate flatters pale sauces and light fish but makes dark meat vanish, so keep it for pale and green dishes. A rimmed plate suits food with sauce, since the rim gives you somewhere to put drips.
Keep hot food hot and cold food cold. If you must hold a plated dish before serving, refrigerate it promptly and reheat to 165°F for poultry, 160°F for ground meat, and 145°F for whole cuts and fish. Refrigerated leftovers are safest within two hours of leaving the table.
Take one photo before anyone sits down. Shoot from a low angle at a window, not straight down, so the height you built is visible. It makes you notice the problems you can still fix.
Frequently Asked Questions
What is the easiest way to make a plated dish look more professional?
Clean the rim of the plate and leave visible empty plate around the food. Almost every plate that looks amateur has too much on it and a dirty edge. After that, push the main component slightly off-center, add one element leaning against it for height, and finish with one bright garnish. Those four changes are visible from across the table and none of them require equipment you do not own.
Should food be served in the center of the plate?
Usually not. A component placed slightly off-center leaves an open third of the plate, which reads as deliberate composition, while a centered arrangement looks flat and a bit formal. Leave the most open area on the side the main item is not facing, so the eye travels across the dish instead of landing on the middle. For round, single-component dishes such as a stack or a soup, centering is fine.
What colors and garnishes work best for restaurant-style plating?
Aim for two contrasting colors on each plate rather than a full spectrum. Chopped parsley, chives or dill add fresh green, pickled red onion and slaw add red, and lemon zest or a wedge add yellow. Toasted nuts and breadcrumbs handle contrast through texture instead of color, which works well with brown and beige dishes. Use one garnish for weeknights and no more than three for a dinner party.
How do I keep a plate from looking overcrowded?
Use a larger plate, cut the number of components, or do both. Leaving a two-finger ring of bare rim around the food is the quick test; if food touches the edge or runs onto it, the plate is full. Crowding often comes from trying to show every side dish at once, so pick one vegetable and one starch, then use a separate small dish for the extras. Height also solves it, since a small stack occupies less surface than the same food spread out.
Should sauces be poured over food or placed underneath?
Underneath, on the empty plate, which is what most restaurant kitchens do. Sauce placed on the bare plate before the food lets you smear, drag or dot it, and the food sits on top rather than drowning in it. Over a stack it runs down the sides, softens any crisp surface and hides the arrangement you just built. Thin sauces suit a drizzle; thick ones suit a drag or a dot.
Can I improve the presentation of food without changing the recipe?
Yes, and it is the easiest upgrade available. Plate on white, keep the rim clean, use a small amount of food, arrange the main component off-center, lean or stack for height, and add a fresh ingredient you did not cook: herbs, zest, pickled onion, nuts or a drizzle of something sharp. None of these steps change flavor or quantities, and the same roasted chicken and root vegetables look like a different dish.
Conclusion
Start with one dish tonight and do only three things: warm a white plate, set the main item slightly off-center with something leaning against it, and wipe the rim before you carry it to the table. That is the whole method in miniature, and it takes under two minutes.
Balance and contrast do the rest. Leave plate showing between components, add one bright color, and you have learned how to plate food like a restaurant without buying a single tool. Practice it on the same simple dinner for a week and it stops being a task you do before serving and starts being how you cook.