
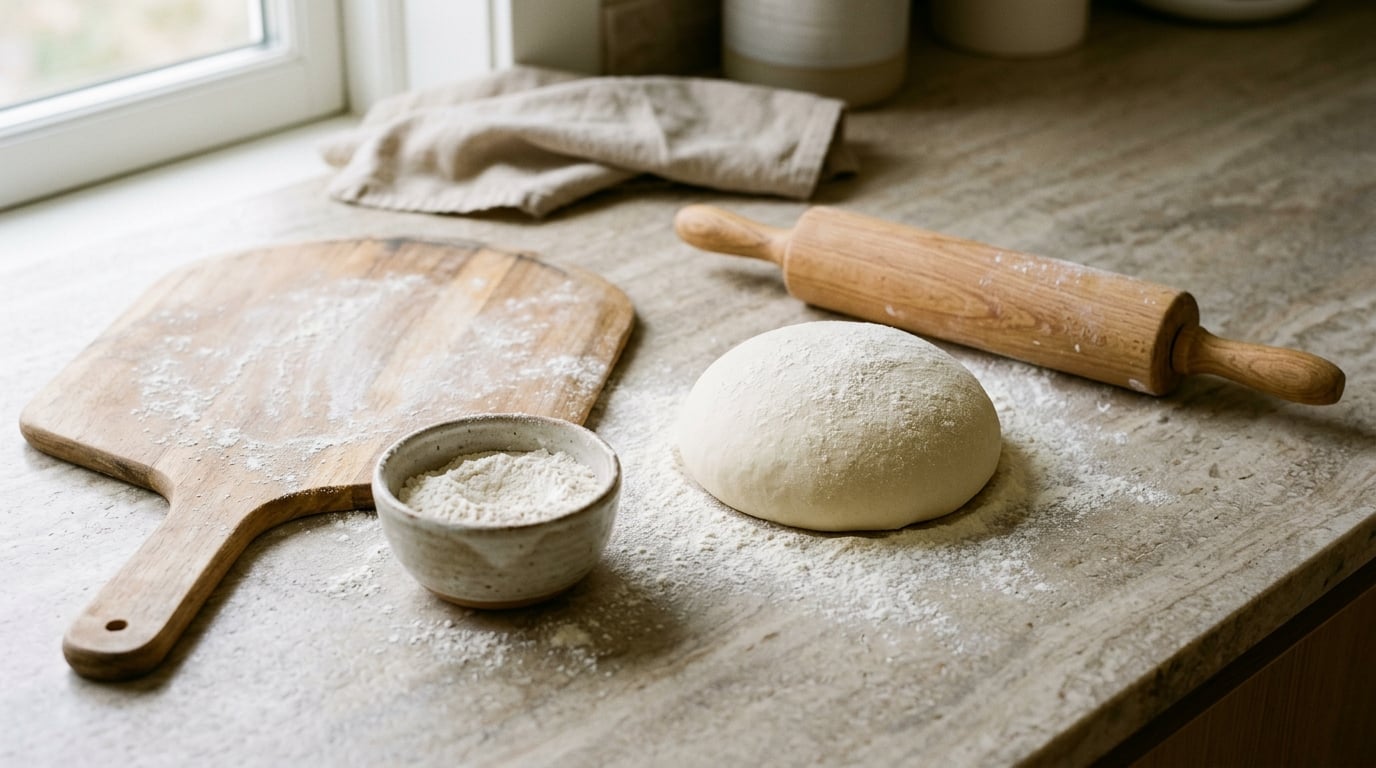
You can learn how to stretch pizza dough without tearing by warming the dough, keeping flour under it, and pressing from the middle out with slow, even pressure. Most tears are not a weak dough problem, they are a cold-dough or rushing problem. A rested ball opens easily, and a fridge-cold ball fights you from the first pull.
From fridge to shaped base takes about 20 minutes of actual stretching, plus however long your dough needs to come to room temperature. The technique is not hard, but it is a feel thing, and the feel arrives faster once you know what a good base looks like at each stage.
This guide covers the hand stretch from a cold-fermented ball to a finished base, including how to repair a tear when one happens anyway, which is often.
What You Need
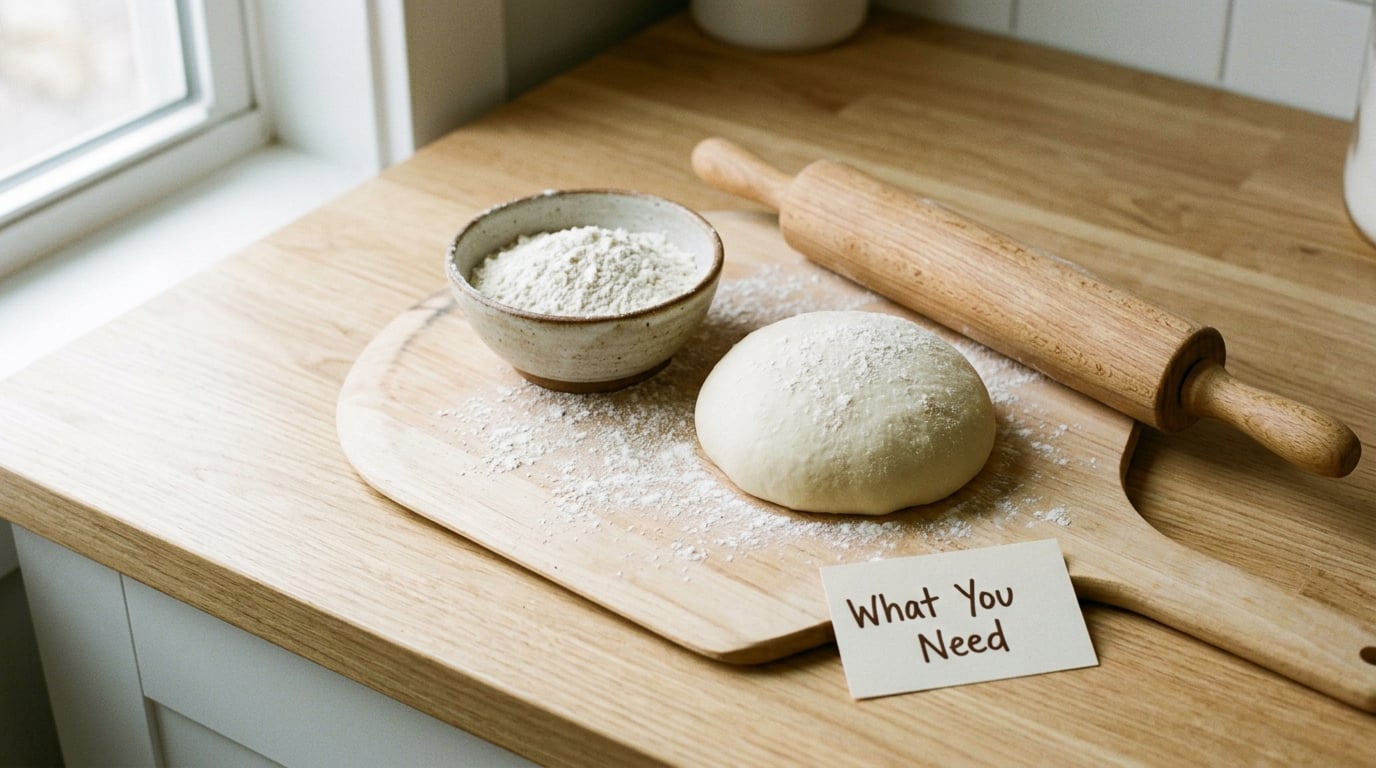
A stretched base needs almost nothing, which is one of the nicer parts of making pizza at home. The dough does the work, and everything else just keeps it from sticking.
- A proofed dough ball at room temperature. A ball of 250 to 300 grams is a comfortable size for a 12-inch base. Grocery store dough works too, as long as you pre-shape it and let it rest.
- Bread flour or semolina for dusting. Both work. Semolina gives a crisper bottom and a little more grip, which many pizza makers prefer for the final peel transfer.
- A clean, smooth work surface. A marble or stone counter is ideal because it stays cool. A wooden board works, as does a large baking sheet if your counter is too small.
- A pizza peel dusted with flour or semolina. Cornmeal is stickier than most people expect, so it is not my first choice for a delicate base.
- Bare hands. Rings, watches, bracelets, and long nails all cause tears. Take them off before you start, not after the first hole appears.
Some bakers prefer a very light film of olive oil on the counter instead of flour, and it works well for moderately hydrated home dough. Oil gives you almost no grip, though, so if your dough is sticky or very wet, use flour.
Step-by-Step: How to Stretch Pizza Dough Without Tearing
Step 1: Bring the Dough to Room Temperature
Cold dough has a tight gluten network. That tightness is what makes a cold dough ball hold its shape, and it is also what makes it snap back and split the moment you pull it. Let the dough warm up before you touch it.
Two to four hours at room temperature is the usual range for dough that came out of a refrigerator, and a cool room can stretch that to six or eight hours. A poke test tells you when it is ready: press a fingertip about a half inch into the ball and lift. If the dent fills back in slowly and leaves a soft mark, the gluten has relaxed enough to stretch. If it fills in instantly, give it more time.
Overnight dough straight from the cold box is the single most common reason people cannot stretch pizza dough without tearing it. Twenty extra minutes on the counter fixes most of those cases.
Step 2: Lightly Flour the Work Surface and Hands
Dust the counter with a thin, even layer of flour and rub a little between your palms. You want the dough to release from the surface and from your hands, not to be buried in powder.
Too much flour creates dry patches on the outside of the base. Those patches resist the stretch, then crack when the middle gives, and you get tears that look random. If you see dry, pale, matte spots on the dough, that is your answer. Brush the excess off with a dry hand and dust the counter lightly instead.
High-hydration dough, the kind at 65 percent water and above, needs a more generous hand than most people expect. Low-hydration dough needs almost nothing, because it barely sticks at all.
Step 3: Press the Dough from the Center Outward
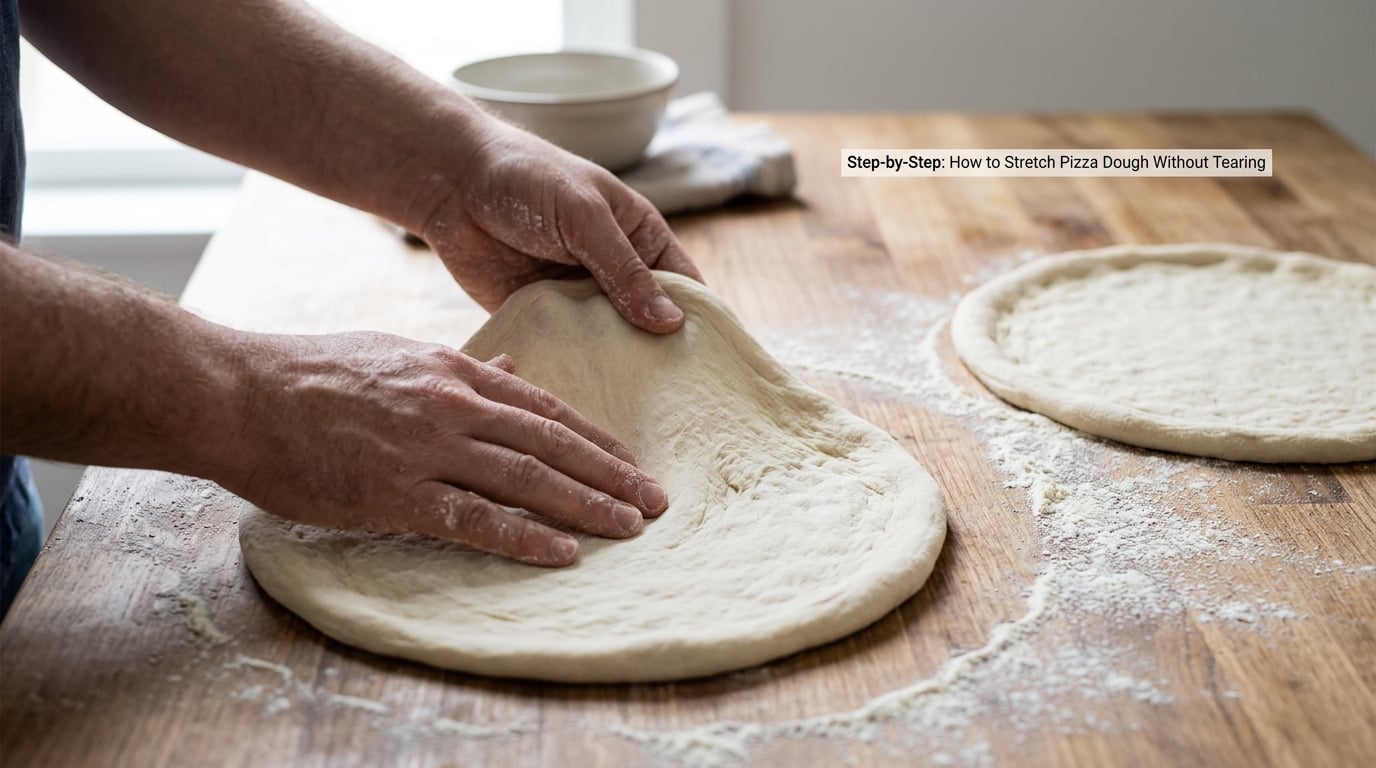
Put the ball in the middle of the floured area and press down with the pads of your fingertips, not your palms. Start at the very center and work outward in rings, leaving the outer inch or so untouched. That untouched ring is the crust, and it is the structural part of the base.
The motion that works best is a slight lift between presses, so the pads of your fingers and the back of your hand press at an angle rather than straight down. Pressing straight down pushes air and moisture out of the center and thins it faster than the rim can support.
You will know it worked when you have a flat disc roughly 5 to 6 inches across with a thick, puffy rim. If the center is already paper thin while the rim is untouched, skip to Step 4 and be gentler.
Step 4: Stretch a Small Section at a Time
Drape the dough over the backs of your hands or the knuckles of one hand, fingers curled underneath. Pull the dough apart a few inches, rotate it a quarter turn, and pull again. Small pulls in a slow rhythm beat one big pull every time.
Most tears happen because a baker grabs the whole edge with both hands and pulls in opposite directions at full strength. The dough cannot distribute that force evenly, so it splits along the weakest line, usually straight across the middle. Anchoring your knuckles under the dough and moving a few inches at a time spreads the tension across the whole base.
Two more named techniques do the same job. The DJ Deck move is a fast rotational pull with the dough held flat between both hands, and the steering wheel move is a long, slow pull with a rotating wrist. Either is fine, as long as the pressure stays gentle and even.
Step 5: Rotate and Check the Dough’s Tension
Lift the dough and turn it a quarter turn every few pulls so gravity has a chance to help from a new angle. Between rotations, hold the base up toward a light source and look through it. Even dough glows with a soft, even translucency. Bright patches are thin spots, and dark patches still have room to grow.
When you find a thin spot, do not pull there again. Move your hands to a thicker section and let the surrounding dough relax for a few seconds. The thin spot usually fills in on its own once the stress comes off it.
If the dough shrinks back hard the moment you set it down, the gluten is still tight. Stop, cover the dough, and give it another 15 to 20 minutes. Pushing through a springy dough is how beginners end up with a base that is small, thick, and torn in three places.
Step 6: Finish the Pizza Base
A finished Neapolitan-style base is about 10 to 12 inches across, with a rim roughly the thickness of your little finger and a center thin enough to see light through. A New York style base goes thinner in the middle, to about the thickness of a coin, with a much narrower rim. Either way, the rim should be the thickest part.
If a small weak spot or hole appears, pinch the edges together from underneath, press the seam closed with a fingertip, and wait about 30 seconds before touching it again. That rest lets the gluten strands reconnect, and the repair usually holds. A small patch of flour under the dough works as a patch too, though it is less tidy.
To move the base, slide your floured peel under it at a shallow angle rather than lifting it with a pinch at the center. Shake the peel gently to make sure it is not sticking, then move in one smooth motion. Flour the peel generously, because a thin base sticks through thin layers of flour quickly.
Common Mistakes and How to Fix Them
Almost every stretching problem comes down to temperature, surface prep, or pulling too fast. Here is what each one looks like and what changes it.
- Stretching dough straight from the refrigerator. Cold gluten is tight and fights you. Give the ball two to four hours on the counter, up to eight in a cool room, and confirm with a poke test.
- Pulling the whole edge in opposite directions at once. The dough splits along the weakest line. Pull a few inches at a time, rotate a quarter turn, and repeat.
- Pressing the rim until it is as thin as the center. The crust is what holds the base together. Stop pressing a full inch in from the edge and leave that ring puffy.
- Dusting heavy with flour. Dry patches resist the stretch and then crack. Brush off the excess and keep the layer thin enough to see the surface color through it.
- Skipping the rim. Many people stretch edge to edge, which produces a uniformly flat cracker. Define the rim first, even if it looks small at the start.
- Thin dough starting to tear. When the base turns to translucent, thinness is not progress, it is a warning. Stop pulling that section and work somewhere else.
- Air tossing as a beginner technique. Catching a thin base in midair is far harder than stretching on the counter, and it is the fastest way to destroy a good ball of dough. Learn the counter method first.
- Stretching grocery store dough straight from the package. Divide it into three or four pieces, pre-shape each into a round, and let them rest in round containers for at least an hour. The circular shape gives the dough a memory that makes it far easier to open.
| What you see | What causes it | The fix |
|---|---|---|
| Springs back the moment you put it down | Gluten is still tight from the cold or under-rested | Cover and rest 15 to 20 more minutes, then poke test again |
| Tears in the center of the base | Pulling too hard or too fast at one spot | Work one small section at a time, rotating between pulls |
| Tears along the outer crust | Rim stretched too thin or handled too roughly | Stop 1 inch from the edge and keep that rim puffy |
| Sticks to everything, tears on release | Surface not floured enough, or dough is very wet | Add a thin even layer of flour or semolina, and dust your hands |
| Thin in the middle, thick and tough at the rim | Skipped the rim, or pressed straight down instead of at an angle | Define the rim first, then press with lifted fingers over the center |
| Shrinks while it sits before topping | Dough is over-proofed or still tightening from the cold | Rest longer, shape and stretch smaller balls, and keep balls covered |
Two more things come up constantly. A rolling pin compresses the gas and gluten structure unevenly, pushing air toward the rim and giving you a thick edge with a dense, sometimes cracked center, so it is a poor tool for an open base. It is fine for pan pizza, where you want a rectangle anyway.
For a rectangular pan pizza, the method is simpler: press the dough into the corners of the pan with your fingertips, let it sit for a few minutes, then dimple it all over with oiled fingers. There is no rim to protect and no stretching to do.
If the dough tears no matter how gently you handle it, the problem is in the dough, not your hands. Batches made by hand stop developing gluten past a couple of balls, so try a longer bulk ferment, a couple of minutes of kneading after the dough warms up, or a slightly stronger flour. A small piece of dough pulled thin should stretch into a thin membrane without snapping; if it tears instead, the gluten network needs more development.
Once the base is shaped and topped, the rest is simple. If you like planning the cooking side of things ahead, our guide to how to make brunch for a crowd without stress covers prepping food for a group, which is the same kind of prep-then-cook planning.
Frequently Asked Questions
Why does my pizza dough tear when I stretch it?
Dough tears when it is too cold, too stiff, or pulled too fast. Cold gluten is tight and snaps back instead of elongating, so let the ball rest at room temperature for two to four hours and confirm with a poke test. Tearing in the center usually means the middle got paper thin before the rim, so stop pulling that section and work somewhere thicker.
Should I flour the dough before stretching pizza?
Dust the work surface and your hands lightly, but you do not need to flour the dough heavily. A thin, even layer keeps the dough from sticking; a heavy coating leaves dry patches that resist the stretch and crack. Semolina is a good alternative to flour because it grips well and gives a crisper bottom.
Can I stretch pizza dough with a rolling pin?
You can, but it is a poor choice for an open pizza base. A rolling pin compresses the center and pushes air toward the edge, giving you a dense center and a fat rim that can crack in the oven. It works fine for pan pizza, where you want a flat rectangle pressed into the corners.
How do I fix a small tear in pizza dough?
Pinch the edges of the hole together from underneath the dough, press the seam closed with a fingertip, and wait about 30 seconds before stretching that area again. The rest lets the gluten reconnect, and the repair usually holds. A small patch of dough placed under the thin spot works too, if you have extra.
How long should pizza dough rest before stretching?
Two to four hours at room temperature is the usual range for refrigerated dough, and up to six to eight hours in a cool room. Test it by pressing a fingertip half an inch into the ball. If the dent fills back slowly and leaves a soft mark, the dough is relaxed and ready.
How do I stop pizza dough from shrinking while stretching?
Shrinking that persists usually means the gluten has not relaxed enough or the dough is over-proofed. Cover the ball and rest it another 15 to 20 minutes, keep balls covered so they do not skin over, and stretch smaller portions at a time. If it still springs back fast, the dough likely needs more bulk fermentation time.
The Bottom Line: How to Stretch Pizza Dough Without Tearing
If your dough tears, the fix is almost always in the first hour, not the technique. Let the ball come to room temperature until the poke test passes, keep a thin even layer of flour on the counter, and press from the middle out while protecting the rim.
After that, pull in small sections, rotate often, and hold the base up to the light before you call it done. Tearing less often comes from hands that move slowly and dough that has had time to relax.