
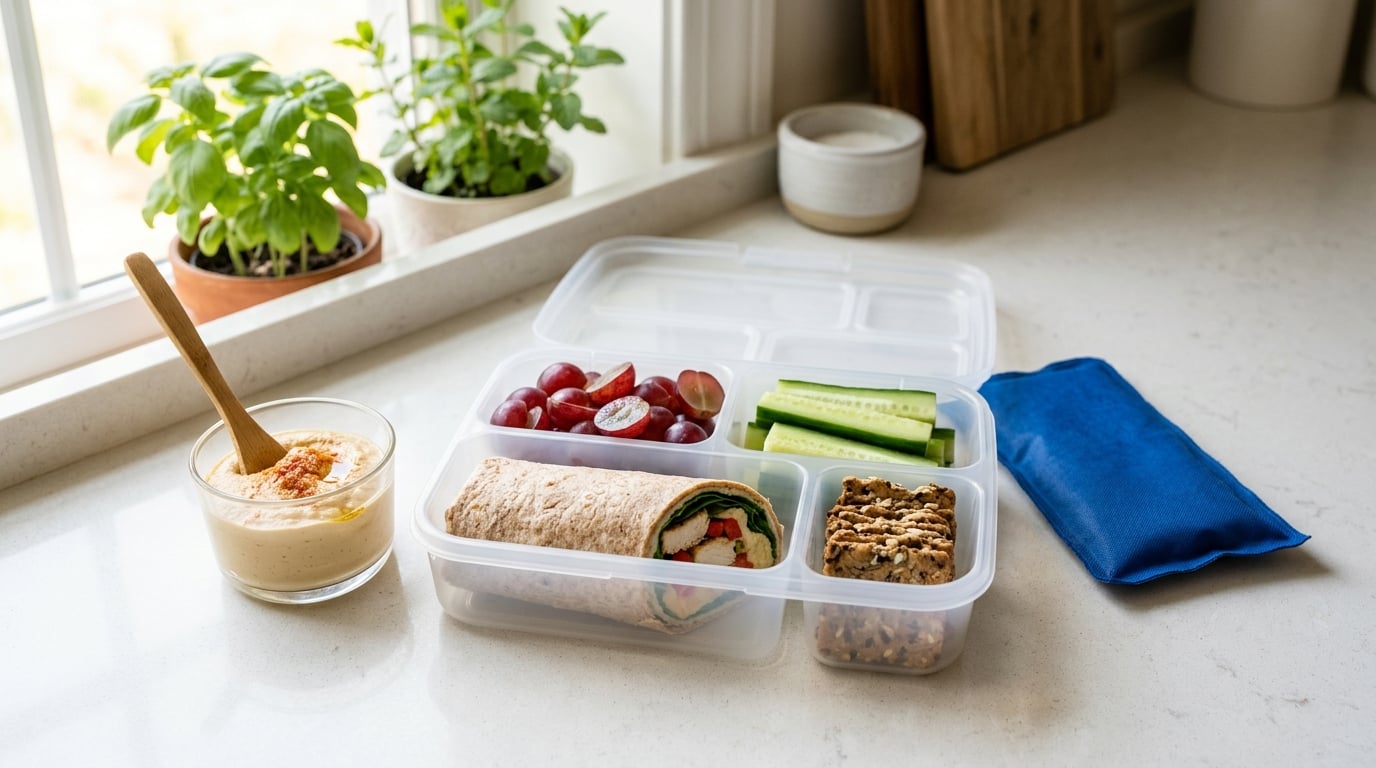
If you want to know how to pack a lunch kids will actually eat, the answer is shorter than most guides make it sound: build it from foods your child already accepts, keep everything separate, and pack it cold enough to still be cold at noon. Add one small thing they get to choose, and lunch packing stops being a negotiation.
The whole routine takes about five minutes once the parts are ready. The slow part was yesterday afternoon, when you chopped the fruit and portioned the crackers.
What You Need
You need four food components and four pieces of gear. That is the whole list, and it works whether or not your school has a microwave or a refrigerator.
- One protein they eat without complaint: sliced cheese, a boiled egg, deli turkey rolled up, tuna salad, hummus, chicken cubes, or a nut-butter-and-jelly roll-up.
- One whole grain or starch: a whole wheat tortilla, crackers, a mini bagel, rice, or pasta.
- One fruit and one vegetable: any combination, cut into finger-sized pieces.
- Two snacks and one small treat: many schools require a lunch plus two snacks, so budget for three extras, not one.
- A divided container: separate compartments are the single most recommended tip in parent forums, because food that touches other food gets refused. A shallow container with silicone or paper baking cups does the same job without buying a bento box.
- An insulated lunch bag and an ice pack: a frozen water bottle works just as well and needs no separate pack.
- A small thermos: optional, but it solves warm lunches when there is no microwave.
- Leakproof dip cups: the cheapest fix for a soggy lunch.
Ask the school what its rules are before you plan a month of lunches. Nut-free classrooms, no-heating policies, and required snack counts change what you can pack, and finding out on the first morning is wasted effort.
Step-by-Step: How to Pack a Lunch Kids Will Actually Eat
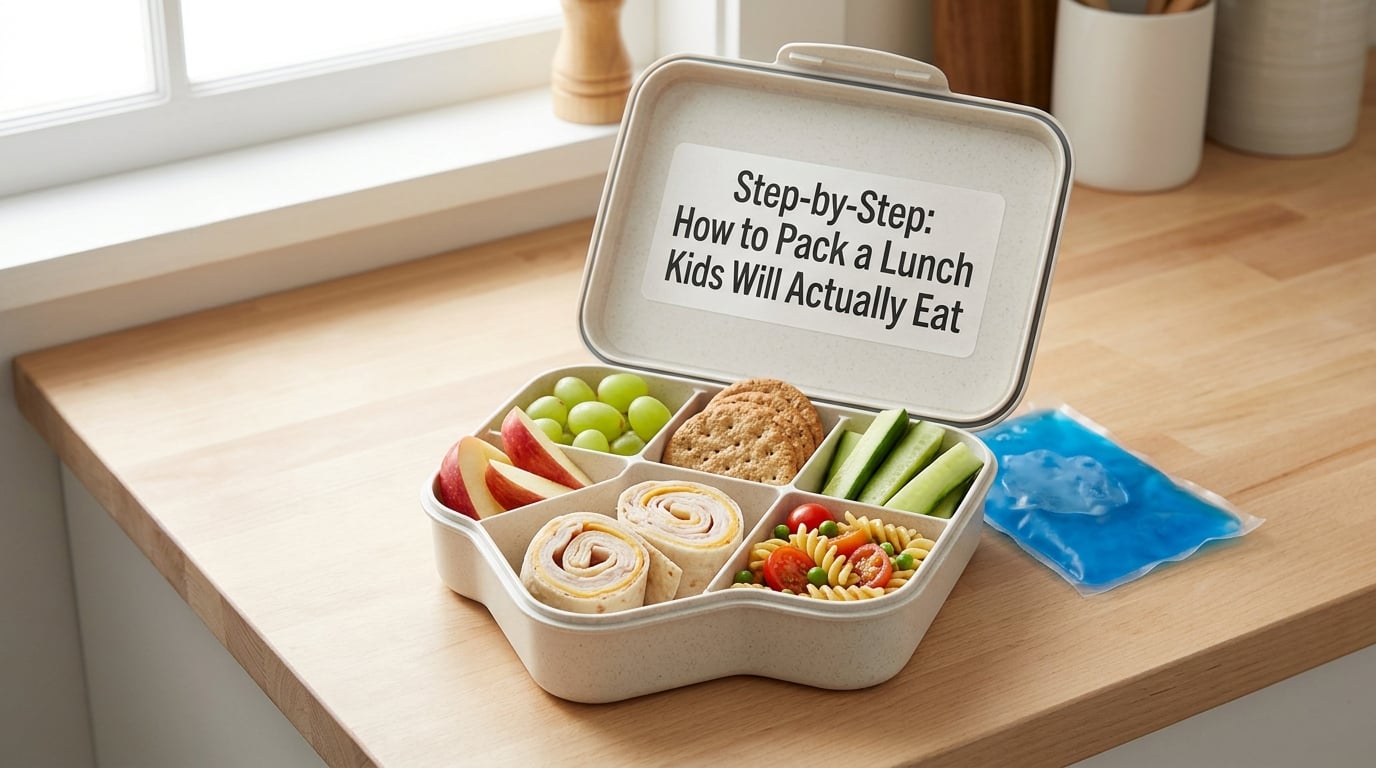
Work in this order and you will finish in about five minutes. The order matters: the cold items go in last, right before the bag closes, so nothing goes warm while you pack everything else.
Step 1: Ask What Your Child Already Likes
Start with the foods they eat willingly at home, even if they are boring. A plain turkey and cheese roll-up beats a clever spinach wrap that comes home untouched. One piece of teacher advice that parents quote back more than any other: pack what they will eat.
You can tell how well a food is accepted by whether your child asks for it again. Keep a short list of the five or six reliable ones and treat that list as your core rotation.
Step 2: Build a Balanced Lunch Box
A complete lunch needs four pieces, and only four. One satisfying main, one fruit or vegetable, one easy side, and one small extra. That is enough to feel like a real meal and small enough to finish in a 20-minute lunch period.
Pickier eaters usually do better with five or six small items than with three large ones. Cut a cheese sandwich into four pieces, add two cucumber sticks and one cracker, and suddenly the box has variety without any new food.
Step 3: Add Color and Texture
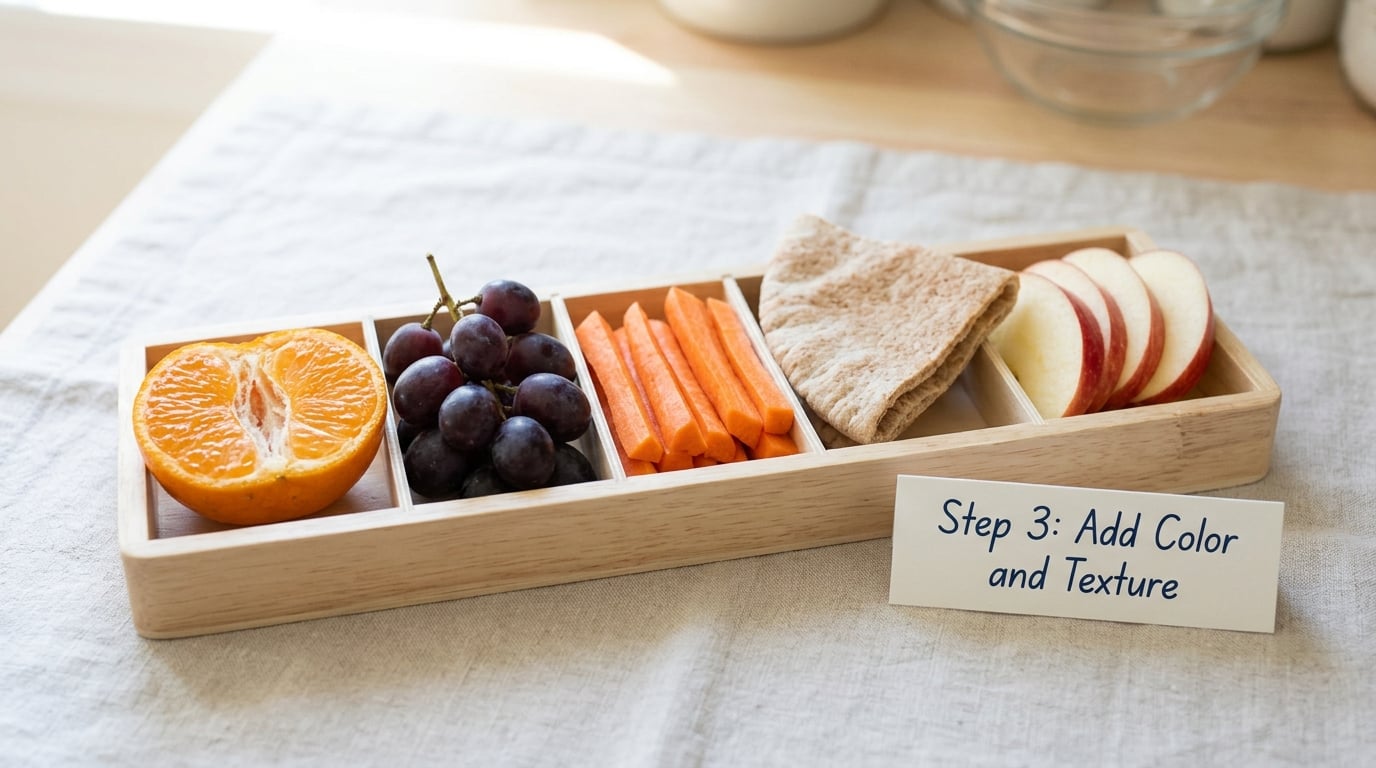
Color and texture do the work novelty toys were supposed to do. A box of beige crackers and a beige sandwich looks like a chore, while the same foods arranged with orange carrot sticks, red grapes, and green cucumber looks like a meal.
Pair one soft and one crunchy item in every box. Soft pita or quesadilla next to crisp apple slices, or yogurt next to whole grain crackers, gives a kid two textures to choose between instead of one.
Step 4: Control Portions and Prevent Messes
Pack a little less than you think they need. A large sandwich looks enormous next to a small stomach, and a half-eaten sandwich tells you nothing about whether they liked it.
Keep dressings, dips, and wet fruit in separate cups. Cut grapes in half lengthwise and carrot sticks thin, which is what pediatric guidance recommends for younger children because whole round fruit and thick raw sticks are common choking risks. Cut food into pieces a child can handle one-handed without looking at it.
Skip anything that needs heating if the school cannot heat it. A thermos preheated with boiling water, then emptied and filled with a warm meal, buys you about two hours of safe warmth.
Step 5: Let Your Child Help and Preview the Lunch
Hand over real choices, not a take-it-or-leave-it one. Let your child pick the fruit and the treat, and do the packing with them the night before. Children who pack their own lunch tend to eat more of it, because the eating is no longer entirely under your control.
Then put the closed lunch on the counter before the school day starts and let them open it and see it. Ten seconds of preview does more than any amount of convincing at 7am.
Step 6: Use a Simple Rotation Plan
Write a five-day rotation and repeat it. Repetition is not boring to a child the way it is to an adult, and it removes the daily decision fatigue that makes packing feel like a second job.
Change one component at a time, never the whole box. Keep the main the same and swap the fruit, then keep the fruit and swap the main. A new food offered alongside three safe foods gets a fair trial; a new food offered alone gets rejected on principle.
Here is a five-day rotation that needs no microwave and no refrigerator, with the two-snack requirement built in.
| Day | Lunch | Snack 1 | Snack 2 | Small treat |
|---|---|---|---|---|
| Monday | Turkey and cheese roll-up with cucumber sticks | Whole grain crackers and hummus | Mandarin orange, pulled apart | Two small cookies |
| Tuesday | Cheese quesadilla cut into triangles | Halved grapes and string cheese | Yogurt tube | Trail mix without nuts |
| Wednesday | Cold pasta salad with peas and corn | Apple slices with sunflower seed butter in a cup | Rice cakes | Dried fruit |
| Thursday | Mini bagel pizza, grated cheese and sliced tomato | Snap peas and hummus | Banana, cut in half | Small muffin |
| Friday | Breakfast for lunch: pancakes, berries, yogurt dip | Boiled egg with salt | Whole grain toast fingers | Chocolate milk in a thermos |
Check the nut situation before that trail mix. Many classrooms and school buses are nut-free zones, and sunflower seed butter is the standard swap for a school that bans peanuts.
Common Mistakes When Packing Kids’ Lunches
Most untouched lunchboxes have a diagnosable cause. Work down this list and the problem usually shows up in the first two rows.
| Symptom | Likely cause | Fix |
|---|---|---|
| Everything came home | Too much food, or a portion that looked overwhelming | Halve the main, add two small finger foods instead of one large item |
| Fruit and crackers untouched | Foods were touching, so textures merged into mush | Move to a divided container and use small silicone cups |
| Sandwich dried out or soggy | Packed warm, or packed too far ahead | Pack bread-based items last, and refrigerate them overnight |
| Dairy or egg left in the bag | No cooling, so the food turned lukewarm by lunchtime | Use an insulated bag with a frozen water bottle or ice pack |
| Food eaten, sandwich always returned | Lunchbox boredom after two weeks of the same item | Keep the main, rotate the fruit and the side weekly |
| Only one or two foods eaten | Too many unfamiliar items packed at once | Introduce one new food alongside three accepted ones |
| Utensils missing at lunch | Forgotten in the morning rush | Clip a fork or spoon to the outside of the bag so it cannot be missed |
Two food-safety rules cover most of what parents get wrong. Perishable food should not sit unrefrigerated for more than two hours, which on a warm day or for a morning that runs long is a real limit, and cold food should stay at or below 40F, so pack an ice pack whenever dairy, egg, meat, cut fruit, or cooked grains are in the box.
A frozen water bottle does double duty as a cold pack and a drink. Freeze yogurt tubes or a juice pouch overnight and they act as ice packs while the child eats them later. Whole grapes and a block of cheese do not need refrigeration, which matters for field trips and long days.
For a child with a diagnosed allergy or a medical diet, work with their pediatrician or a registered dietitian rather than adapting a general list. Read every label, and keep the packaging for anything you are unsure about, because a substitute can be a hidden exposure.
Frequently Asked Questions
Can I pack my kids lunch the night before?
Yes, with a few adjustments. Pack perishable items in a divided container and refrigerate it overnight, then add the ice pack and put the bag in the fridge in the morning. Bread-based sandwiches hold up well chilled, but crackers and crisp items get soft, so add those last. Cut fruit like apples and pears can brown, so toss the slices in a little lemon water before packing.
What can I put in a packed lunch instead of a sandwich?
Roll-ups, pinwheels, quesadilla triangles, mini bagel pizzas, cold pasta salad, plain chicken with rice, breakfast foods like pancakes or scrambled eggs, a divided DIY lunchable of deli meat, cheese cubes and crackers, or buttered noodles with grated cheese. Each one can be eaten cold with a spoon or fingers, which matters if the school has no microwave.
What is the best way to pack kids lunches?
Build the box from foods the child already eats, add one protein, one whole grain, one fruit or vegetable and one small extra, and keep every component in its own compartment. Pack it cold with an insulated bag and an ice pack, and let the child choose the fruit and the treat. That combination takes about five minutes and is the routine most parents settle on.
How do I keep my kids lunch cold all morning?
Use an insulated lunch bag with a frozen ice pack, or freeze a water bottle overnight and put it in beside the food. A vacuum thermos keeps hot food above 140F for several hours if you preheat it with boiling water first. Anything perishable that sits unrefrigerated for more than two hours should be discarded, and hot days shorten that window.
What are good school lunch ideas for a picky eater?
Build from the safe foods your child already eats, then add one new item rather than replacing anything. Keep every food in a separate compartment, cut it into small finger-friendly pieces, and always include at least one crunch alongside soft items. Let the child pack their own lunch or choose the fruit and the snack. Exposure without pressure works better than persuasion.
How do I stop my child throwing their lunch away?
Ask directly, without an interrogation, why they did not eat it. The usual answers are temperature, touching textures, being full from breakfast, boredom, or wanting something else. Address whichever one applies: add cooling, separate the foods, shrink the portion, or change the main. If eating is painful or extreme food refusal lasts more than a few weeks, talk to your pediatrician.
Conclusion
Tomorrow morning, pack the sandwich they already love, add one fruit or vegetable in a separate compartment, include something with a crunch, and let them choose the treat. Once that works, change one thing at a time and keep a note on what comes back empty. That note is the most useful lunch-planning tool you will ever own.