
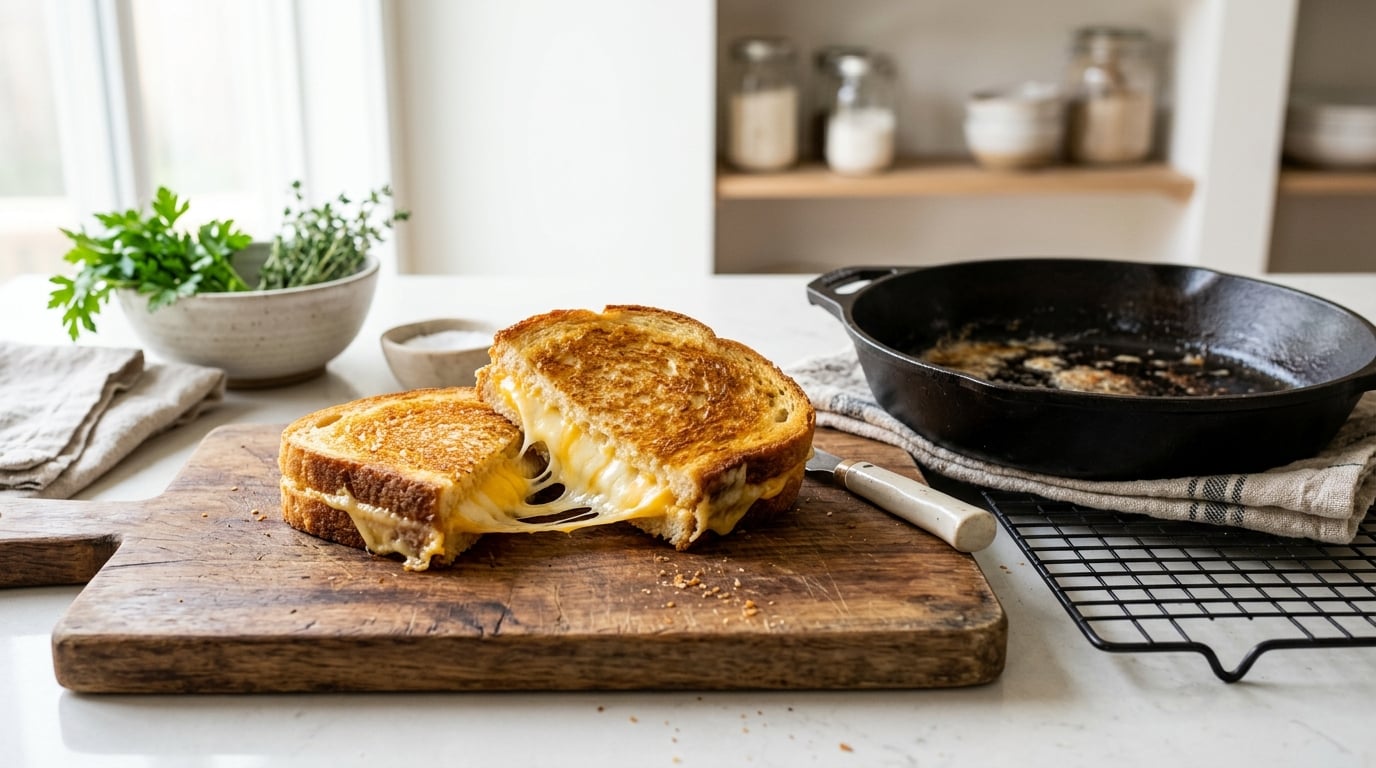
If you have been wondering how to make grilled cheese with crisp bread, it comes down to four things: fat on the outside of the bread, medium-low heat, three to four minutes per side, and a two-minute rest on a wire rack before you cut it. Get those right and you get a deep golden crust edge to edge with a molten center, in about ten minutes with one pan.
The reason most home grilled cheese comes out disappointing is not the cheese. It is steam. A lid traps it, a cutting board traps it, and a slice of soft sandwich bread drinks it up. Fix the venting and the crispness takes care of itself.
What You Need for a Crispy Grilled Cheese
A single sandwich needs very little. The quantities below are for two slices of bread, which is the portion most people actually want.
- Bread: 2 sturdy slices, ideally sourdough, French bread, or a dense country white, about 1.3 to 1.5 cm (roughly 1/2 inch) thick.
- Cheese: 2 to 3 slices of a melting cheese, or about 60 grams grated from a block. Low-moisture mozzarella and Monterey Jack melt best; cheddar and Gruyère add flavour but need a little more heat and time.
- Fat: 1 to 2 tablespoons of softened butter, mayonnaise, or oil for the outside of the bread.
- Pan: a 10 to 12 inch skillet, cast iron or nonstick, plus a flat spatula wide enough to cover the sandwich.
Salted butter is worth the extra few seconds at the counter. The salt seasons the crust and sharpens the cheese, and it is the single change people notice most after a few sandwiches.
For the fat on the outside, here is how the four common options actually behave in the pan.
| Fat | Browning | Flavour | Best for |
|---|---|---|---|
| Butter | Good, slightly slower than mayo | Rich, nutty, toasty | The classic, with a slightly stale loaf |
| Mayonnaise | Fastest and most even | Mild, faintly tangy | A soft, fresh loaf or a thicker white |
| Olive oil | Even, a little darker over time | Fruity, peppery | Herb or grain bread, where you want the bread to taste |
| Bacon fat | Fast, deep colour | Smoky, salty | A bacon, egg, or tomato filling |
Cheese choice matters more than most people expect. Bagged shredded cheese carries an anti-caking agent, usually cellulose, that keeps the shreds separate in the bag and stops them fusing together in the pan. The result is a sandwich with a crumbly, greasy layer instead of a melted one. Grating a block yourself takes thirty seconds and removes the problem entirely.
Combining two cheeses works because they melt at different rates. Mozzarella or Monterey Jack supplies the stretch, and a sharper cheese such as cheddar, Gruyère, or vintage cheddar supplies the taste. Half and half by weight is enough.
If you enjoy picking out a spread rather than cooking, our beginner guide to building a cheese board covers the same cheese families in a different format, and which cheeses pair well together is worth a look before a dinner party.
Step-by-Step: How to Make Grilled Cheese With Crisp Bread
Step 1: Choose Bread and Cheese for Maximum Crispness
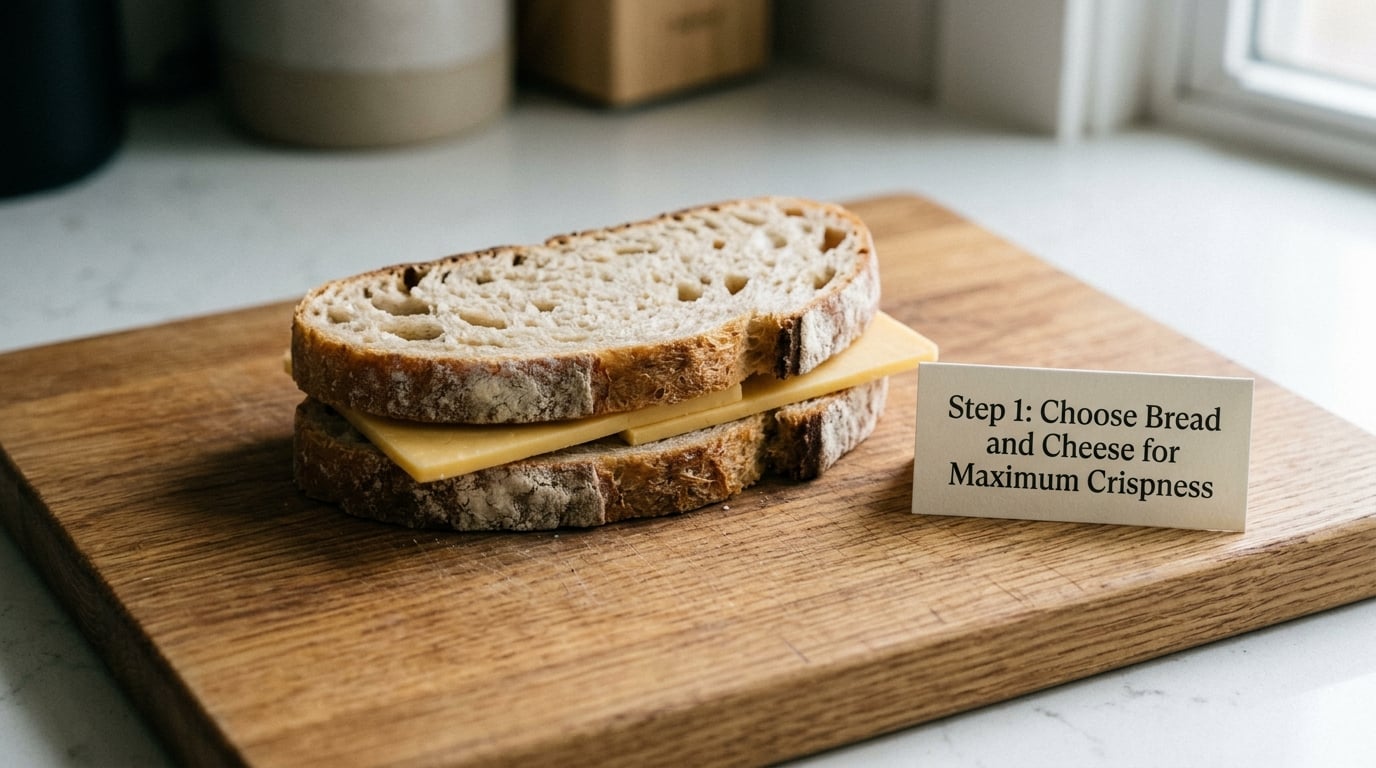
Crispness starts with bread that can take heat without giving up. A slice needs enough structure to stay rigid for four minutes in a hot pan, and enough surface to brown. Anything soft and airy, like standard white sandwich bread, compresses and steams instead of browning.
Thickness is the second factor. At roughly 1.3 to 1.5 cm, or about half an inch, a slice browns through in the time it takes for the cheese to melt. Thinner bread browns first and burns while the center is still cold. A very dense loaf, like a round country sourdough, needs an extra minute a side and a slightly lower flame.
Get those two choices wrong and no amount of stove technique rescues the sandwich. That is why how to make grilled cheese with crisp bread starts at the bread bin, not at the pan.
One more note on bread: if the slices have big holes, the cheese will drop through them. Two pieces of cheese laid flat with a slice of tomato or a smear of butter underneath bridges the gaps.
For the cheese, weigh it if you can. Sixty grams grated fills a normal slice edge to edge without the squeeze-out. Slices laid side by side work too, and they melt a little more evenly than a loose pile of shreds because the heat reaches them all at once.
Step 2: Assemble the Sandwich Without Uneven Layers
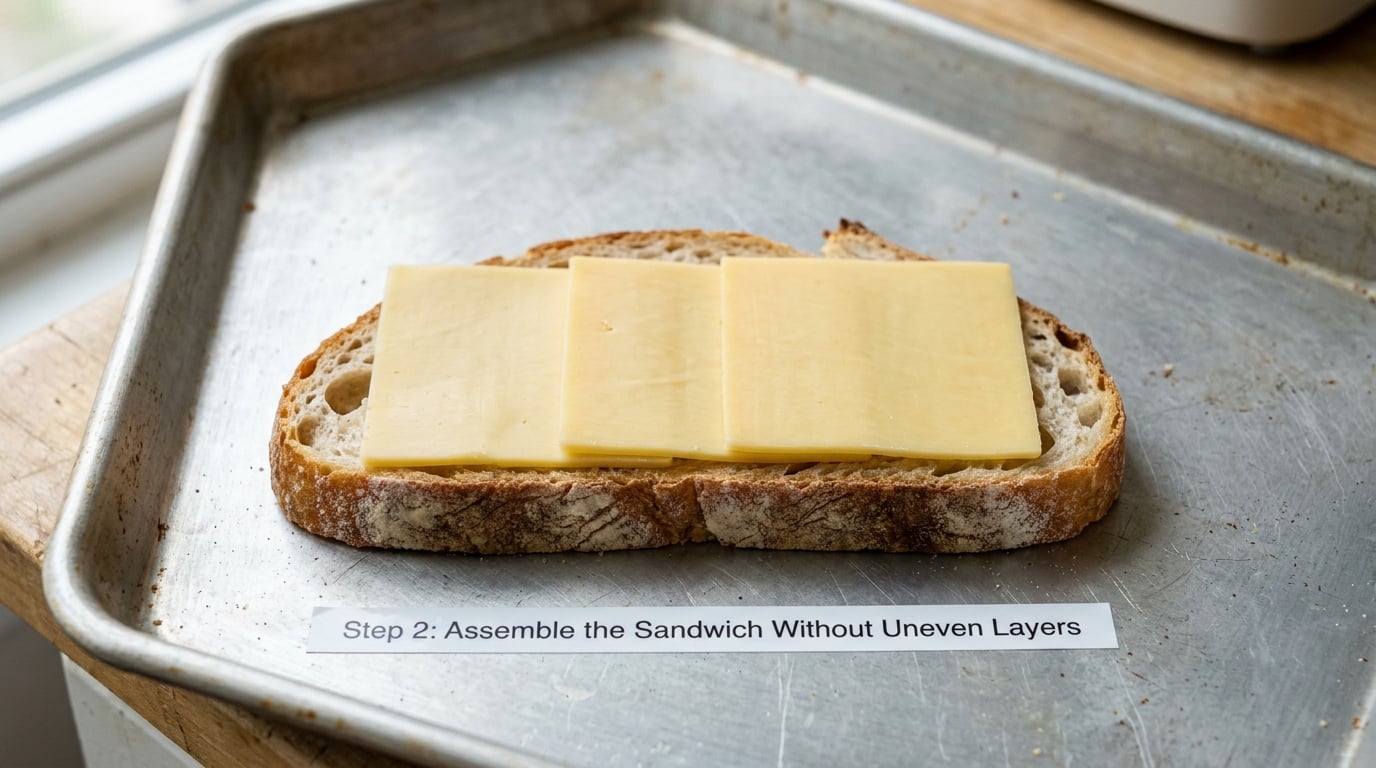
Softened butter or mayo, spread thinly and all the way to the corners, is what actually crisps. The fat conducts heat into the bread and browns it; a dry slice of bread just dries out and toasts unevenly.
Build the sandwich so every bite has the same amount of cheese. If the slices are wider than the bread, trim them or fold the ends in. If you are using shredded cheese, weigh it out and spread it across the whole slice rather than piling it in the middle. A thick mound in the center stays cold while the edges leak onto the pan.
Any wet filling is a leak waiting to happen. Drain tomatoes on a paper towel, pat the cheese dry, and put thin, dry add-ins like bacon or apple between the cheese and the bread rather than on top of it.
Step 3: Grill the Sandwich Until the Bread Is Crisp
Set a medium-low flame and let the pan sit for a full minute before the sandwich goes in. A hot dry pan is what gives you a hard sear instead of a slow bake, and it is the difference between a golden crust and a pale one.
Here is the technique that fixes the most common complaint, the sandwich that is still soft in the middle. Do a head start fry: put the two buttered slices in the empty pan for about 60 seconds, then pull them out, layer the cheese between them, and return the sandwich to the pan. The bread has already started coloring, so the browning and the melting finish at the same time instead of the bread waiting on a slow cheese melt.
Cook for three to four minutes on the first side. Press once, gently, with the flat of the spatula for about five seconds. Firm pressure squeezes out the cheese and flattens the bread into a hockey puck, so use just enough to make full contact. If the sandwich is thick, give the first side a few extra seconds.
Flip once and cook the second side for another three to four minutes. Press the same way.
You will know it is done by three signs together. The bread is an even deep golden brown from the center out to the edges, with no pale patches. The cheese has run slightly past the edge of the bread, which means it is fully molten. And when you lift a corner with the spatula, the underside is crisp and dry, not pale or giving.
If you own a cast iron skillet, give it a longer preheat, around two minutes, and expect a darker, slightly more even crust. Nonstick needs less preheat but rewards a slightly higher flame, since it releases the browning a little sooner.
One optional addition for a family meal: slide two chopsticks under the sandwich in the pan. Air circulates underneath instead of the bottom sitting in its own steam, and the base browns more evenly. It looks strange and it works.
Step 4: Rest and Cut for the Best Texture
Move the finished sandwich to a wire cooling rack and leave it for two minutes. This is the step most people skip and the one that decides whether the bottom survives the first bite.
Inside the sandwich, the cheese and the filling are holding a lot of steam. On a plate or a cutting board, that steam has nowhere to go, so it condenses back into the bread and softens the crust you just made. A wire rack lets air move around all four sides, and the moisture escapes instead of returning. Two minutes is enough; you can eat it warm rather than piping hot.
Cut with a sharp serrated knife in one confident motion, straight down through the middle, and lift the halves apart rather than dragging them apart. A clean cut keeps the cheese inside the sandwich where it belongs.
Serve straight away. Grilled cheese is at its best in the first few minutes, and it is a natural match for tomato soup, a handful of pickles, or a spoonful of chili crisp if you want some heat against the fat.
If you are cooking several at once, keep the finished ones on the rack rather than stacking them, or set a mesh sieve or mesh rack on top of the pile to hold them off each other. The rack trick is the same idea as the two-minute rest, applied to a whole batch.
Common Mistakes and How to Fix Them
Almost every disappointing grilled cheese falls into one of five buckets, and each has a specific cause.
| What you get | Why it happens | The fix |
|---|---|---|
| Soft, pale bread | Medium or high heat, or a pan that was not hot before the sandwich went in | Preheat a full minute, then drop to medium-low and give it 3-4 minutes a side |
| Soggy bottom, straight off the pan | The sandwich rested on a plate, so trapped steam condensed back into the bread | Two minutes on a wire rack before cutting |
| Burnt outside, cold cheese in the middle | Heat too high, or the cheese piled thick in the center | Lower the flame, spread the cheese edge to edge, press once instead of repeatedly |
| Greasy, rubbery cheese layer | Pre-shredded cheese with an anti-caking agent | Grate a block yourself, or melt mozzarella and Monterey Jack, which are the least affected |
| Cheese leaking onto the pan | Too much cheese, or a wet filling, cooked too long on one side | Use about 60 grams, drain wet add-ins, and flip on time rather than waiting for extra browning |
A lid is the most common unasked-about mistake. Covering the skillet looks like it will speed things up, and it does melt the cheese faster, but it holds the steam against the bread for the whole cook. That is the same steam that softens a sandwich during the rest, except now it is doing it while the pan is still hot. Leave the lid off.
On the skillet versus sandwich press question, home cooks generally land on the stovetop. A press gives even, fast heat and no splatter, but the weight of the lid compresses the bread and limits how much cheese you can fit inside. The stovetop lets you control browning, press as lightly as you want, and use enough cheese to get a real pull.
If you would like a second pan technique for a similar problem, how to make an omelet that does not stick uses the same heat-and-patience logic.
Frequently Asked Questions
What type of bread makes grilled cheese crispest?
Sourdough is the reliable answer because its open crumb and thick crust hold up to four minutes in a hot pan without collapsing. Dense country white, French bread, and Italian bread work nearly as well. Avoid soft white sandwich bread: it compresses, steams, and turns pale. Aim for slices about 1.3 to 1.5 cm (roughly half an inch) thick, and give a very dense round loaf an extra minute per side.
Can I make grilled cheese without butter?
Yes, and you have several options. Mayonnaise browns faster and more evenly than butter, with a mild tang that suits fresh bread. Olive oil gives an even, darker crust and lets the bread flavour come through. Bacon fat browns fast and adds salt and smoke. If you skip fat entirely, toast the bread dry first in the pan, then add the cheese, and you will get a crisp but leaner crust.
Why is my grilled cheese soggy after cooking?
Almost always trapped steam. Cut too soon and the condensation from the hot cheese has nowhere to go, so it soaks back into the bread. A lid makes it worse because it holds steam against the bread the whole time you cook. Set the sandwich on a wire cooling rack for two minutes so air circulates around all four sides, then cut with a sharp knife in one clean motion.
Should I cover the skillet while cooking grilled cheese?
Leave the lid off. A covered skillet melts the cheese faster, but it traps steam in the pan and against the bread, which is exactly what softens the crust. Uncovered cooking on medium-low heat gives the cheese three to four minutes to melt and the bread time to brown, without anything holding moisture in. If you want to speed up the center, use thinner cheese slices or a lid for the last 30 seconds only.
How do I melt cheese evenly without making the bread soggy?
Spread about 60 grams of cheese across the whole slice rather than piling it in the middle, and use a melting cheese such as low-moisture mozzarella or Monterey Jack. Do a 60-second head start fry on the buttered bread before adding the cheese, so the bread and cheese finish cooking at the same time. Finish on medium-low, not high, and press once so the cheese spreads in an even layer instead of leaving a cold spot.
Can I reheat a grilled cheese and keep it crisp?
Yes. Put it back in a dry skillet over medium-low heat for about two minutes a side, pressing once, and it will re-crisp almost as well as fresh. A toaster oven or air fryer at 375 F (190 C) for three to four minutes works too, and reheats several at once. The microwave is the one method to avoid: it softens the crust and leaves the cheese rubbery. Cut the sandwich before reheating so the heat reaches the center fast.
Conclusion
Start with sturdy bread rather than soft sandwich bread, spread butter or mayo right to the corners, and give the skillet a full minute on medium-low heat before the sandwich goes in. Then cook three to four minutes a side, press once, and let it rest on a wire rack for two minutes before cutting. That sequence is most of how to make grilled cheese with crisp bread, and if you change only one habit, make it the rest. Those five habits fix nearly every soggy or burnt grilled cheese I have cooked.