
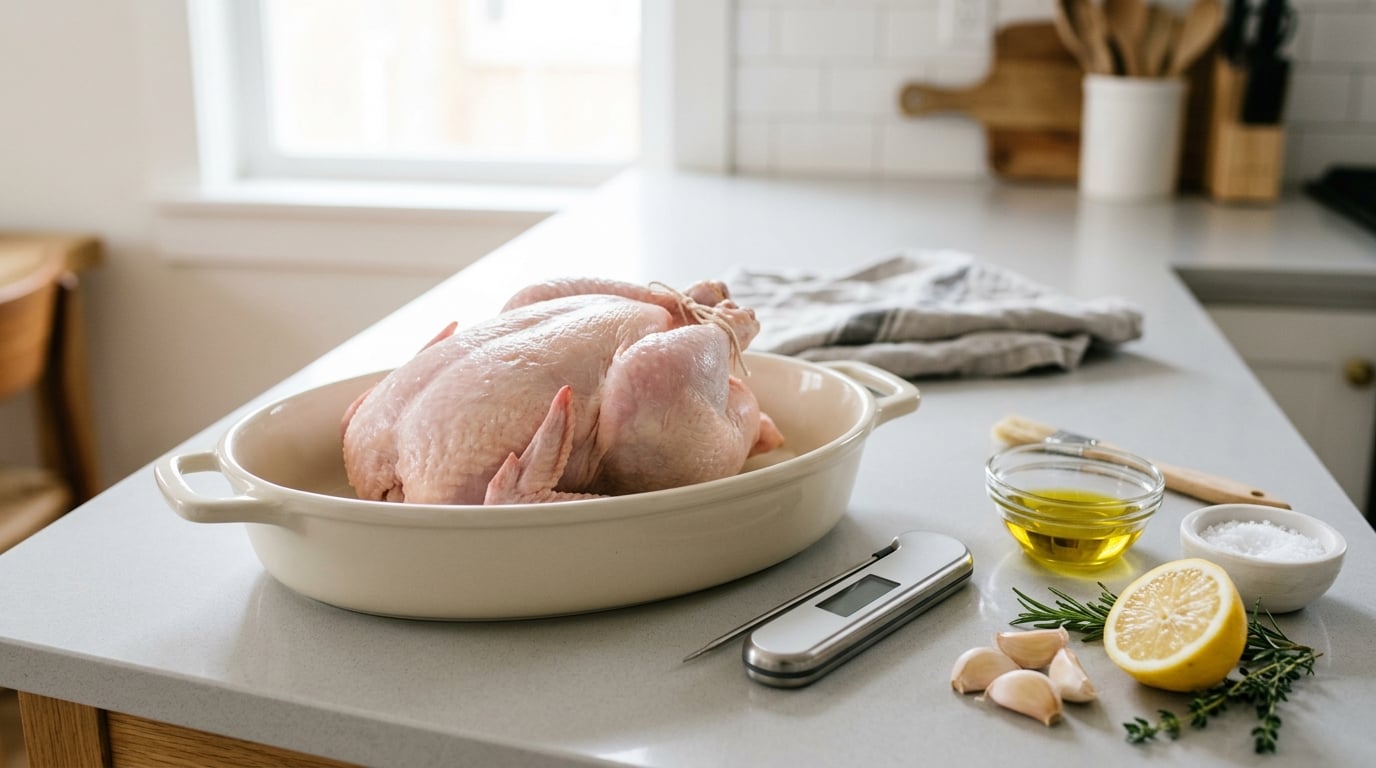
Roasting a whole chicken is one of the easiest cooking methods there is: you dry the bird, season it, put it in a hot oven, and wait until an instant-read thermometer hits 165°F (74°C) in the thickest part of the thigh. A 4 to 5 pound bird at 425°F needs roughly 70 to 90 minutes, and you need nothing more than a roasting pan, a thermometer, salt and oil.
Learning how to roast a whole chicken for beginners is mostly about two things people fight unnecessarily: trusting the thermometer instead of the clock, and keeping the skin dry. Get those right and dinner is basically handled. Here is the method I use, with the timings and the failure points spelled out.
What You Need
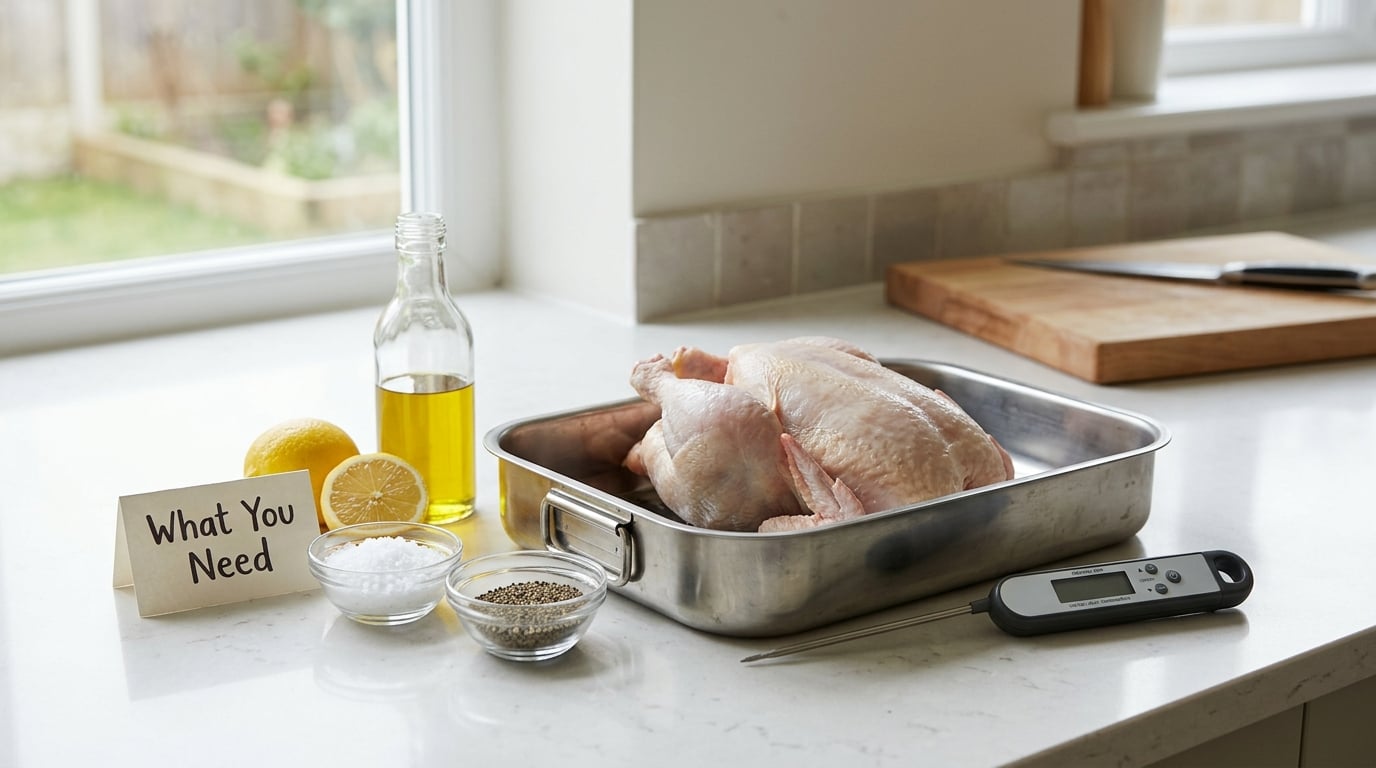
You need very little. The list is short enough that you can shop for it in one trip, and nearly every item you probably already own.
- One whole chicken, 4 to 5 pounds. That feeds four to six people with leftovers. A 3 pound bird works fine and roasts faster; above about 7 pounds you are into turkey territory and want a different plan.
- An oven-safe pan with a rim. A metal roasting pan, a cast iron skillet, or even a disposable foil roasting pan all work. Skip a rimless baking sheet, which is the single most common cause of a smoky kitchen.
- An instant-read thermometer. This is the one tool worth buying new. It is the difference between “I think it’s done” and knowing.
- Kosher salt and a fat. Olive oil for the skin, butter if you want richer flavor. Bacon grease is a common home-cook swap and it works.
- Optional aromatics. A halved lemon, a few garlic cloves, onion wedges, sprigs of rosemary or thyme. Italian seasoning covers the herb job in one shake if you have nothing fresh.
Pull the giblet packet from the cavity before anything else. It sits right by the thigh meat, and leaving it in makes the cavity taste muddy and the legs cook unevenly.
Do not rinse the bird. Washing raw chicken spreads bacteria across your sink, and cooking it is what makes it safe, not rinsing it.
Step-by-Step: How to Roast a Whole Chicken for Beginners
Preheat and prepare the chicken
Set the oven to 425°F (220°C) and put the rack in the middle. A center rack gives the bird air on every side, which is what turns skin brown instead of pale.
Take the chicken out of the packaging, remove the giblets, and pat the skin dry all over with paper towels. Spend real time on this. Moisture is the enemy of crisp skin, and it is the step people rush.
Rub the skin with oil and season the bird inside and out with salt and pepper. Season the cavity too, since steam and heat move through it and carry flavor into the meat. If you have aromatics, drop them in the cavity now.
Trussing is optional. It keeps the bird compact and the wings from flapping, but a 5 pound bird roasts about 10 to 15 minutes faster untrussed. To do it, lay a length of kitchen twine under the breast, bring the ends up and cross them over the top of the bird, then loop the twine around the thighs on each side and tie behind the back of the neck. Cut the excess twine. If it feels fiddly, just skip it and pull the wing tips under the body with a small dishcloth or a couple of folded paper towels tucked under the thighs.
Set the bird breast side up on the rack or in the pan. Breast side up means the legs finish before the breast dries out.
Roast the chicken until it is safely cooked
Roast uncovered. The dry heat is what crisps the skin, and covering traps steam, so you get a soft, flabby surface instead.
Use these ranges at 425°F as a guide, not a target:
| Chicken weight | Approximate roast time at 425°F | Kilograms |
|---|---|---|
| 3 lb | 50 to 60 minutes | 1.4 kg |
| 4 lb | 60 to 70 minutes | 1.8 kg |
| 4.5 to 5 lb | 70 to 90 minutes | 2.0 to 2.3 kg |
| 6 lb | 85 to 100 minutes | 2.7 kg |
| 7 lb | 100 to 115 minutes | 3.2 kg |
The old rule of thumb is about 20 minutes per pound, and it works. It is also the reason beginners ruin their first bird. Cooking time depends on the bird, the pan, whether the pan is preheated, how cold the chicken came out of the fridge, and whether you stuffed the cavity. A stuffed bird needs an extra 15 to 30 minutes. The clock is a rough guide; the thermometer is the answer.
Leave the oven door shut. Every time you open it to look, you drop the temperature and add several minutes to your cook. If the skin is browning too fast, drape a loose piece of foil over the breast and lower the oven to 375°F (190°C) for the remaining time.
Rest, check, and carve the chicken
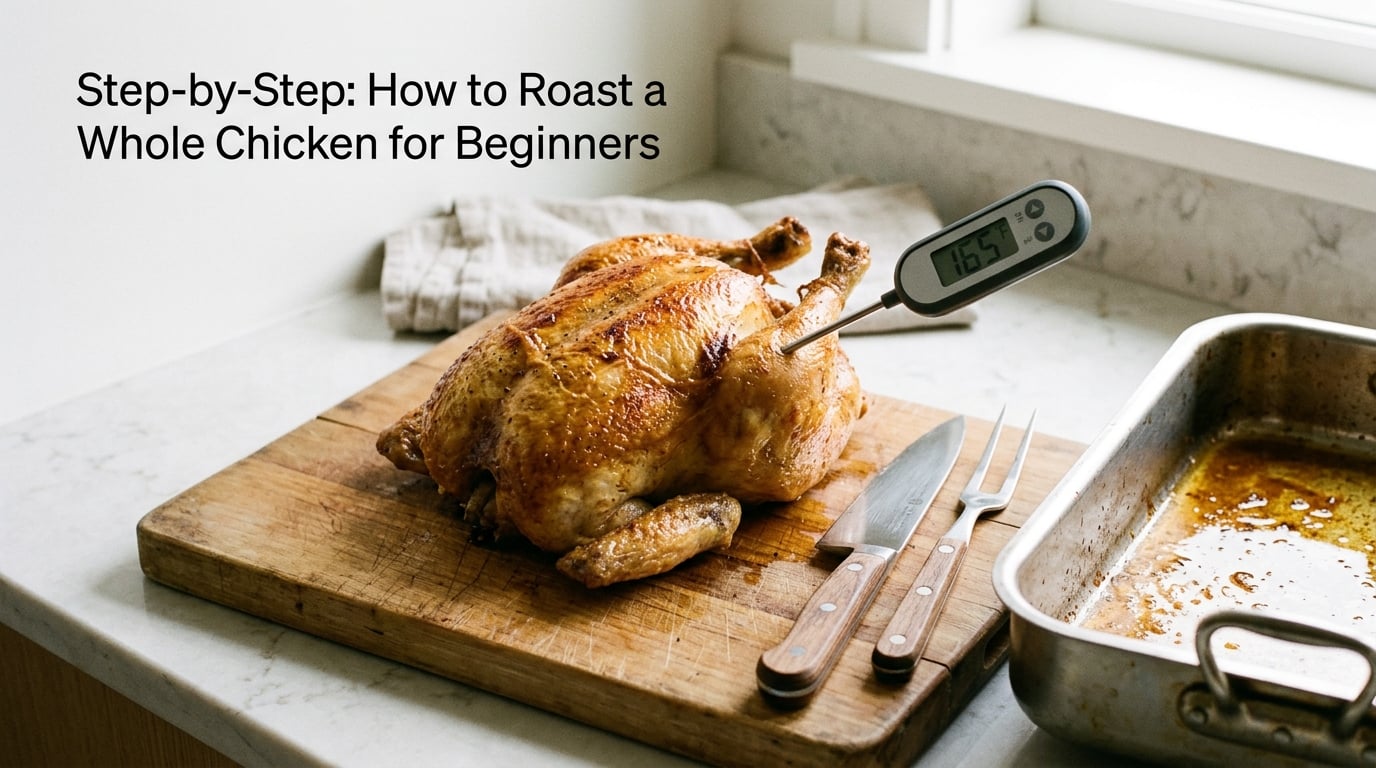
Start checking temperature at the low end of the range. Push the probe into the thickest part of the thigh, close to the body but not touching bone, and read it. You want 165°F. Check the thickest part of the breast as well, since that is the last place to catch up.
If you have no thermometer, there are cues. Piercing the thigh and letting the juice out should give you clear liquid with no pink or cloudiness. A cooked leg wiggles freely in the joint when you twist it. The breast meat pulls apart easily and looks white, not translucent. The juices should run clear when you tilt the bird over the pan.
Rest the bird breast side up on a board for 15 to 20 minutes before carving. Resting lets the juices redistribute instead of running out onto the cutting board, and the meat keeps cooking as it sits. Skipping this is why a well-cooked chicken can still taste dry.
To carve, break the legs off at the hip joints, then cut each thigh away from the breast. Pull the breast meat off the bone in two halves by cutting down along the ribs on each side, then slicing across the grain. Put the sliced meat on a warm platter and spoon the pan juices over the top.
Save the carcass. It makes stock, and it costs nothing.
Common Mistakes
These are the problems that come up again and again, in forum threads and comment sections, and most of them have a two-minute fix.
Using a pan with no rim. A rimless sheet pan catches the drippings fine and then throws fat all over the oven. Use a pan with sides, or set a rimmed pan on the lower rack beneath your sheet pan.
Not drying the skin. Wet skin steams instead of browning. Pat the bird dry with paper towels, and if you have time, salt it and leave it uncovered in the fridge overnight. That dry brine seasons the meat all the way through and dries the surface.
Opening the oven door. Checking every fifteen minutes adds time and dries the skin. Set the timer for the low end of the range and do one check.
Stuffing it. A stuffed bird takes longer, and the center of the stuffing is the hardest part to reach 165°F. Cook the stuffing separately and spoon it in at the table.
Washing the raw chicken. That splashes raw liquid across your kitchen and does nothing for safety.
Waiting on the clock instead of the thermometer. A 4 pound bird is not a 6 pound bird. Check the temperature.
Roasting breast side down. The breast is a thick, lean muscle, so it dries out before the legs catch up. Breast side up fixes it.
Skipping the rest. Fifteen minutes on the board is the cheapest way to keep the meat juicy.
Letting the skin burn. If it goes dark brown while the thigh is still under 165°F, tent it loosely with foil. It is a color problem, not a cooking problem.
On temperatures, 350°F gives a gentler cook but takes much longer and leaves the skin softer. 400°F is a reasonable middle. 425°F is the best all-around choice for a home cook, and 450°F for the first 20 minutes followed by 350°F gives you the crispest skin of any method, at the cost of juggling two temperatures. Pick one and stop reading recipes that contradict each other.
Frequently Asked Questions
Do you cover a whole chicken while roasting?
No, not for the whole cook. Roasting uncovered lets dry heat brown and crisp the skin. Use foil only to rescue a breast that is browning too fast, or to keep a large bird from overbrowning during the last stretch. Tenting the whole bird traps steam and gives you soft skin.
Is it better to roast a whole chicken at 350 or 400?
425°F is the better all-around choice for a home oven, and 400°F is a fine second. At 350°F the cook takes 30 to 40 minutes longer and the skin rarely crisps well. Use 450°F for the first 20 minutes, then drop to 350°F, if crisp skin matters more to you than a hands-off cook.
How do I tell when a roast chicken is done without a thermometer?
Pierce the thickest part of the thigh with a fork or skewer. Clear juice with no pink tint means it is done, and the leg should twist freely in the joint. The meat at the bone should pull apart easily and look white rather than translucent. Treat these as a safety net and buy a thermometer soon.
Should I truss a chicken before roasting?
Only if you want to. Trussing with kitchen twine keeps the bird compact and stops the wings from flapping, but it is not required. An untrussed chicken of the same size finishes roughly 10 to 15 minutes faster. If you skip it, tuck the wing tips under the body so they do not burn.
Can I stuff a whole chicken before roasting it?
You can, but the cavity is the slowest part of the bird to reach 165°F, and it is the easiest place to get it wrong. A stuffed chicken also needs an extra 15 to 30 minutes. For a first roast, cook the stuffing in a separate pan and spoon it onto the carved chicken at the table.
How long can I keep leftover roast chicken?
Refrigerated in an airtight container, cooked chicken keeps for three to four days. Cool it within two hours of carving. Use the meat in sandwiches, salads or grain bowls, and freeze the carcass for stock. Reheat to 165°F and do not reheat more than twice.
Start with a 4 to 5 pound bird at 425°F, pat the skin dry, and set a timer for 70 minutes. When it goes off, take one temperature reading in the thickest part of the thigh. If it is not at 165°F, put it back and check again in ten minutes. That single habit, checking instead of guessing, is what turns a first attempt into a habit. Once you have a thermometer, the rest of this guide will take you ten minutes from start to finish.