
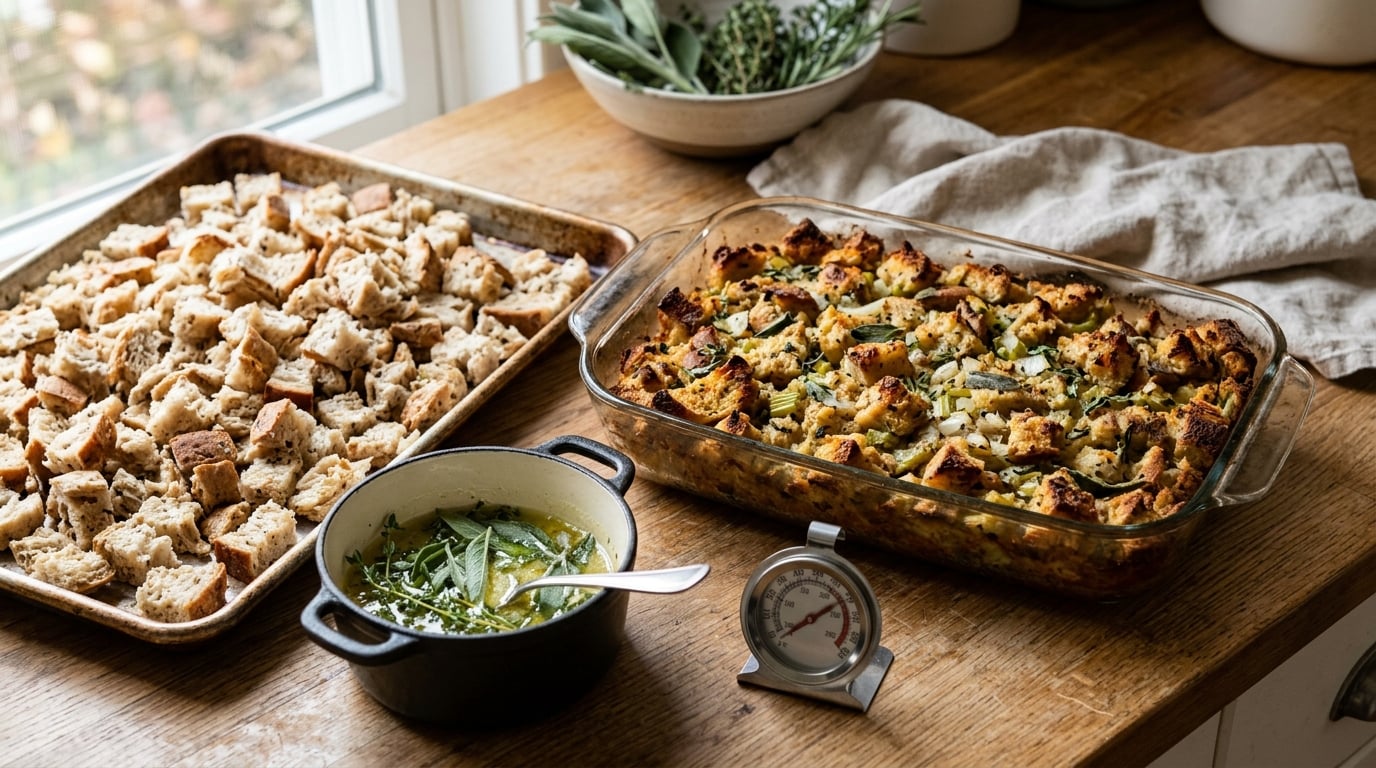
Learning how to make stuffing that is not soggy comes down to controlling moisture four times over: dry the bread, measure the liquid, use a shallow dish, and finish the bake uncovered. Most soggy stuffing is not a recipe problem. It is bread that still holds water, broth added by guess, and steam trapped under foil for the whole bake.
Here is the short version, and it applies to almost any bread stuffing:
- Use bread that has dried for one to two days, or toast fresh cubes at 300F for 15 to 30 minutes until they feel hard and sound hollow.
- Add broth a quarter cup at a time, tossing and squeezing after each pour, and stop when the crumbs are damp with no liquid pooling in the bottom of the bowl.
- Skip the egg or use one egg for a large batch if you want the crispest possible crumbs; egg adds moisture along with structure.
- Bake covered at 350F for about 25 to 30 minutes, then pull the foil and bake uncovered 10 to 15 minutes until the top browns.
- Use a shallow dish, spread the mixture no deeper than about two inches, and let it sit uncovered for 10 minutes before serving.
Each of those five rules is a moisture checkpoint. Break one and the others have to work harder. The rest of this guide explains what each one is doing physically, plus how to rescue stuffing that has already gone wrong.
What You Need for Stuffing That Is Not Soggy
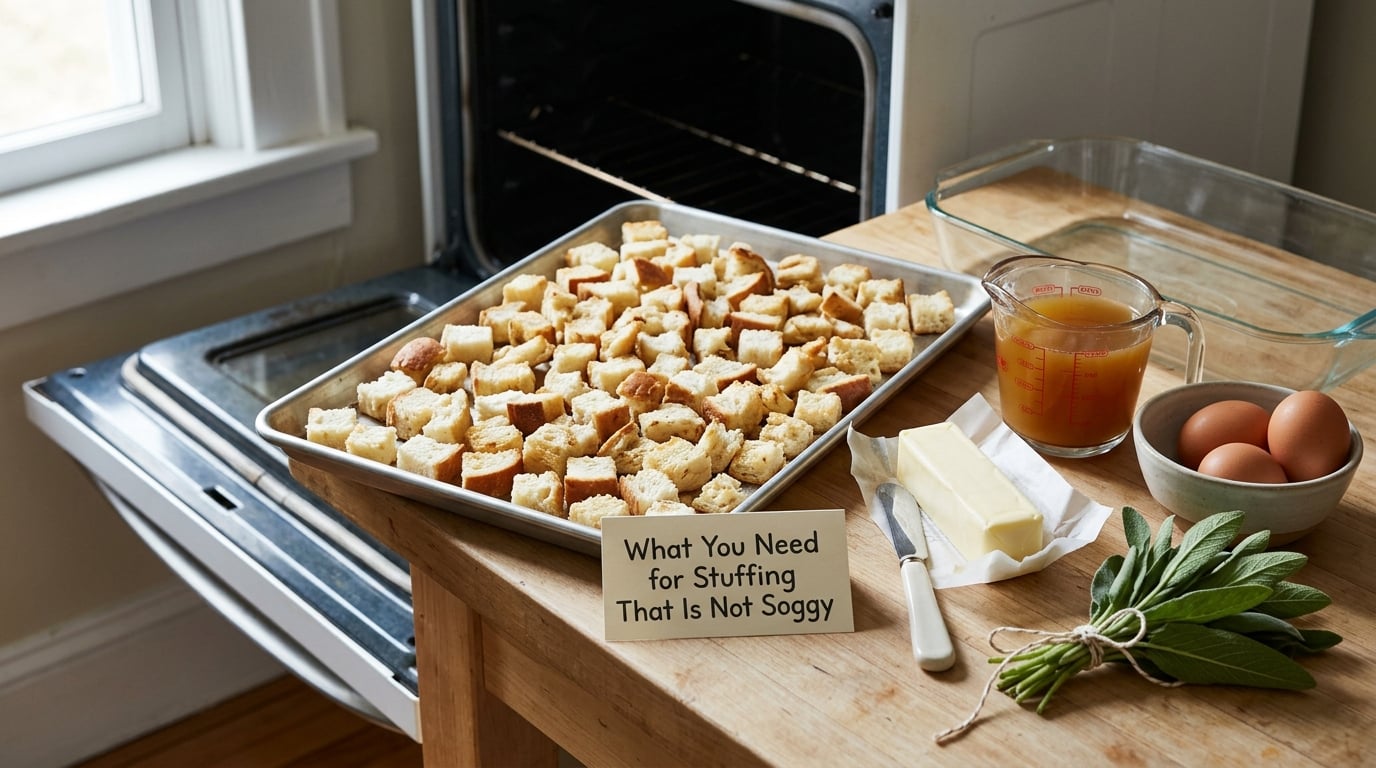
You need less than a standard recipe implies, and the difference matters. Bread cubes that have lost their own moisture, a fat with a high smoke point, aromatics cooked down until soft, stock you can measure, herbs, and a shallow dish with high sides that is not much bigger than the food.
The equipment list is short, and two items earn their keep. A rimmed sheet pan lets you dry bread in a single layer instead of a pile, which is the difference between dried and just warmed-through. An oven thermometer tells you whether your oven really is at 350F, because a 25-degree miss is the difference between a set center and a wet one.
The bread-to-broth starting points
These are starting points, not rules. Add liquid until the crumbs pass the squeeze test, and start lower than you think. Cornbread drinks more than it looks like it will, and soft sandwich bread holds together but never gets crisp.
| Bread | Cubes (1 inch) | Broth to start | Egg | Note |
|---|---|---|---|---|
| Sourdough or French loaf | 12 cups | 3 to 3.5 cups | 0 to 1 | Crisps best, holds shape, absorbs slowly |
| Rustic crusty artisan | 12 cups | 3.5 to 4 cups | 1 | Good flavor, crumb stays open |
| Cornbread | 10 cups | 2 to 2.5 cups | 1 | Very thirsty, sweet, best with sausage |
| White sandwich loaf | 12 cups | 4 to 4.5 cups | 1 to 2 | Soft and moist, rarely crisp |
| Gluten-free bread | 10 cups | 2.5 to 3 cups | 1 | Keeps moisture, add liquid last |
Fat is the ingredient people underuse. Butter or oil coats each cube so the bread drinks evenly instead of channeling liquid into a few soft pockets, and it browns the top faster during the uncovered finish. Melt half a stick of butter and toss it through the dry cubes, then reserve the rest to dot across the surface before the final bake.
Aromatics belong in a skillet first, not in the bowl. Onion, celery, and garlic sautéed in that same fat until soft and translucent bring their own water to the mixture, already cooked down, and they season the bread from the inside. Drain sausage and render the fat before adding it, or the crumb picks up a greasy sheen instead of a savory one.
Herbs go in at two stages. Fresh thyme and sage rubbed between your fingers and added with the aromatics cook into the flavor; dried poultry seasoning or a spoonful of gravy powder added to the dry bread seasons every cube, even the ones on top that never touch a vegetable. It is the same reason the side dish needs a little planning, and it pairs well with how to make restaurant style mashed potatoes at home if you are building out the whole table.
Step-by-Step
1. How to Make Stuffing That Is Not Soggy: Start With Dry Bread
Fresh bread is already full of water, and broth pushes that water past what the crumb can hold. Day-old or two-day-old bread has given up some of that water to the air, so the same volume of broth goes further and the surface has room to dry and crisp instead of steaming forever. It is the single biggest lever you have.
There are three reliable ways to get there. Air drying takes 24 to 48 hours: cube the bread, spread it in a single layer on a sheet pan, and leave it uncovered on a counter or a rack. Oven drying takes 15 to 30 minutes at 300F with the cubes spread out and stirred once, which also deepens the flavor. A slow option is 200F for about 45 minutes if you want gentle drying and a pale crumb.
You are looking for cubes that feel hard on the outside and slightly chewy in the middle, and sound hollow when you shake the pan. If they crumble to dust, they have gone too far, and you should pull them early. Soggy croutons from the grocery store are a trap: they were dried once, then sealed, so they reabsorb liquid almost instantly and collapse into paste.
Cut the bread into cubes about one inch. Bigger cubes stay wet in the middle long after the surface dries, and smaller than half-inch pieces turn to crumbs before they can crisp. Salt the cubes while they dry, and melt a few tablespoons of butter into the pan for the last five minutes so the drying and the seasoning happen together.
2. Build the Seasoning and Moisture Base
Sauté your onion and celery in butter or sausage fat until soft, about 6 to 8 minutes, and let the garlic go in for the final minute. Scrape everything into a large bowl with the dried bread, then set the skillet aside to deglaze with a splash of apple cider vinegar or the last of your broth.
Now measure the liquid and pour it in stages. Start with a quarter cup, toss the bread with your hands until every cube is dampened, then squeeze a handful. The test is simple: the crumbs should hold together when you press them and fall apart when you let go, with nothing dripping out of your fist and no puddle in the bottom of the bowl. If a little liquid sits in the bottom, you have gone one pour too far, and the center will bake into porridge.
Taste before you add the egg. Egg is a binder and a source of moisture at the same time, which is exactly the tradeoff. One egg in a 12-cup batch sets the stuffing into a sliceable loaf and costs you a layer of crispness; no egg gives a looser, crumbier, crispier result that many people prefer. Two eggs in the same batch moves you firmly toward the wet side, and the fix that comes up most often is cutting broth or dropping the egg entirely.
3. Mix Without Compacting the Bread
Fold, do not stir. Scoop from the bottom and turn the mixture over itself a few times until the broth is distributed, then stop while dry-looking cubes are still visible on top. Those pale cubes are the ones that turn golden and crunchy in the final minutes, so a mix that looks perfectly uniform is already a mix that has lost its best pieces.
Pressing is the other half of the problem. Stuffing packed down into a dense layer traps steam in the middle and dries only at the surface, so spread it into the dish loosely and keep the layer about two inches deep. If your pan is deep and the stuffing sits three or four inches deep, split it between two dishes rather than baking it as one block.
Before the pan goes in, tilt the dish gently. If anything runs toward one corner, that is your liquid level, and you can pull a quarter cup of broth out or add a handful of dry croutons to absorb it.
4. Use a Shallow Dish and an Oven Thermometer
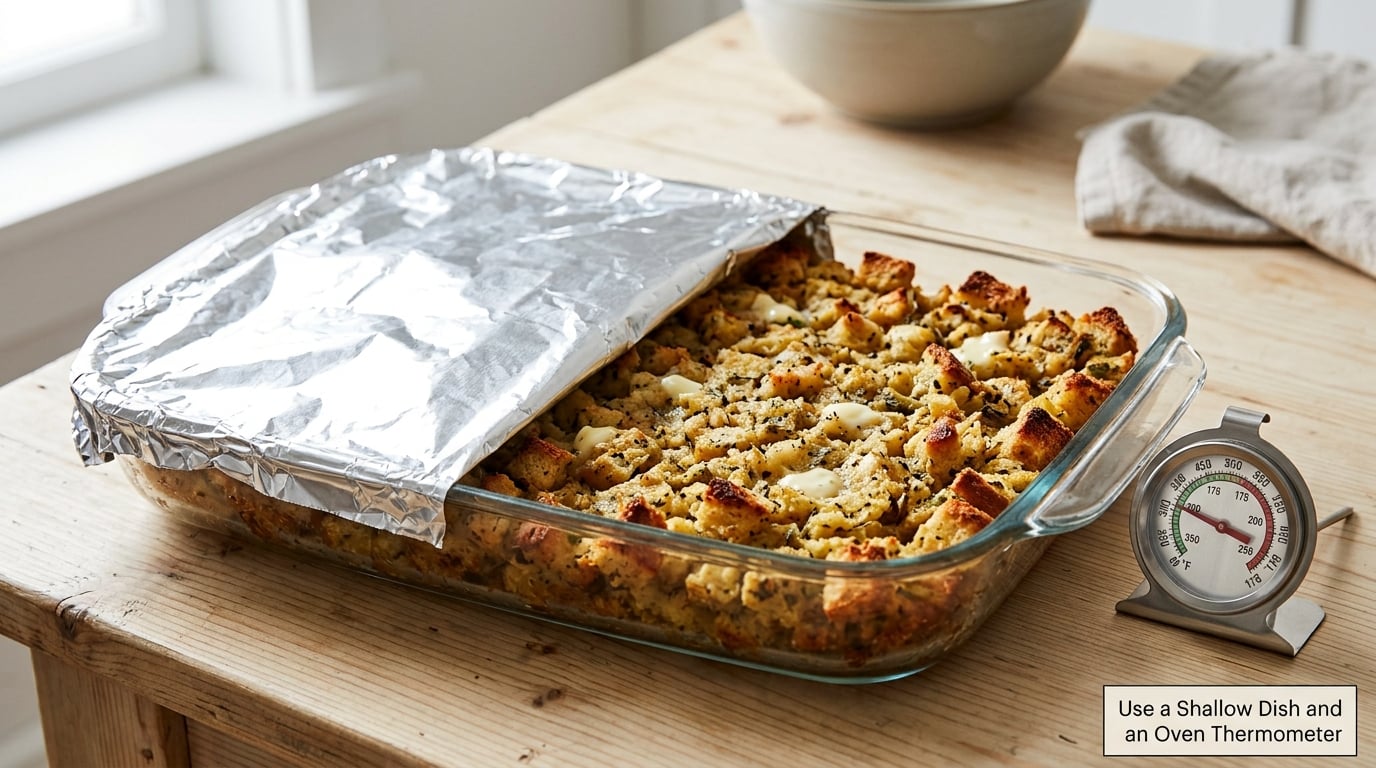
Pan depth decides how much water the dish has to evaporate. A deep casserole holds steam in the lower half where no dry heat ever reaches, while a shallow dish lets moisture escape from the top and the sides. If you only own one baking dish, bake the stuffing on a sheet pan with a rim, spread thin, and you will get more browning per square inch than any deep dish can give you.
Verify your oven. Put the thermometer in on the rack you will use and give it ten minutes; many run 25 to 50 degrees off the dial, and stuffing is not forgiving about it.
Then run the bake in two stages. Cover loosely with foil and bake at 350F for 25 to 30 minutes if the dish is about two inches deep. The foil is there to keep the center from drying out before the edges brown, and loose rather than tight is what lets some steam escape.
Pull the foil, turn the oven up to 425F, and bake another 10 to 15 minutes until the top is golden and the edges are dry and crackling. A one to two minute broil at the end is a legitimate move here, with the dish on the middle rack and your hand on the door, because those last two minutes do more for the texture than the previous twenty.
For food safety, stuffing that goes inside a turkey, or that contains egg, must reach 165F (74C) before it comes out of the oven. Stuffing baked in a separate dish is safer to eat, but hitting 165F costs you nothing and takes the guesswork out of it.
5. Let It Rest Before Serving
Give it ten minutes uncovered before you scoop. The surface firms slightly as it stops steaming, and the center keeps setting from residual heat, so you get a crumb that holds on the spoon instead of one that falls apart on the way to the plate.
Uncovered is the important word. Covering the dish to hold it warms the stuffing and traps the steam that has been escaping, and what comes out later is softer than what went in. If the meal is running late, hold the dish at 140F or above in the oven, uncovered, and take it out five minutes before you serve.
Common Mistakes
Most soggy stuffing has one cause or a combination of two, and the symptoms tell you which. Work down this table before you change anything else in the recipe.
| Mistake | What you see | Fix |
|---|---|---|
| Fresh or sealed croutons | Crumb collapses into paste within minutes | Dry cubes 24 to 48 hours, or 15 to 30 minutes at 300F |
| Too much broth at once | Liquid pools in the bottom of the bowl or dish | Add in quarter cups, squeezing after each pour |
| Too much egg | Dense, damp, cakelike center | Drop to one egg per 12 cups of bread, or leave it out |
| Deep dish, thick layer | Wet middle, only the top browns | Split into two shallow dishes or use a sheet pan |
| Overmixing or pressing | Uniform wet paste, no crisp pieces | Fold gently, stop while some cubes look dry |
| Foil sealed for the whole bake | Steamy, pale, soft top | Uncover for the final 10 to 15 minutes at 425F |
| Opening the oven repeatedly | Longer bake, uneven browning | Set a timer and leave the door shut |
| Stuffing packed tight in the bird | Stewed, never crisp, uneven cooking | Loosen it, or bake stuffing in a separate dish |
Stuffing cooked inside poultry can never deliver a crisp top, because the cavity steams and the bird shades it. If the crisp edges matter to you, cook the stuffing in a separate dish and let the bird rest without it. One workaround is to line the cavity loosely with cheesecloth so the mixture can be lifted out early and finished under direct heat.
For make-ahead prep, dry the cubes a day ahead and store them separately from everything wet, covered loosely. Assemble the dry bread, seasonings, and aromatics in the pan, refrigerate that, and add the broth an hour before baking. An assembled stuffing sitting overnight in a covered dish reabsorbs its own liquid, which is the single most common way make-ahead ruins texture.
For storage and reheating, cool the stuffing uncovered on a sheet pan before it goes in the fridge so no condensation forms under the foil, and use it within three to four days. Reheat it uncovered or with foil vented, spread on a sheet pan, at 350F for 15 to 20 minutes, with a couple of tablespoons of fresh broth if it looks dry. A covered microwave reheat is the fastest route back to mush.
To rescue stuffing that is already wet before baking, spread it on a sheet pan, top it with a handful of dry croutons or coarse breadcrumbs, dot with butter, and bake at 425F for 15 to 20 minutes. The crumbs pull up the free liquid and the surface dries out. It will not return to what it would have been, but it becomes something you would happily serve.
Two final flavor moves cost nothing: brown the butter before you add it to the cubes, and deglaze the skillet with a splash of apple cider vinegar to lift the fond into the broth. Chopped apples, toasted pecans, or dried cranberries go in with the aromatics so they soften without releasing their moisture late in the bake.
Frequently Asked Questions
How do I make stuffing that is not soggy?
Start with bread that has dried for one to two days, or toast fresh cubes at 300F for 15 to 30 minutes until hard and golden. Add broth a quarter cup at a time and stop when the crumbs are damp with no liquid pooling underneath. Bake covered at 350F for 25 to 30 minutes, then uncovered at 425F for 10 to 15 minutes. Keep the layer about two inches deep in a shallow dish.
Why is my stuffing wet before it goes in the oven?
Because the bread has not given up enough of its own water and the liquid has passed what the crumb can absorb. Signs are a puddle under the bowl, breadcrumbs floating on the surface, and clumps that smear when you squeeze them. Fix it before baking by adding a handful of dry croutons to absorb the extra, or reduce the broth by a quarter cup and mix again.
Should I cover stuffing while it is baking?
Cover it for most of the bake, then uncover for the finish. Foil keeps the center from drying out during the first 25 to 30 minutes at 350F, but steam trapped under foil for the whole bake is the main reason a stuffing top stays pale and soft. Uncovered heat for the last 10 to 15 minutes at 425F is what dries the surface and browns it.
What bread is best for stuffing that stays crisp?
A crusty loaf with an open crumb, such as sourdough or a French loaf, holds its shape and dries well. Cornbread is crisp but thirsty, so add its liquid last. Soft sandwich bread, milk bread, and prepackaged croutons stay wet no matter how you bake them. Day-old bread is the minimum, and two days is better, for any type you choose.
How long should cooked stuffing sit before serving?
About ten minutes, uncovered. The surface firms as steam escapes and the hot center finishes setting, so the crumb holds together on the spoon. If you must hold the dish longer, keep it uncovered at 140F or above in the oven. Covering it to hold it traps steam and undoes the browning you just did.
Can I prepare stuffing ahead of time?
Yes, if you keep the wet and dry parts apart. Dry the bread cubes a day ahead, mix them with the seasonings and sautéed aromatics, and refrigerate that base. Add the broth an hour before baking, or even right before it goes in the oven. An assembled stuffing refrigerated overnight under a tight lid reabsorbs its own liquid and turns to mush by morning.
The One Move That Fixes Soggy Stuffing
Control moisture at every stage, not just at the end. Dry bread, measured liquid, a shallow dish, and enough uncovered heat at the finish will give you stuffing that is moist in the middle and crisp on top, which is exactly the combination people assume only one of the two can be.
Start tonight. Cube the loaf while you think about it, spread it on a sheet pan, and put it in a 300F oven. Tomorrow’s version will already be better than what you would have baked today.