
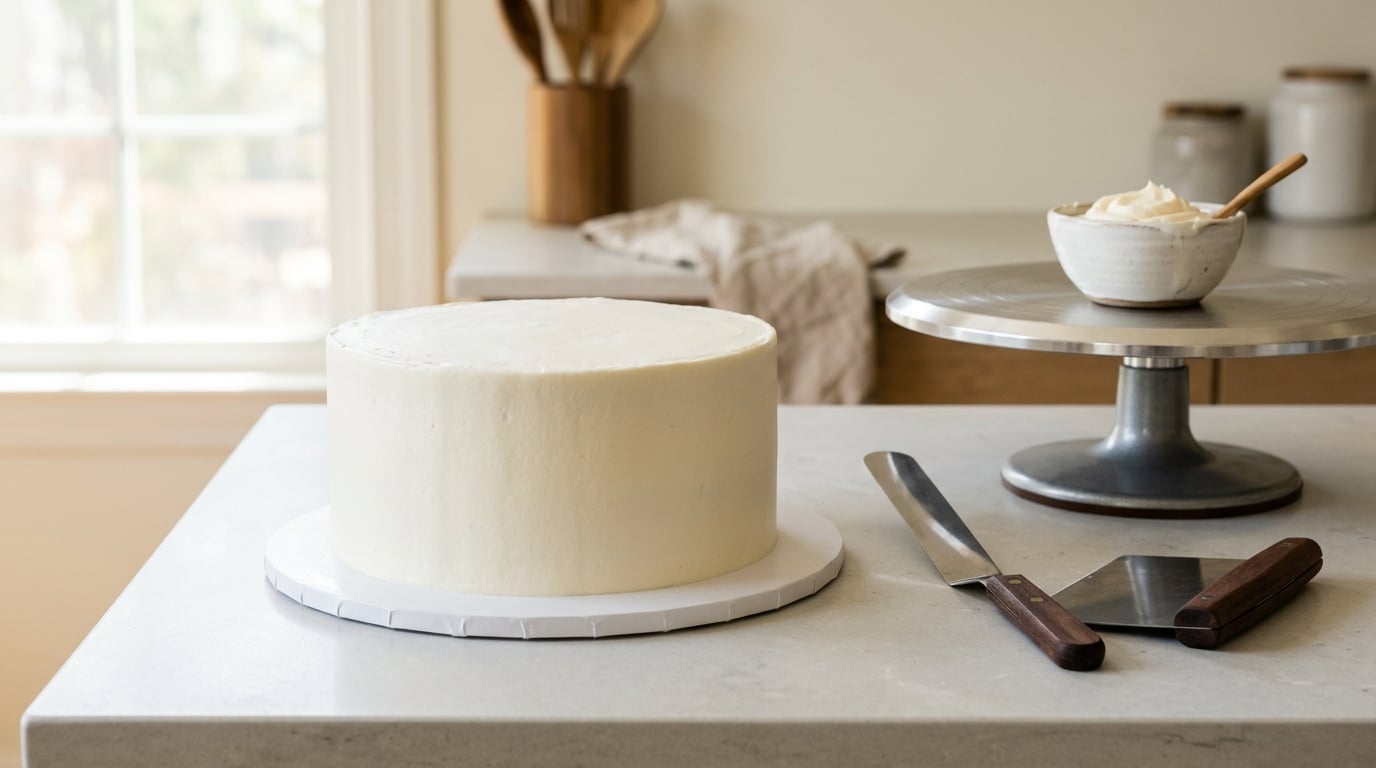
To frost a cake smoothly, work on a cold, level cake, seal it with a thin crumb coat, chill that coat, then add a generous final layer and skim the excess off with an offset spatula while you turn the cake. The finish comes from the temperature of the cake and the consistency of the frosting, not from decoration. A beginner can get there in about 45 minutes of active work, plus chilling time.
The whole method is really four things: chill, seal, be generous, skim. Get those right and the surface evens out on its own. This guide walks through each one in order, including the small checks that tell you a stage has actually worked.
Table of Contents
- What You Need
- How to Frost a Cake Smoothly for Beginners: Step-by-Step
- Common Mistakes
- Frequently Asked Questions
- How do I keep frosting from pulling up crumbs when frosting a cake?
- What is the easiest frosting for beginners to use on a cake?
- Should I frost a cake when it is warm or completely cool?
- How do I fix a cake with uneven frosting after I start?
- How long should I refrigerate a frosted cake before serving it?
- Do I need a cake turntable to get smooth frosting?
- Conclusion
What You Need
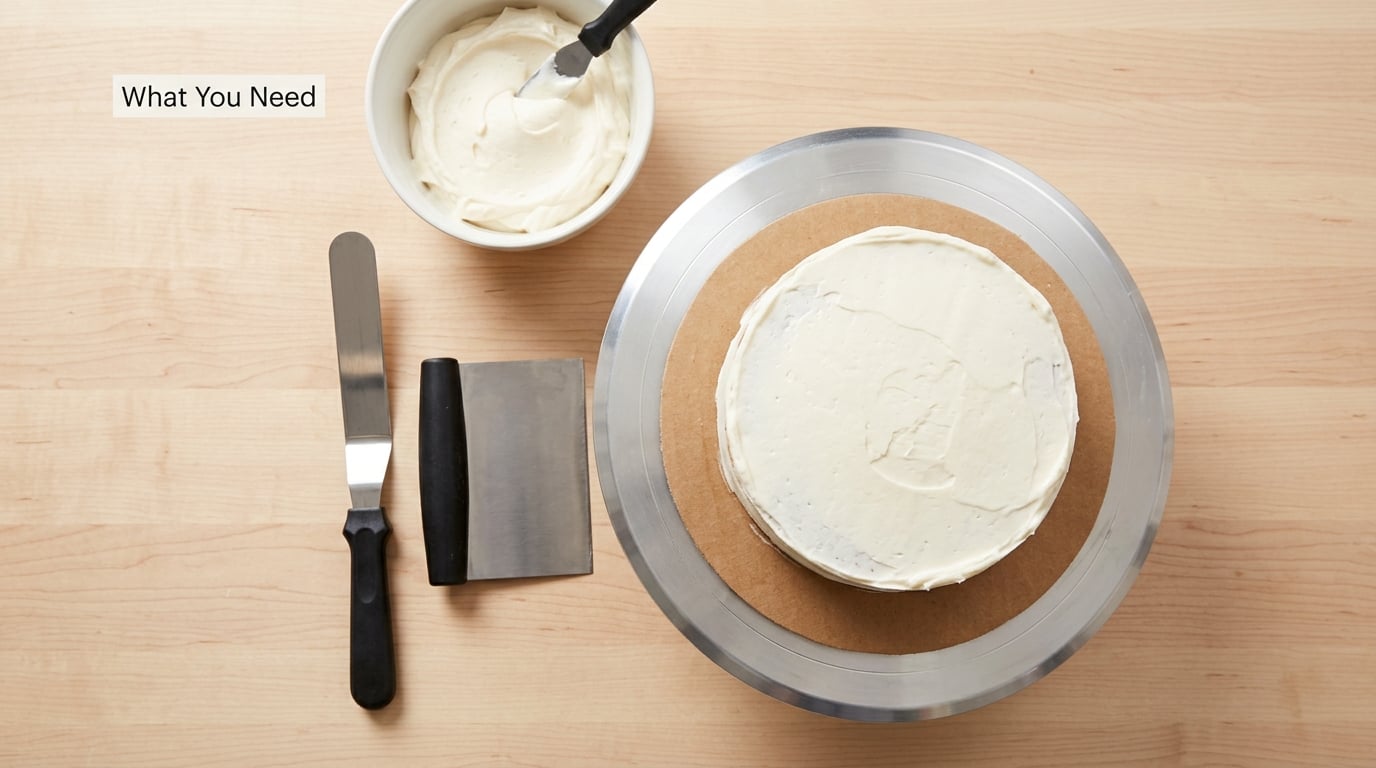
You need very little. Most beginners already own two of the four things that matter.
- Offset spatula. A thin, flexible blade that lets you skim without scooping up cake. This is the one tool worth buying first.
- Frosting smoother or bench scraper. A straight-edged plastic or metal card held against the side as the cake turns. A clean, untextured paper towel folded flat works too.
- Turntable. Any rotating cake stand. A dinner plate on a non-slip mat is a workable stand-in, and the technique is identical.
- Cake board. A cardboard round under the cake. It gives you somewhere to put a dab of frosting to glue the cake down and it makes the finished cake far easier to move.
- Bowl of frosting. Roughly 4 to 5 cups for a two-layer 8-inch round cake, which is more than most first-timers expect.
What you can skip: a turntable ice disc, a ruler, a piping bag and a bench scraper if you folded a paper towel. A stand mixer matters only for the frosting, not for the finish. If you enjoy the kind of careful, small-measure cooking that a kitchen needs, our guide to how to poach eggs perfectly for beginners takes the same unhurried approach to a much less forgiving technique.
Frosting type changes the method more than the tools do. American buttercream is firm and forgiving, so it is the easiest place to start. Ganache spreads beautifully but softens fast, so it needs a shorter chill and a lighter touch. Whipped cream is the hardest: it holds shape only when very cold, and it will slump if the cake is anywhere near room temperature. Swiss meringue sits between buttercream and whipped cream and behaves much like buttercream once it is cool.
How to Frost a Cake Smoothly for Beginners: Step-by-Step
How to Cool and Prepare the Cake
A completely cool cake is the single biggest factor in a smooth finish. Warm cake melts the frosting, softens the crumb and slides the layers. Let the layers cool in their pans for 10 to 15 minutes, turn them out, then cool them completely on a rack, which usually takes another hour or two.
If the top domes, slice it off with a serrated knife held level. A long knife and a gentle sawing motion give you a flat surface with few crumbs. Then check for loose pieces by running a fingertip lightly across the top and the cut edges. Anything that comes away goes in the bin, and a dry brush is handy for the sides.
To keep the cake steady, dab a small blob of frosting on the board and press the bottom layer onto it. That blob is your glue. If the cake still shifts when you press the top, chill the layers for 20 to 30 minutes before you stack them.
How to Make a Thin Crumb Coat
The crumb coat is a very thin first layer that traps loose crumbs so they can never reach the surface you actually see. Scoop a small amount of frosting onto the spatula and spread it across the top, then push it down the sides in thin passes. You should still see the color of the cake through it in places.
Work around the sides first, then sweep across the top from the edge toward the centre. Keep the blade nearly vertical at the bottom edge so the frosting does not catch the board. A gap or a patch of bare cake at this stage is normal and easy to fix: scrape the frosting off that spot and lay down a thinner pass over it.
Then chill. Fifteen to thirty minutes in the fridge is the number almost every experienced baker lands on, and twenty minutes in the freezer works if you are in a hurry. The coat is ready when it feels firm and matte to a light touch rather than tacky, and when a fingertip drawn across it leaves no frosting behind.
How to Add the Final Layer When You Frost a Cake Smoothly
With the crumb coat set, add the rest of your frosting. Put a generous scoop on top, spread it to the edges with the flat of the spatula, and let a little hang over the sides. Then take more frosting in your hand and press it onto the sides in thick patches until the whole cake is covered.
Be more generous than feels right. The extra comes off in one pass, and every patch you chase with too little frosting leaves a lump you spend the next ten minutes chasing. Keep what you scrape off in a separate bowl, because it is exactly what you want for a border later.
Before you smooth, check the consistency. Drag a spatula through the frosting and watch: if the trail stays put and no air pockets open up, it is right. If it pulls away from itself in stiff ropes, soften it with a splash of cream or milk. If it slumps off the knife on its own, chill the bowl for ten minutes and test again.
How to Smooth the Top and Sides
Turn the turntable so the cake rotates towards you, and hold the offset spatula upright against the side, resting its edge on the frosting. Let the turntable do the work. Each revolution skims off a thin layer and leaves a low ridge of extra frosting ahead of the blade that fills any gaps behind it.
Do not hold the blade at a perfect ninety degrees, since that shaves too much and rounds the top edge. Tilt the top of the blade in very slightly. Keep turning, and once the ridge disappears the sides are done. A second light pass with the bench scraper or the folded paper towel firms everything up.
Now the top. Hold the spatula flat and almost horizontal, resting on the top edge, and turn the table until the frosting is level. Sweep the excess toward the centre and off in one motion, then come back to the edge for a second pass. A sharp top edge, where the top surface meets the side in a clean line rather than a soft curve, is the visual difference between homemade and professional.
Two things give the finish away. Air bubbles, which look like tiny craters, come from over-mixing the frosting, and a pinprick or two can be popped with a pin and filled. And a blurred top edge, which happens when you tidy the top before the sides, so tidy the top last.
How to Finish and Store the Cake
Stop while the surface is still soft enough to take a mark. A clean spatula finish with a sharp edge is a complete look on its own, and adding too much decoration only hides the work you just did.
If you want more, a simple piped border is the easiest next step. Use the extra frosting you scraped off, test a small amount on a scrap of parchment first, and hold the bag almost vertical so the border sits on the top edge rather than sliding off. Sweets, fruit or a few pressed nuts are easier to arrange than piped work and photograph well.
For storage, an unfrosted or crumb-coated cake keeps well covered at room temperature for about a day. A finished buttercream cake is fine in a cool room for a day or two and in the fridge for up to a week, though chilling softens the finish slightly. Take it out about 30 minutes before serving so the frosting relaxes back to creamy. Serve the same day if you can.
Depending on the occasion, you may also like our guide to building a cheese board for beginners, which uses the same calm, prep-ahead approach without any heat.
Common Mistakes
Most disappointing first cakes come down to a short list of fixable problems. Each one below pairs the symptom with the cause and the fix, and the last habit stops most of them from happening in the first place.
Frosting pulling up crumbs. Usually no crumb coat, or a crumb coat applied so thickly that the spatula scoops cake instead of frosting. Fix: scrape the area clean, chill for ten minutes, and lay on a thinner crumb coat before continuing.
Blobchy or grainy frosting. The frosting was not mixed long enough, or the butter was colder than room temperature when you started. Fix: beat the finished frosting for another two minutes, then chill it briefly before it goes near the cake.
Pinpricks and small craters. Air bubbles worked into the frosting while it was mixing. Fix: pop each one with a pin, press a little frosting into the hole, and skim the surface once more as the turntable turns.
A lopsided or uneven top. The layers are unevenly filled, or the top was not trimmed level. Fix: check the cake from eye level before you frost. If it leans, cut the high side down until it stands straight, since frosting hides a bumpy layer but never hides a tilt.
Tears and gaps in the sides. The frosting is too stiff, so the blade drags through it. Fix: soften the frosting with a teaspoon of cream at a time, then re-test. Frosting that is too soft creates the opposite problem, slumping and sliding, and the fix is the same in reverse.
Too much frosting. Beginners often under-apply, chase the gaps, and end up with a patched, lumpy surface. Fix: use more than you think you need, and scrape the excess into a bowl rather than trying to make it last.
A warm cake. The frosting melts, the layers slide, and the crumbs soften. Fix: chill the layers for 20 to 30 minutes first, and work in a cool room. In hot weather, refrigerate the frosting bowl between uses and work in short bursts.
Two small habits prevent most of this. Wipe the blade every few turns, because a build-up of frosting on the spatula is what rounds a top edge. And keep the cake cold from the moment you crumb coat until the moment you finish, which is why bakers chill rather than frost straight through.
Frequently Asked Questions
How do I keep frosting from pulling up crumbs when frosting a cake?
The crumb coat is the fix. Spread a genuinely thin layer of frosting over the top and sides, let it chill for 15 to 30 minutes until it feels firm and matte, then apply the final coat. A crumb coat applied too thickly is worse than none, because the spatula scoops cake along with the frosting. Chill the cake first as well, since a cold, firm crumb sheds far less than a warm one.
What is the easiest frosting for beginners to use on a cake?
American buttercream, made from butter, powdered sugar and a splash of cream. It holds its shape, hides cake crumbs well and forgives a heavy hand, which matters more than flavor when you are learning. Ganache spreads beautifully but softens quickly, and whipped cream needs a very cold cake and steady hands. Start with buttercream, get the technique, then try the softer frostings.
Should I frost a cake when it is warm or completely cool?
Completely cool, and then chilled if you can manage it. Warm cake melts the frosting, softens the crumb and lets the layers shift under the spatula, which ruins the finish no matter how careful you are. Cool the layers in their pans for 10 to 15 minutes, turn them out, let them cool fully on a rack, then refrigerate for another 20 to 30 minutes before frosting.
How do I fix a cake with uneven frosting after I start?
Add more frosting rather than trying to stretch what is there. Press a fresh scoop onto the thin areas, spread it to the edges, and skim the whole cake again with the offset spatula while the turntable rotates. If the finish is already smooth but crumbly, chill the cake for 15 minutes and skim once more. Only redo a cake from scratch when the layers themselves are leaning.
How long should I refrigerate a frosted cake before serving it?
Frosted buttercream cakes can be refrigerated for up to a week, though the finish firms up slightly while cold. A crumb-coated cake is fine covered at room temperature for about a day. Whipped cream frosting only keeps for one to two days refrigerated. Whatever the frosting, take the cake out of the fridge about 30 minutes before serving so the frosting softens back to creamy.
Do I need a cake turntable to get smooth frosting?
No. A turntable makes it easier because you hold the spatula still while the cake turns, but you can rotate the board by hand on a non-slip mat, or set the board on a damp towel so it does not slide. Keep the blade vertical and move your hand around the cake in the same direction each time. Most beginners get an even finish without one, they just work a little slower.
Conclusion
Learning how to frost a cake smoothly is mostly about doing three boring things properly. Start with a cool, level cake, apply a crumb coat thin enough that you can still see the cake through it, and give that coat 15 to 30 minutes in the fridge. Then add more frosting than you think you need and skim the excess off in one steady pass while the cake turns.
For your next cake, do exactly that and nothing else. Do not pipe, do not colour, do not add a border until the plain coat looks right, because the border will not fix a surface that is already uneven. The first smooth cake is usually the third or fourth one you frost, and the one after that takes a quarter of the time.