
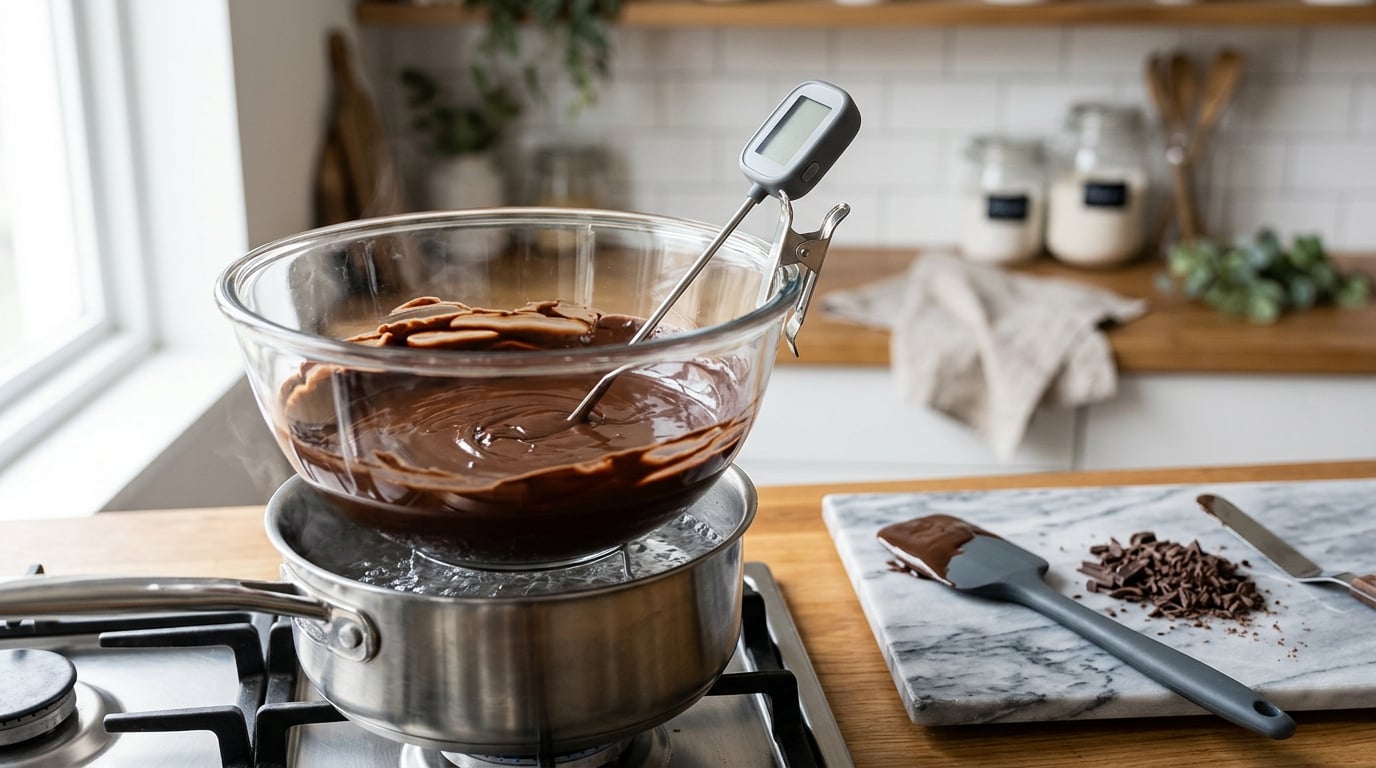
Tempering chocolate at home takes about 20 minutes and one probe thermometer. You melt the chocolate to roughly 115F (46C) to wipe out every existing crystal, cool it back to 81-82F (27-28C) so stable Form V crystals form, then reheat it briefly to 88-90F (31-32C) for dipping or molding. That three-step cycle is the whole job, and the temperatures are what matter, not the time.
Chocolate that has not been tempered still melts, still tastes good, and still looks fine for about a day. Then it goes dull, grows grey streaks, and turns to a soft brick in your hand. If you have ever poured melted chocolate over a cake and watched it slump and smear instead of setting in a clean shell, this is the reason.
I ruined a lot of batches before I stopped guessing. The day I started using a thermometer instead of judging by how the bowl felt, most of my problems disappeared. Below is the method I use now, with the exact numbers and the failure fixes.
What You Need
Tempering needs very little equipment, but two of the items are not optional if you want repeatable results.
- Real chocolate, ideally couverture. Couverture is chocolate with a high cocoa butter content and nothing else added to soften it. It melts thin, sets hard, and crystallises the way you need it to.
- An instant-read digital thermometer. This is the single tool that turns tempering from luck into a process. A cheap one that reads to a single degree is plenty.
- A heatproof bowl that sits comfortably over a saucepan, plus a saucepan and a spatula that is silicone or coated so nothing scratches the chocolate.
- A dry work area. Damp hands and a damp bowl are the number one cause of seized chocolate, so dry everything before you start.
- A cool surface to work on and about 20 minutes where you are not being interrupted.
- A knife and a square of parchment for the temper test at the end.
Skip candy melts and compound chocolate if you want to learn this properly. Those products are mostly sugar, vegetable oil and flavouring with very little or no cocoa butter, so there are no cocoa butter crystals to form. The oil sets firm, and that is why they look forgiving, but they do not temper, they do not snap the same way, and they melt on your tongue in a warm room. They are useful for moulded novelty items where shine is all you need.
Batch size matters too. The stovetop method needs a bowl with enough chocolate in it to hit temperature quickly and hold it, so work with at least 8 to 12 ounces. Below that, the mass cools and reheats so fast that the window closes before the crystals form. If you only have 4 ounces, use the microwave method described later in the steps.
Lastly, do not forget a way to check your work. A knife tip and a scrap of parchment cost nothing and settle every argument about whether a batch is ready.
Step-by-Step: How to Temper Chocolate at Home
The method below is the seeding method, and it is the one I would teach a beginner. Tabling, hair dryers and sous vide circulators all work, but they rely on feel, and feel is exactly what beginners are missing.
Melt the Chocolate Gently
Chop your chocolate finely with a knife or pulse it in a food processor. Small pieces melt evenly, which means you never have to hold the whole bowl over heat just to get the last lumps through. Take about two thirds of the chopped chocolate for melting and set the remaining third aside, dry and untouched, on parchment paper. That third is your seed.
Fill a saucepan with a couple of inches of water and bring it to a bare simmer, meaning small bubbles breaking the surface but not a rolling boil. Set your heatproof bowl on top so the bottom of the bowl touches steam but never the water itself. A tight fit works best, since water carried up by steam is the main way chocolate seizes.
Stir with the spatula as the chocolate softens, keeping the heat low. Dark chocolate is done around 115F (46C), milk around 113F (45C), and white around 110F (43C). Pull the bowl off the heat the moment the last solid disappears. Above 120F (49C) you start breaking down the cocoa butter, and burnt chocolate is the one failure you cannot rescue.
Heat the Chocolate to Its Working Temperature
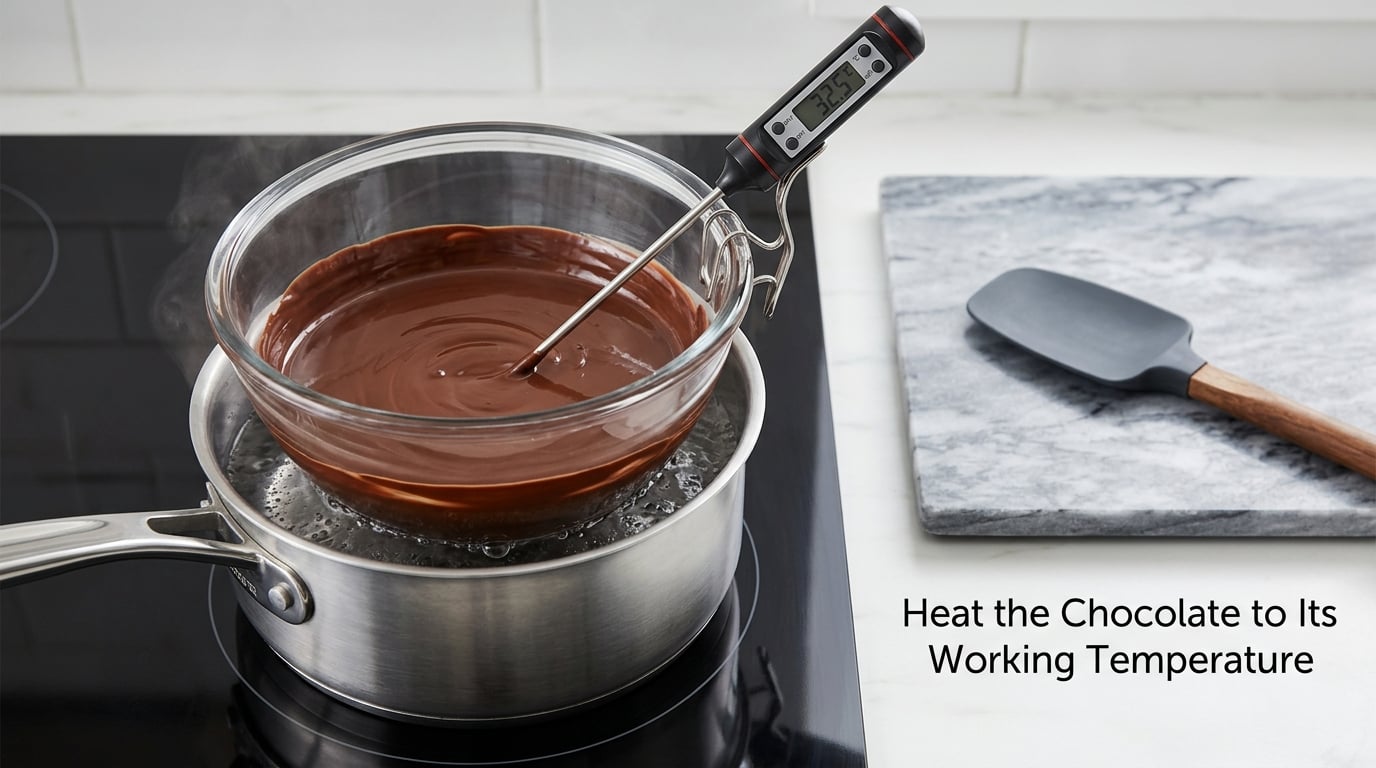
Once the chocolate is fully melted, it has no useful crystals left, so we now build the right ones. These are the targets, and they matter more than any single source you read online, because recipes disagree by several degrees.
| Chocolate | Melt to | Cool to | Work at |
|---|---|---|---|
| Dark (70% and up) | 115F (46C) | 81-82F (27-28C) | 88-90F (31-32C) |
| Milk | 113F (45C) | 80-81F (27C) | 86-87F (30-31C) |
| White | 110F (43C) | 78-80F (26-27C) | 80-82F (27-28C) |
White chocolate runs cooler because it is built on milk fat rather than cocoa butter, and pushing it too hot dulls its creamy ivory colour.
At this stage, most guides tell you to bring the melted chocolate up to working temperature first. With the seeding method, you get there by way of the cooling step, which is more forgiving, because the seed controls the rate of crystallisation. Stir the melted chocolate a few times so the temperature evens out, then move to cooling.
Cool the Chocolate to Its Setting Temperature
Add the reserved one third of chopped chocolate and stir continuously with the spatula. The fresh chocolate dissolves into the melt and drops the temperature quickly, and those little pieces carry stable Form V crystals that act as seed points for the whole bowl. Keep the chocolate off the heat while you do this, and keep the stir slow and steady so no lumps survive.
Continue until you hit the cooling target in the table. This is the part beginners skip, and skipping it is why their chocolate stays soft: warm chocolate that never enters the 27-28C (81-82F) range never forms enough crystal structure to hold a firm snap.
If your kitchen is warm or humid, the chocolate will refuse to cool and the whole method stalls. Do not reach for the fridge, because chocolate brought straight into cold air picks up condensation and seizes on contact. Instead chill the empty bowl and your spatula for five minutes, dry them completely, and work in short bursts. A marble or stone slab stores coolness well, so a couple of small batches back to back will usually get you through it.
The visual cue at this point is a chocolate that has gone from glossy and fluid to noticeably thicker, almost the consistency of soft paint, and it should drop cleanly off the spatula rather than running off in a ribbon.
Reheat and Finish the Temper
Put the bowl back over the barely simmering water and reheat slowly, stirring, until the chocolate reaches the working temperature from the table. This step does two things. It re-melts any crystals that are holding the chocolate too stiff to pour, and it leaves only the Form V crystals standing, because the unstable lower forms melt out well below these temperatures. That is the entire trick, and it is why holding chocolate at 90F (32C) forever does not work; you need the full cycle to make the right crystals.
Take the bowl off the heat and let it sit for a minute to lose a degree or two. You want it fluid enough to coat a dipped finger in an even layer but thick enough not to run off the bottom.
Here is how to keep it usable while you work. Wipe condensation from the underside of the bowl, keep it away from the steam, and if the chocolate thickens between pieces, rest the bowl on a cool surface for 30 seconds rather than reaching the heat. You can reheat in small 10 to 15 second bursts several times over a session without losing the temper, because the working temperature already has the crystals in place. Constant long reheats are what cook the temper out.
How to Tell the Chocolate Is Properly Tempered
Test before you commit a whole cake or 40 strawberries. There are three checks, and you only need the first two.
- Knife tip test. Dip the tip of a clean knife into the chocolate, then touch it to a cold surface like a wet marble slab. Well-tempered chocolate sets in two to three minutes and releases from the surface with a clean edge. Untempered chocolate stays smeared, dull, and often never fully sets.
- Parchment test. Spread a spoonful on parchment paper. It should pull away in one clean piece, not smear into a thin film when you try to lift it.
- Look and feel. Good temper has a deep gloss, a fairly thick ribbon off the spatula, and a surface that dulls slightly as it cools without going chalky or streaked.
If you have no thermometer at all, you can still get a usable result, but the accuracy is roughly a few degrees rather than exact. The cues are the back of your hand, where tempered chocolate feels like nothing at all, versus a faint coolness for chocolate that is still too warm; a chocolate that has cooled to about body temperature on your finger and then stiffened slightly; and a setting time of two to three minutes on parchment. In a warm kitchen those cues fail early, which is a fair argument for picking up a thermometer before the next batch.
Common Mistakes and How to Fix Them
Almost every failed batch comes down to one of five things, and each has a different fix. Seized and overheated chocolate cannot be saved, and knowing which one you have saves you wasting the rest of a good bar.
| Problem | Likely cause | What to do |
|---|---|---|
| Thick, dull, gummy paste that will not flow | Water, steam or a wet utensil touched the chocolate | Not fixable. Add a little neutral oil and it will work as a glaze or coating, but it will not snap or mould. |
| Hard burnt smell, sharp bitter flavour | Heated above 120F (49C) or sat on the heat too long | Throw it out. There is no recovery from scorched cocoa butter. |
| Thin, floppy coating that runs off whatever you dip | Never cooled to 81-82F (27-28C), so too few crystals formed | Drop the temperature, seed again, and reheat to working temperature. Usually saves the batch. |
| Dull, streaky or mottled surface on a finished piece | Incomplete cooling, or held too cool and warmed back into Form IV crystals | Reheat to working temperature and stir a fresh pinch of finely grated chocolate in as seed, then retest. |
| Grey-white film or streaks after setting | Fat bloom from poor temper, or condensation and temperature swings during storage | Bloom is cosmetic. To reuse the chocolate, melt it fully again and start the cycle over. |
| Setting almost instantly, too stiff to pour | Room too cold, or the bowl rested on a chilled surface | Warm back to working temperature and rest the bowl on a towel rather than stone. |
Two habits prevent most of these. Dry equipment, always, and a thermometer instead of the oven door, which gives wildly unreliable readings and is how people end up holding chocolate at 90F (32C) and wondering why it is still soft. A silicone spatula with a little flexibility in it is worth more than an expensive thermometer, because it lets you scrape the bowl sides clean.
Some kitchens simply cannot cool chocolate to 27C (81F). Home bakers in warm rooms have reported conditioning chocolate in a chest freezer, which tells you how seriously a few degrees matter. If your room sits above about 75F (24C) all day, temper in the early morning or late evening, chill your tools first, and accept that you may need two attempts.
Ways to Keep Tempered Chocolate Usable
Tempered chocolate stays in temper at room temperature for as long as the temperature does, which is the best reason to store it well. Keep finished pieces in an airtight container somewhere cool and dark, around 60 to 68F (16 to 20C), and expect them to hold for months without refrigeration.
Never refrigerate it. Cold storage causes condensation, and that water brings back the seizing problem, while the temperature swing tends to raise the sugar to the surface as bloom. The fridge is for short transport, not storage, and the freezer will not return chocolate to a usable state.
Leftover melted chocolate does not have to be wasted. Spread it thin on a tray, let it set, and break it into shards for next time, then run it through the whole cycle again when you need it. You can re-temper chocolate more than once, and the limit is only whether water or scorching got into it. Melted and properly set chocolate that has merely dulled or bloomed is fine to re-temper as many times as you like.
If chocolate has thickened while you worked, warm it back to working temperature and stir in a small amount of neutral oil, roughly one teaspoon to a cup, until it pours like double cream. Be honest about what that does: oil keeps it fluid and glossy, but it is not tempered chocolate any more. It suits drizzle and thin coatings, and it will not give you a firm snap or a clean mould release.
A final thought on timing. This is a good technique to have ready before a dinner rather than mid-service. If you are plating something sweet at the table, the same care that goes into building a three course dinner menu at home applies, and it is one of the small reasons restaurant food lands the way it does.
Frequently Asked Questions
Can I temper chocolate in the microwave?
Yes, and it is the best method for small batches of about 4 ounces. Chop the chocolate, heat it in 15 second bursts at medium power, and stir between each burst so no single spot gets hot enough to scorch. Bring it to the melt target, then add a tablespoon of finely chopped unheated chocolate to seed and drop the temperature, then warm back to working temperature. Expect it to overshoot more easily than on the stove.
What temperature should chocolate be for dark, milk, and white chocolate?
For dark chocolate, melt to 115F (46C), cool to 81-82F (27-28C) and work at 88-90F (31-32C). Milk chocolate melts to 113F (45C), cools to 80-81F (27C) and works at 86-87F (30-31C). White chocolate melts to 110F (43C), cools to 78-80F (26-27C) and works at 80-82F (27-28C). White runs cooler because it is built on milk fat, not cocoa butter.
Why did my chocolate turn grainy or seize?
Seizing happens when water, steam or a wet utensil touches melting chocolate, and the result is a stiff paste that will not flow. It cannot be reversed, though a spoon of neutral oil makes it usable as a coating. A grainy texture that is still warm is a different problem: the chocolate was cooled or reheated badly, so seed it again with finely grated chocolate and warm it back to working temperature.
How do I fix tempered chocolate that is too thick?
Warm it back to the working temperature for your chocolate type, stirring until the ribbon off the spatula looks glossy and even. If it is still too thick to pour and you want a thin drizzle, stir in a teaspoon of neutral oil per cup. That thinned chocolate will stay fluid, but it is no longer tempered, so it will not snap or release cleanly from a mould.
Do I need to refrigerate tempered chocolate?
No. Tempered chocolate keeps best in an airtight container in a cool, dark room at about 60 to 68F (16 to 20C), where it will stay in temper for months. Refrigeration causes condensation, which can seize the chocolate, and the temperature swing often raises bloom to the surface. Use the fridge only for short journeys, and let the chocolate come back to room temperature in the container before opening it.
Can I use chocolate chips to make dipped candies?
Regular chocolate chips are not really chocolate. They contain cocoa butter but are built around a stable fat blend, so they thicken and set without the crystal cycle, giving you a thick, slightly waxy coating that is pleasant but brittle. Melt them gently and use them for dipping, but choose couverture for moulded bonbons, bark and anything that needs a hard snap and a clean release.
Conclusion: Start With Small Batches and Check the Temperature
If you do one thing from this guide, chop 8 ounces of couverture, get the thermometer out, and run the cycle once: melt to 115F (46C), seed and cool to 81-82F (27-28C), then reheat to 88-90F (31-32C). That is how to temper chocolate at home reliably, and once your hands know the three stages, the rest is repetition.
Tempering rewards patience rather than force, because every stage depends on the temperature change before it. Rush the cooling phase and you get a soft coating; rush the reheat and you get streaks. Work small, check the thermometer, and test a knife tip before you commit the batch. The difference between restaurant food and home cooking is very often just this kind of control, applied consistently.