
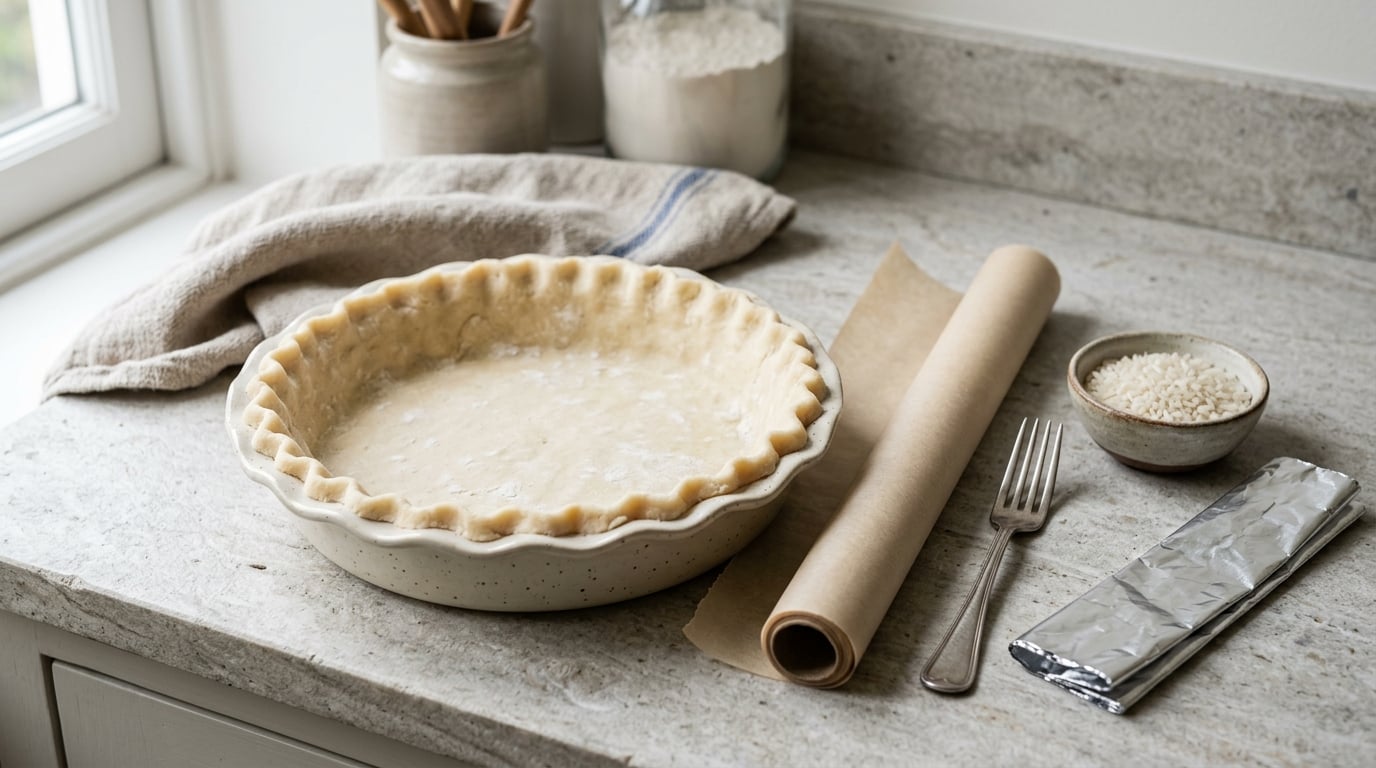
To blind bake a pie shell, bake the crust on its own at 375°F (190°C) with parchment paper and pie weights pressed into it for about 15 minutes, then pull the weights out and bake 7 to 8 minutes more for a par-baked shell or 14 to 15 minutes for a fully baked one. That is roughly 30 minutes of oven time, plus a 15- to 30-minute chill in the fridge beforehand.
Blind baking is what keeps a wet filling from turning the base grey and raw. Custards, cream pies, quiche, meringue pies and anything poured in uncooked all need a shell that is already dry, set and lightly golden before the first spoonful of filling goes in.
| What you are making | Temperature | With weights | Without weights |
|---|---|---|---|
| Par-baked shell (cream filling you cook on the stove, or a fruit pie) | 375°F (190°C) | 15 to 20 minutes | 7 to 8 minutes |
| Fully baked shell (pumpkin, pecan, quiche, extra-crisp base) | 375°F (190°C) | 15 to 20 minutes | 14 to 15 minutes |
| Crisp start for a delicate dough | 425°F (220°C) for the weighted stage, then 375°F (190°C) | 12 to 15 minutes | 8 to 12 minutes |
You rarely need to blind bake a standard double-crust fruit pie. A thick, well-starched filling cooked in a hot oven gives off enough steam on its own to keep the base from sitting in a puddle.
Table of Contents
What You Need
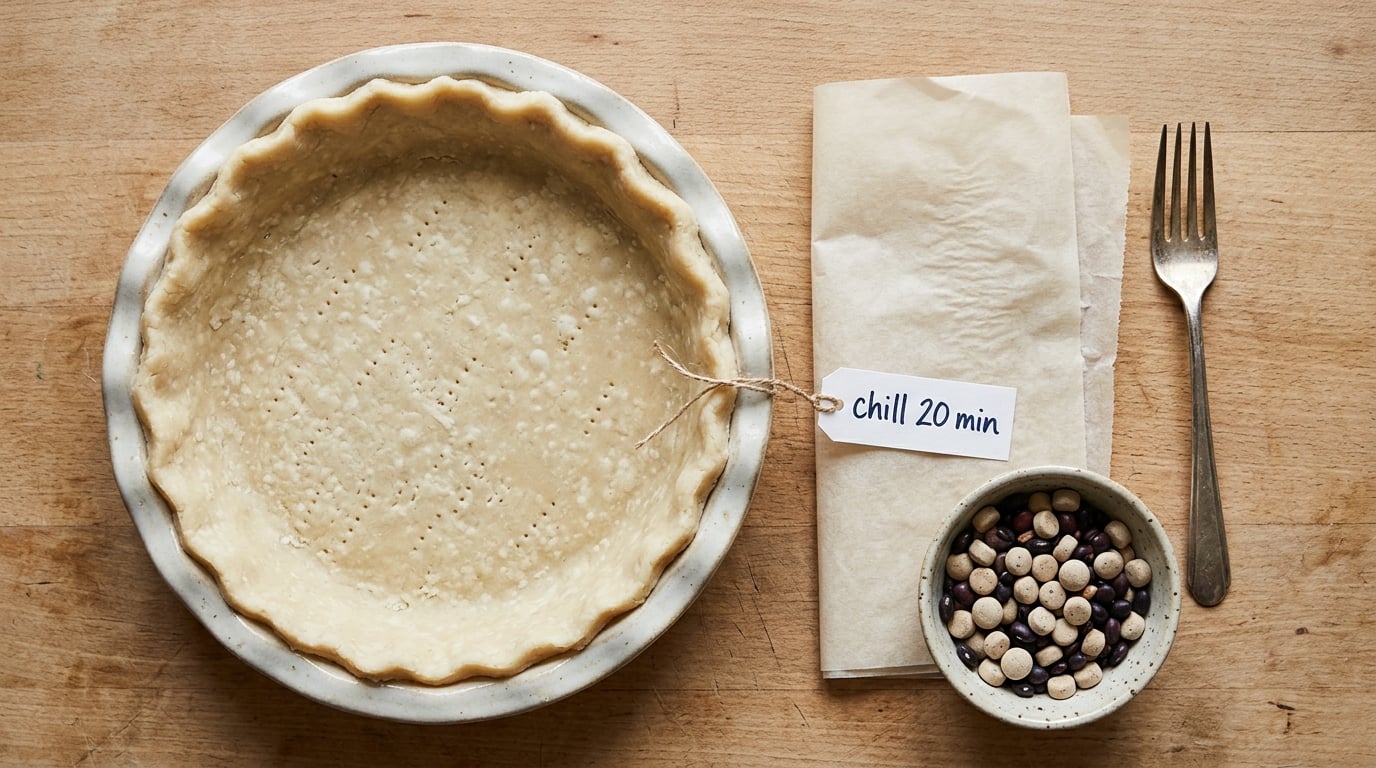
A blind bake needs almost nothing, which is why it is the first technique worth learning. The dough is the only ingredient that matters; everything else is a stand-in for your hand.
- A 9-inch pie dish. Glass, ceramic or metal all work. Metal heats fastest and gives the crispest base, glass gives an even bake, and ceramic looks the best on the table but is the least forgiving of temperature swings.
- Pie dough, chilled and workable. Homemade or a store-bought crust in the tin. A frozen crust straight from the box works fine, it just needs its paper disc left in place and a slightly longer weighted bake.
- Parchment paper or heavy-duty foil. Parchment for dry, sugar-free shells. Foil for fruit or anything with sugar in it, since sugar can stick paper to the crust as it cools.
- Pie weights, or a substitute. Two standard packs fill a 9-inch shell. Anything dense enough to press the dough flat will do.
- A baking sheet. Baking the dish on a preheated sheet gives the bottom a head start, which is the single easiest way to defeat a soggy base.
- A fork. For docking, and a pastry brush if you plan to egg wash.
- A foil strip or pie crust shield. Only needed if your rim browns before the bottom sets.
What you can use instead of pie weights
| Substitute | How it performs | Trade-off |
|---|---|---|
| Pie weights | Even, predictable pressure, made for the job | One purchase, and they live in a cupboard forever |
| Dry rice | Holds heat well, gives an even weight | Reusable, but pick through it for stones |
| Dried beans | Heavy, cheap, easy to find | Reusable only if you never eat them |
| Granulated sugar | Works well and browns as it heats | Not reusable, and it lengthens the bake by a few minutes |
| Old pennies | Small coins press the base evenly | Heat unevenly in a hot oven; fine for a short par-bake |
Save the rice or beans after baking and keep them in a jar by the stove. They are the cheapest set of pie weights you will ever own.
One safety note that gets skipped too often: never move a chilled glass or ceramic pie plate straight into a hot oven. The thermal shock can crack or shatter it. Let a cold dish come to room temperature first, keep glass chill time under 40 minutes, or use a metal plate if you are working ahead.
Step-by-Step
Step 1: Chill and Dock the Pie Dough
Roll the dough to an even 1/8 inch thickness. Thin spots and thick spots bake unevenly, and the thin patches are the first to shrink down the side of the dish.
Lay it into the pie dish without stretching it. Press it into the corners with your knuckles, leave it a little slack, and fold any overhang under the rim to build a slightly thicker edge rather than trimming and throwing it away.
Chill the shaped crust for 15 to 30 minutes, or 20 minutes in the freezer. This is the step people skip, and it is the reason their sides slump. Cold butter has to stay solid long enough to set the shape before it melts.
How to tell it worked: the dough sits flat against the dish with no ripples, and the sides hold their height when you lift the dish.
Step 2: Line the Shell and Add Weights
Preheat the oven to 375°F (190°C) with a baking sheet inside. Press a sheet of parchment down into the shell so it touches the bottom and follows the corners with no gaps.
Fill with pie weights, dry rice or dried beans, starting at the bottom and working outward. Cover the entire base and come up the sides, leaving the top inch of the rim clear.
How to tell it worked: the shell is completely covered, and you cannot see any dough through the liner.
Step 3: Bake the Weighted Crust
Set the dish on the hot baking sheet on the center rack and bake at 375°F (190°C) for 15 to 20 minutes. The weights stop the shell from slumping and the parchment stops the base from bubbling up into the air.
How to tell it worked: the edges look set and dry, the bottom looks dull rather than wet and glossy, and the sides hold a straight edge. If the crust is still pale and floppy in the middle, give it another 3 to 5 minutes with the weights in.
Step 4: Remove the Weights and Finish Baking
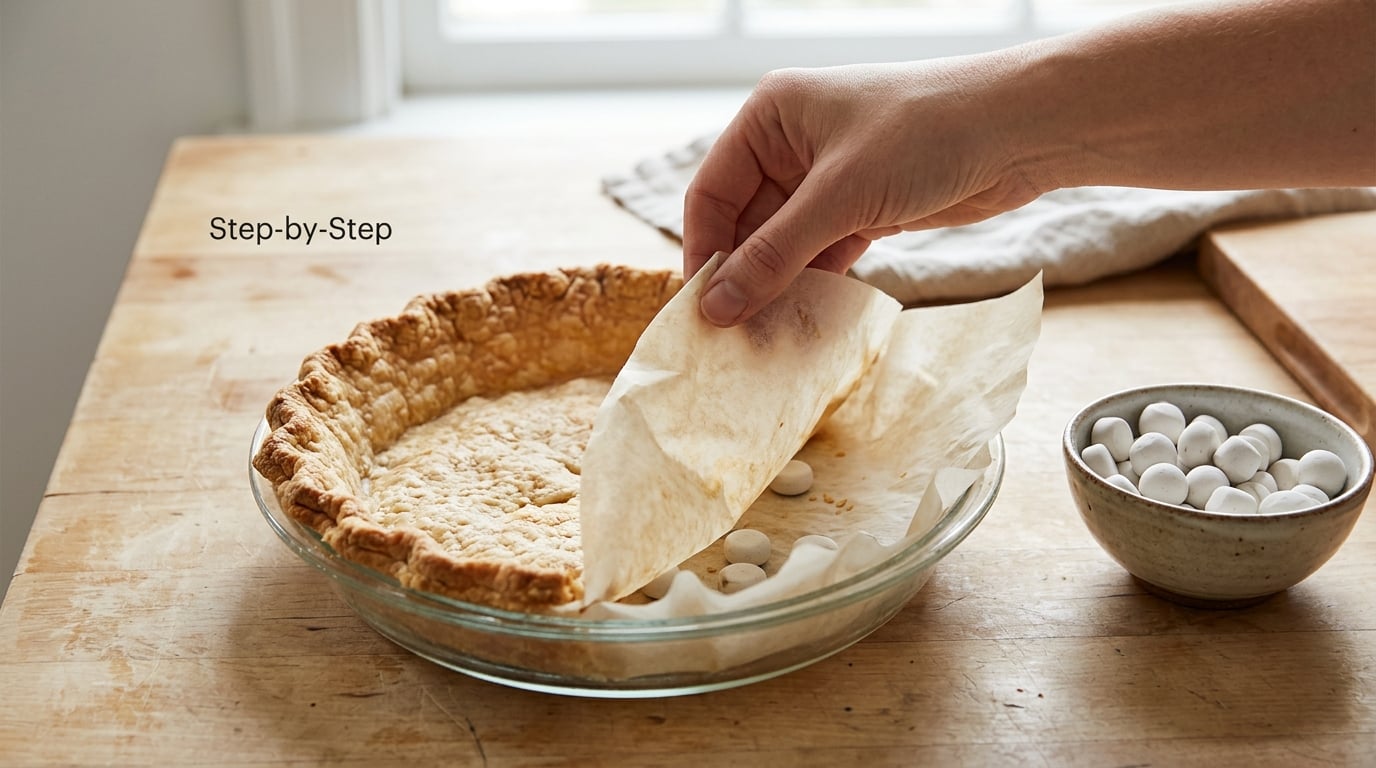
Pull the dish out and lift off the parchment, weights and liner together. Dock the exposed base all over with a fork, working in rows until the bottom is covered in small holes. That is what lets the last of the steam out so the base can dry and brown instead of puffing.
Now is the moment for an egg wash if you want a shiny, deeply colored rim. Brush on a beaten egg, return the dish to the oven, and lower the temperature to 375°F (190°C) if you started at 425°F.
Bake 7 to 8 minutes more for a par-baked shell, or 14 to 15 minutes for a fully baked one. If the rim is coloring faster than the bottom, drape a foil strip or pop on a pie crust shield.
How to tell it worked: the base is dry to the touch, firm, and pale gold to deep gold depending on your flour. Lift a small edge with a knife and check that the layer underneath is set, not doughy.
Step 5: Cool Before Adding the Filling
Let the shell cool on a wire rack for 15 to 30 minutes, longer for a fully baked crust. Adding a hot custard or cream filling to a warm shell gives the fat something to melt against and leaves you with a soft, weepy bottom.
<pHow to tell it worked: the base has gone from dull to firm, and the dish is comfortable to hold with a bare hand on the sides.
If you are working ahead, a par-baked shell will keep covered in the fridge for up to 3 days. Leave the weights out, do not wrap it while any warmth is left, and refresh it for 5 minutes in a 350°F (175°C) oven before filling. Fully baked shells freeze well for a month if you cool them completely first.
Common Mistakes
Almost every blind-baking problem traces back to one of four things: cold, weight, time or restraint. Here is what goes wrong and what to change.
The sides shrink down the dish. The dough was stretched, the butter was too soft, or the crust was not chilled. Handle the dough gently, let it rest so it relaxes without being overworked, chill the shaped shell properly, and build a thicker edge from the overhang. The dough strip technique, where you braid a rope of extra dough around the rim, is the nuclear option for stubborn shells.
The bottom is soggy, grey or raw under a done-looking rim. The shell went in too hot, the base was underdocked, or the filling went in before the crust cooled. Bake on a preheated sheet, dock more thoroughly, and let the shell cool for at least 15 minutes. A fully baked shell solves this outright when you know the filling will be wet.
The crust bubbles up in the middle after the weights come out. The base was not docked. The steam trapped under a sealed shell has nowhere to go, so it lifts the bottom. Prick the whole base, holes and all, once the weights are out.
The rim burns before the bottom sets. The oven is too hot, or the shell sits on a dark metal pan. Drop the temperature by 25°F, move the dish to a lower rack, or shield the edge with a strip of foil.
A big oily mess on the oven floor. Too much butter, or butter pieces too large. Cold, 1/2-inch cubes melt at an even rate. Very flaky dough will leak some fat no matter what, so put a baking sheet on the rack below.
The weights are too small or too light. Sparse weights let the base lift, and the edges slump anyway. Two full packs fill a 9-inch shell. If you are using rice or beans and it feels light, add more; there is no harm in over-filling the liner.
The liner sticks and tears the crust when you pull it. Sugar-based fillings gum up parchment. Use foil, and let the shell set a minute before lifting.
Store-bought crusts slump more than homemade. The dough is already warm and often has less fat. Chill it in the tin for a full 20 minutes in the fridge, and leave its paper disc in place for the first bake as extra insulation.
Two small variations worth knowing. Mini pies in a muffin tin need only 10 to 12 minutes weighted and 5 to 7 without, and many tart shells skip the weighted stage entirely. A dough strip along the rim, rolled from a rope of leftover dough, gives the sides enough structure to survive a long hot bake.
Frequently Asked Questions
What temperature do you blind bake pie crust at?
Bake at 375°F (190°C) for the whole blind bake, which is what most recipes and tested methods use. Some pastry cooks start at 425°F (220°C) for 12 to 15 minutes with the weights in, then drop to 375°F for the final 8 to 12 minutes without them. The higher start sets the fat quickly, and the lower finish stops the rim from burning before the bottom is dry.
What can I use instead of pie weights?
Dry rice, dried beans, granulated sugar and old pennies all work, and you need enough to cover the base of the dish and come partway up the sides. Rice and beans are the most reusable, sugar is not reusable and adds a few minutes to the bake, and pennies heat unevenly so they suit a short par-bake better than a long one. Save the rice or beans after baking and keep them in a jar.
Do I have to remove the pie weights halfway through?
Yes, removing them is the point of the second stage. The weights hold the shape while the dough sets; once the edges look dry and set, pull the dish out, lift off the liner and weights together, dock the base with a fork, and put it back. That second bake is what dries and browns the bottom, and it only takes 7 to 8 minutes par-baked or 14 to 15 minutes fully baked.
Why is the bottom of my pie crust soggy?
Almost always one of four things: the shell was filled while still warm, the base was not docked after the weights came out, the dish sat on a cold rack instead of a preheated baking sheet, or the shell was only par-baked before a very wet filling went in. Bake on a hot sheet, dock the base thoroughly, cool the shell 15 to 30 minutes before filling, and fully bake the shell when the filling is custard or cream.
Should I dock the pie crust before or after removing the weights?
After. The first set of holes goes in the bottom before the weights go on, which helps steam escape during the weighted bake, but the important docking happens once the liner and weights are lifted. Prick the exposed base all over at that point, because that is where the bottom is most likely to bubble up and cook unevenly without holes to let the steam out.
Can I blind bake a pie crust the day before?
Yes. Let the par-baked shell cool completely, leave the weights out, cover it and refrigerate for up to 3 days. Warm it for 5 minutes in a 350°F (175°C) oven before adding your filling so the shell is not shattering cold custard. Fully baked shells can be frozen for about a month, then thawed uncovered in the fridge overnight.
Start with the parts that cost you nothing: chill the shaped shell for 20 minutes, bake the dish on a preheated sheet, and fill the liner completely with whatever weights you have in the cupboard. Bake at 375°F (190°C) for 15 to 20 minutes weighted, then 7 to 8 minutes without for a par-baked shell or 14 to 15 for a fully baked one, and let it cool before the filling goes near it. Get those four right and learning how to blind bake a pie shell stops being a fiddly technique and turns into a ten-minute job you do without thinking.