
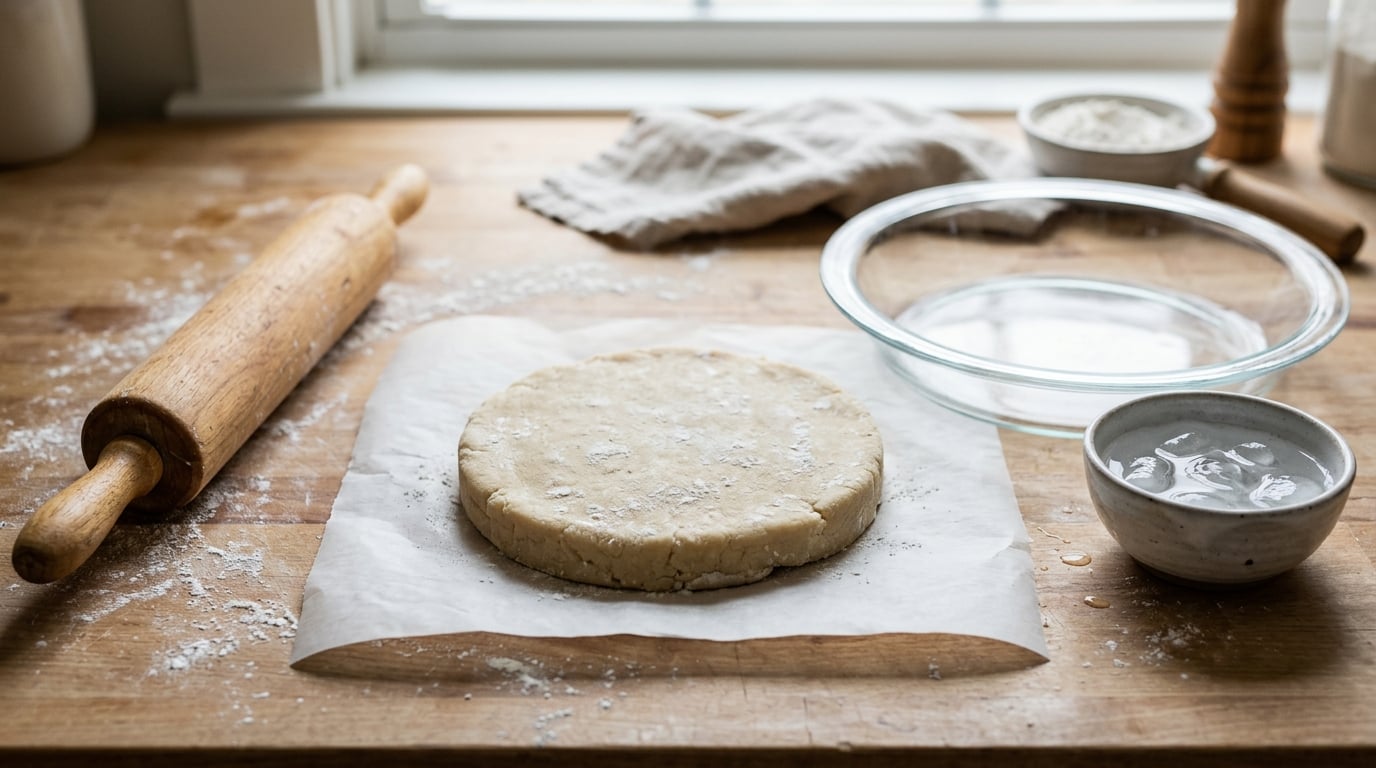
Pie crust shrinks for one reason: tension. The gluten network in the dough was stretched when you rolled it and pressed it into the pan, and the moment that stretched dough hits a hot oven, the fat melts, moisture turns to steam, and that network pulls inward. Chilled dough, gentle mixing, a real rest, no stretching, and weights pressed up the sides of the pan are what stop it. This method takes about 40 minutes of hands-on time plus an hour of chilling, and the technique is the same whether you are making lemon meringue, apple, pumpkin, or a quiche shell.
I have made a lot of pies in small kitchens with a temperamental oven, and the slumping shell was the failure that ruined otherwise good bakes. The filling tasted fine, the presentation looked like a mistake, and it usually was not a bad recipe. It was dough that got warm, got worked too hard, or got pulled tight over the lip of the dish. None of that is a fluke, and all of it is fixable before the dough ever sees heat.
One thing worth saying early: bakers use the word shrinking for two different problems, and they need different fixes. A center that balloons and then sinks is one failure, solved by docking and weights. Sides that slump down the wall of the pie dish are a different failure, solved by cold dough, not stretching it, chilling the shaped shell, and giving the wall enough thickness to hold itself up. Most guides only address the first, which is why so many people use pie weights and still end up with a short crust.
What You Need
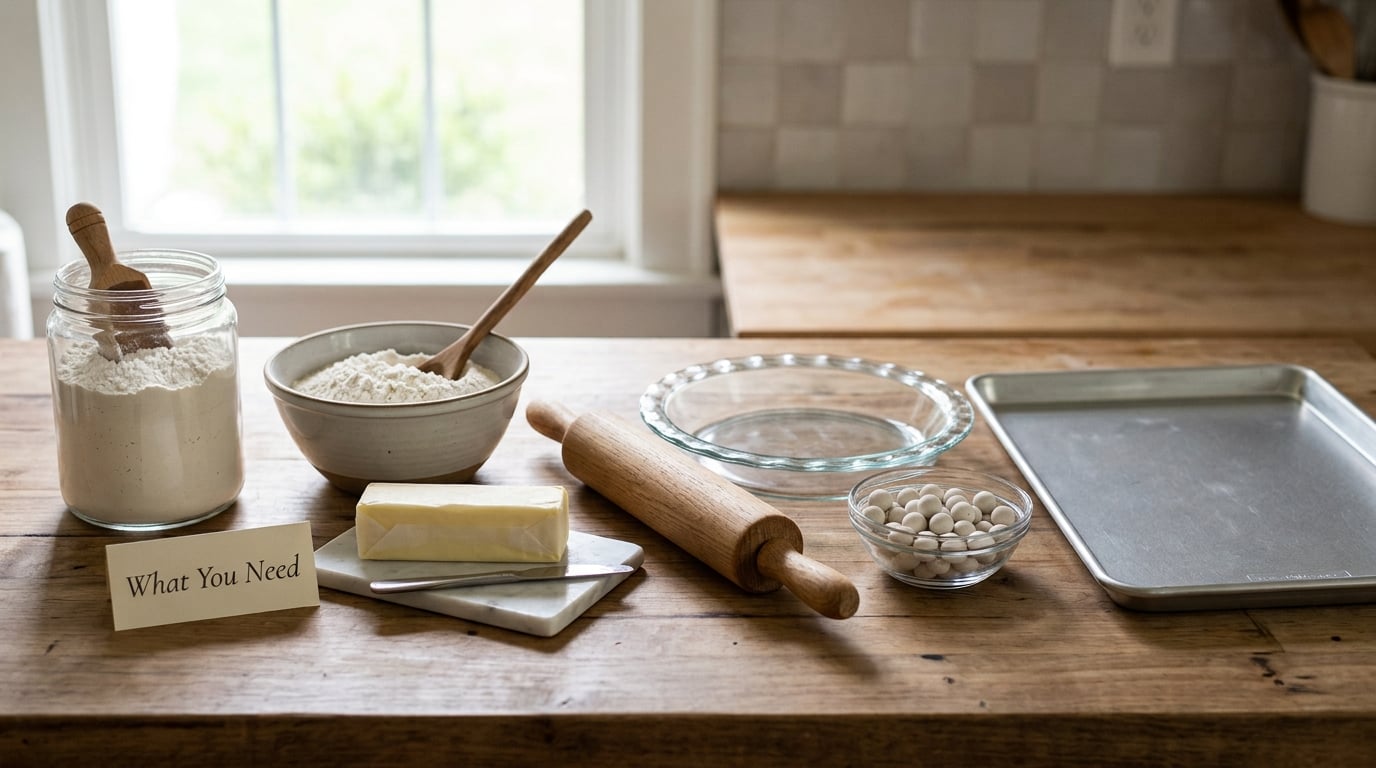
The ingredient list is short, which is nice, because every one of these items affects shrinkage in a specific way.
- Flour. All-purpose works. Pastry flour produces a flakier, more tender shell, but it browns faster, so watch the rim closely during blind baking and use a foil or crust shield if it scorches.
- Cold fat. Unsalted butter straight from the fridge, or vegetable shortening, or a mix of the two. Half butter and half shortening is a common home compromise for a shell that is both flaky and steady.
- Salt. A teaspoon, for flavor and for tightening the dough. It is not optional in a professional kitchen for a reason.
- Cold water. Ice water, or at least very cold tap water, added a spoonful at a time. Flour absorbs liquid greedily, which is where over-hydration comes from.
- A 9-inch pie dish. Glass, ceramic, or metal. Glass conducts heat well and gives you a golden bottom; it is also the one that can crack from a sudden temperature swing, so never move a chilled glass dish straight into a screaming hot oven without a short tempering pause.
- A rolling pin and parchment paper. The parchment is not just a transfer aid, it is what lets you chill the rolled disc without picking it up and stretching it.
- Pie weights, and a second sheet pan. A sheet pan of dry beans, a set of ceramic weights, or a foil-and-parchment cover if you are out of both.
That is the full kit. A fork comes next for docking, and a small bowl of ice water stays nearby in case the dough needs a spoonful more.
Step-by-Step: How to Make a Pie Crust That Does Not Shrink
1. Keep the Ingredients and Dough Cold
Cold fat is what makes a flaky crust, and cold fat is also what keeps that crust from shrinking. Solid butter cut into the flour leaves small pockets that turn to steam and separate the dough into flaky layers. If your butter is room temperature or your flour has been sitting in a warm cupboard, those pockets never form and you get a dense shell that contracts hard in the heat.
If your hands are the problem, wash them in cold water and dry them well before you start. Chill your mixing bowl and your rolling pin in the freezer for 10 minutes while you measure, and if the dough turns greasy and sticky partway through mixing, stop immediately, spread it flat on a sheet pan, and put it in the fridge for 15 minutes. Greasy dough means the butter melted, and you can recover it, but only by cooling it down.
2. Mix Just Until the Flour Is Combined
Cut the fat into the flour until the pieces are the size of peas, then add cold water a spoonful at a time and stop the moment the dough holds together when you pinch it. That is the whole test. If the dough is not quite cooperating, add another half spoonful rather than pouring in a measured amount of water, because too much liquid is a leading cause of shrinkage that most people never suspect.
Overworked dough is easy to identify once you have seen it. It goes from crumbly to smooth to slightly springy in a matter of seconds, and it sticks to everything. When the dough smears against itself instead of breaking into shaggy pieces, gluten has started to develop, and that network is exactly what contracts in the oven. If you see that happen, stop mixing immediately. Add a tablespoon or two of ice water, chill the mass, and it will come back.
A half-and-half butter and shortening dough is worth trying if you have had trouble with flaky all-butter shells. The shortening has a higher melting point than butter, so the dough holds its structure in the oven for longer.
3. Rest the Dough Before Rolling
Flatten the dough into a disc, wrap it, and refrigerate it for 30 to 60 minutes. The rest does two jobs. The butter firms back up, and the flour finishes hydrating, which means less water is needed at rolling time and the dough is far less willing to stick to the pin and tear.
Bakers who make pies regularly often rest the dough for hours or overnight, and that is not fussiness. A dough rested overnight in the fridge rolls out noticeably more easily, and the shell that comes out of it is less prone to contracting unevenly.
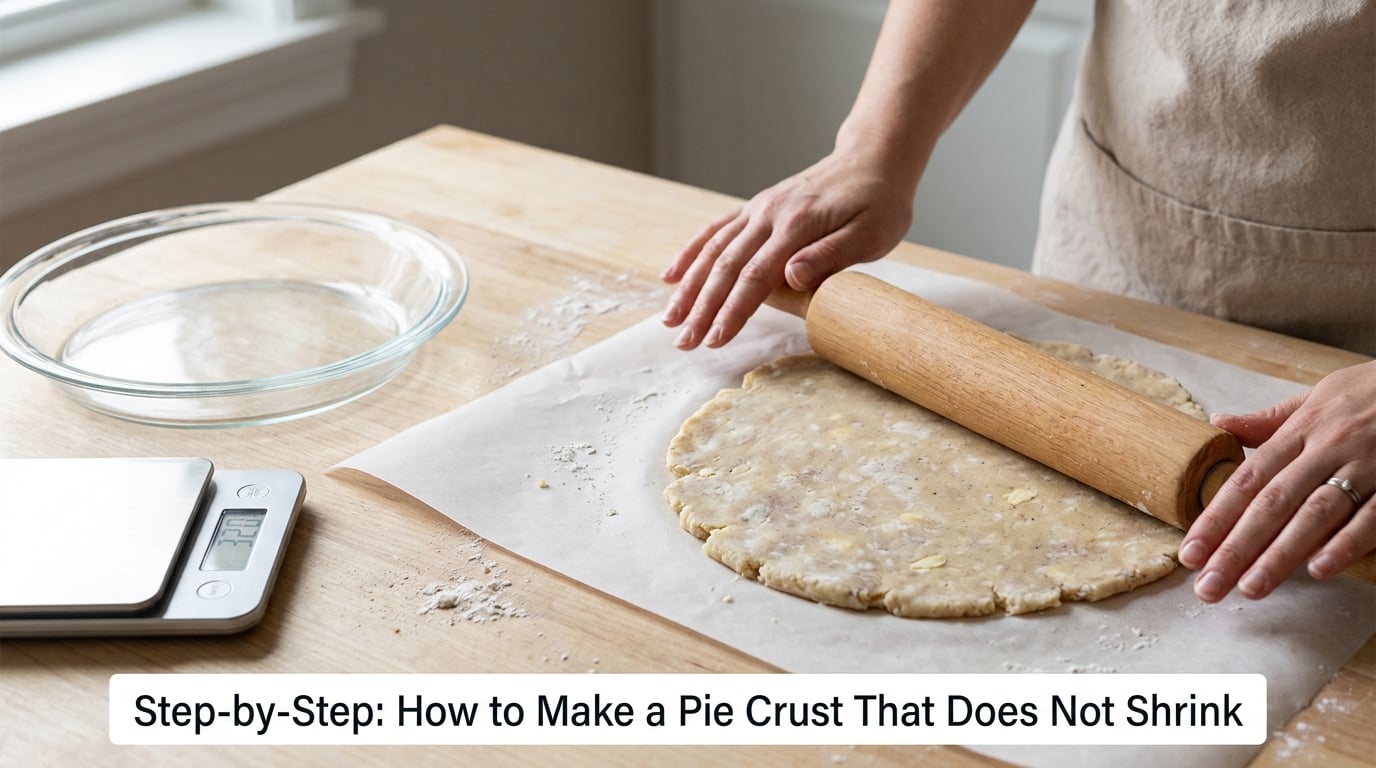
4. Roll the Dough Without Stretching It
Take the dough straight from the fridge and hit it with the rolling pin immediately. Cold butter at room temperature shatters rather than rolls, so if the disc is rock hard, let it sit for 5 to 10 minutes and no longer. You want it firm, not frozen solid.
Roll from the center outward, always in one direction, turning the dough a quarter turn after every few passes. Keep turning. Most shrinkage starts at the sides of the disc, and turning keeps the dough moving evenly under the pin instead of being pushed around a stationary table. Aim for an even thickness of about an eighth of an inch, and check it by holding the edge up to the light rather than eyeballing it.
What you are avoiding is stretching. The moment you pull the dough outward to correct a short circle, you load the gluten with tension it will remember in a 350°F oven, and the dough will shrink back and drop down the pan. Lift a short patch with a bench scraper, add a small strip of dough, and roll the seam flat instead.
5. Fit the Crust Without Pulling It Tight
Drape the disc over the rolling pin, lower it into the dish, and let it fall into place under its own weight. Then ease it into the corners. Do not press it down, and do not push the sides of the dough outward or up against the wall. Leave a small overhang, about a half inch past the rim, and crimp or flute that overhang without thinning it.
If the dough slumps below the rim as you fit it, that is fine, and it is not a failure. The shell is supposed to look too loose right now. The sides that got stretched into place while you were pushing the dough against the pan are the ones that will slump later, so keep every side relaxed and let the chilling and weights do the shaping.
For an extra-sturdy wall, use the dough strip technique. Roll a second small piece of dough about one inch wide and press it around the inside rim of the dish with the dough, overlapping the strips as you go. The extra thickness gives the side something solid to stand on, and readers who have struggled with slumping for years often find this the single change that fixes it.
6. Chill the Shaped Crust and Weigh It Down
Put the shaped shell in the fridge for 30 minutes, or the freezer for 15, before it goes anywhere near the oven. A cold shell holds the shape you just gave it. A warm one relaxes into whatever shape gravity prefers, and that is the slump you were trying to avoid.
Then dock the bottom. Use a fork to prick holes all across the base, close together, in a pattern that covers the surface evenly. Docking lets steam escape so the center does not balloon and collapse, which is a separate problem from side shrinkage, and the two are often confused.
Line the shell with parchment paper and fill it with weights up to about three-quarters of the way up the sides, not just across the base. Weights sitting on the bottom stop puffing; weights pushed against the wall are what hold the sides in place. If the shell is a deep-dish pie, weights on the base alone will not do it. Bakers using dry beans, rice, or even sugar in a pinch report the same results as ceramic weights, since all you need is something heavy, dry, and clean enough to reuse.
Never use pie weights straight from the fridge or freezer in a very hot oven, and let a chilled glass dish temper on the counter for 10 to 15 minutes first. Thermal shock is a real and entirely avoidable way to end up cleaning glass off the floor of a hot oven.
7. Bake Until the Bottom Is Set
Bake at 375°F. Set the shell in the oven on a lower rack with the sheet pan underneath to catch anything that escapes, and bake with the weights for 15 to 16 minutes, until the edges look set and the base is no longer pale and floppy at the center.
Then pull the weights and parchment, dock the exposed base again, and return it to the oven. Give it 7 to 8 minutes to finish a par-baked shell for a fruit or custard filling, or 14 to 15 minutes for a fully blind-baked shell for a no-bake pie. Look for a light golden color across the whole bottom, not just at the edge, and a dry-looking surface with no give when you press it.
If the rim darkens before the bottom sets, cover it loosely with a strip of foil. This matters more than most guides admit if you use pastry flour, which has a lower protein content and browns noticeably faster. A shield solves it in about thirty seconds of oven time.
Underbaking is a genuine contributor to collapse. A crust that is still soft in the center when it comes out has not finished setting, so it will sink under the weight of the filling. Give it those extra minutes, then cool the shell completely on a rack before adding anything wet.
Common Mistakes
Almost every shrunken crust traces back to one of a short list of causes. Find your symptom below, then fix the cause instead of trying a different recipe and hoping.
- Crust drops below the rim of the dish, filling shows through the sides. The dough was stretched while being fitted into the pan. Let the disc fall into the dish under its own weight, ease the corners, and leave a loose overhang.
- Center balloons, then sinks and the bottom is concave. No docking and no weights, so steam had nowhere to go. Dock the base with a fork, line with parchment, and weight up the sides.
- Bottom drops into a shallow bowl under a heavy filling. The shell came out of the oven underbaked and soft in the center. Bake until the base is uniformly light golden, then cool the shell fully before filling.
- Crust shrinks dramatically and bakes out tough and dense. The dough was overworked, so gluten developed a contractile network. Stop mixing the moment the dough holds together, and rest it in the fridge for 30 to 60 minutes.
- Shrinking is uneven and the dough felt sticky or greasy to handle. The butter was soft and melted into the flour. Chill everything, cut fat while it is solid, and refrigerate the dough any time it turns greasy.
- Base looks fine but the whole shell shrank in the oven. The dough was over-hydrated from too much water. Add water a spoonful at a time, and stop as soon as the dough pinches together.
- Rim is scorched while the bottom is still pale. Pastry flour, or an oven running hot. Use all-purpose flour, lower the rack, and shield the rim with foil.
- Sides slump even though the center held perfectly. Weights only covered the base and never the wall. Fill the weights up the sides of the dish, and chill the shaped shell again before baking.
Docking alone is not the answer
This is the most persistent myth on the subject. Docking the bottom stops the center from ballooning. It does nothing at all for a shell that has been stretched over the rim, and it does nothing to hold a side wall in place. If you only change one habit after reading this, make it the shaped-shell chill, not the fork pricking.
Vinegar, vodka, and baking powder
Small amounts of vinegar or vodka do make a dough slightly more tender, because the alcohol and acid interfere with gluten, and many published recipes include one for that reason. They are not what stops shrinkage. Chilling is what stops shrinkage. Baking powder belongs to Southern-style pie crusts and biscuit doughs, not to a flaky butter crust.
If you want a dough that resists shrinking at the composition level rather than the technique level, a tangzhong-style method is the option to look at. Milk Street’s version mixes a portion of the flour with boiling water into a paste, lets it cool, then works it into the dough with sour cream. The hydrated paste keeps the remaining flour from forming a full gluten network, and that is a real technique, not a marketing trick. It also changes the texture toward tender rather than flaky, so it is a different crust, not a better one.
Frequently Asked Questions
Why does my pie crust shrink in the oven?
Dough that was rolled or fitted under tension holds that tension until heat hits it. In the oven, the fat melts, moisture turns to steam, and the gluten network relaxes and pulls inward, so the shell contracts and slumps down the pan wall. Overworked dough, over-hydration, warm butter, and stretching the sides all add to it.
Should I chill pie dough before rolling it?
Yes, and 30 to 60 minutes in the fridge is the usual window. The rest firms the butter back up and finishes hydrating the flour, so you need less water at rolling time and the dough tears less. Overnight is even better if you have the time. Take it out of the fridge and roll within about 10 minutes, before the butter softens again.
How long should pie crust chill before baking?
Chill the shaped shell for 30 minutes in the fridge or 15 in the freezer, after fitting it into the dish. This second chill is the one people skip, and it is the one that holds the shape you just gave the dough. If you are freezing the shaped shell to skip blind baking entirely, let it temper on the counter for 10 to 15 minutes before baking so the dish is not shocked by oven heat.
Do pie weights really stop a crust from shrinking?
They stop one kind of shrinking well, and only if you use them correctly. Weights pressed across the base stop the center from ballooning, but they need to reach about three-quarters of the way up the sides to hold the wall in place. Dry beans, rice, or ceramic weights all work. Dry is the important part, since wet beans soften the shell underneath them.
Can I roll pie dough again after it cracks?
Yes, and you should. Sprinkle a little flour over the crack, press the edges together, and roll from the center outward again, keeping the thickness even. If a section has lost too much dough to repair, patch it with a fresh strip rather than stretching the surrounding dough to fill the gap, because stretching is what you are trying to avoid. Any repaired area is also worth an extra minute of rolling to blend.
How far in advance can I make pie crust?
Unbaked dough keeps well wrapped in the fridge for about three days. Formed, unbaked shells can be frozen for a month or more: freeze the dough in the pan, then cover it once solid. To bake from frozen, temper the shell on the counter for 10 to 15 minutes first, especially if the dish is glass, then bake at 375°F as usual. A par-baked shell keeps in the fridge for a few days before filling.
What to Change First on Your Next Pie
Chill the shaped shell a second time before it goes in the oven, and never push the sides of the dough against the dish. That single habit, more than any ingredient swap, is what makes a pie crust that does not shrink. Everything else in this guide is a support for those two moves.
Once the shell bakes clean and holds its height, the rest of the bake gets easier. Let it cool enough to slice cleanly, and do not judge the crust by how it looked coming out of the pan. The method has not changed much since the first pie doughs, and in 2026 it is still the same three things: cold, unrushed, and unstretched.