
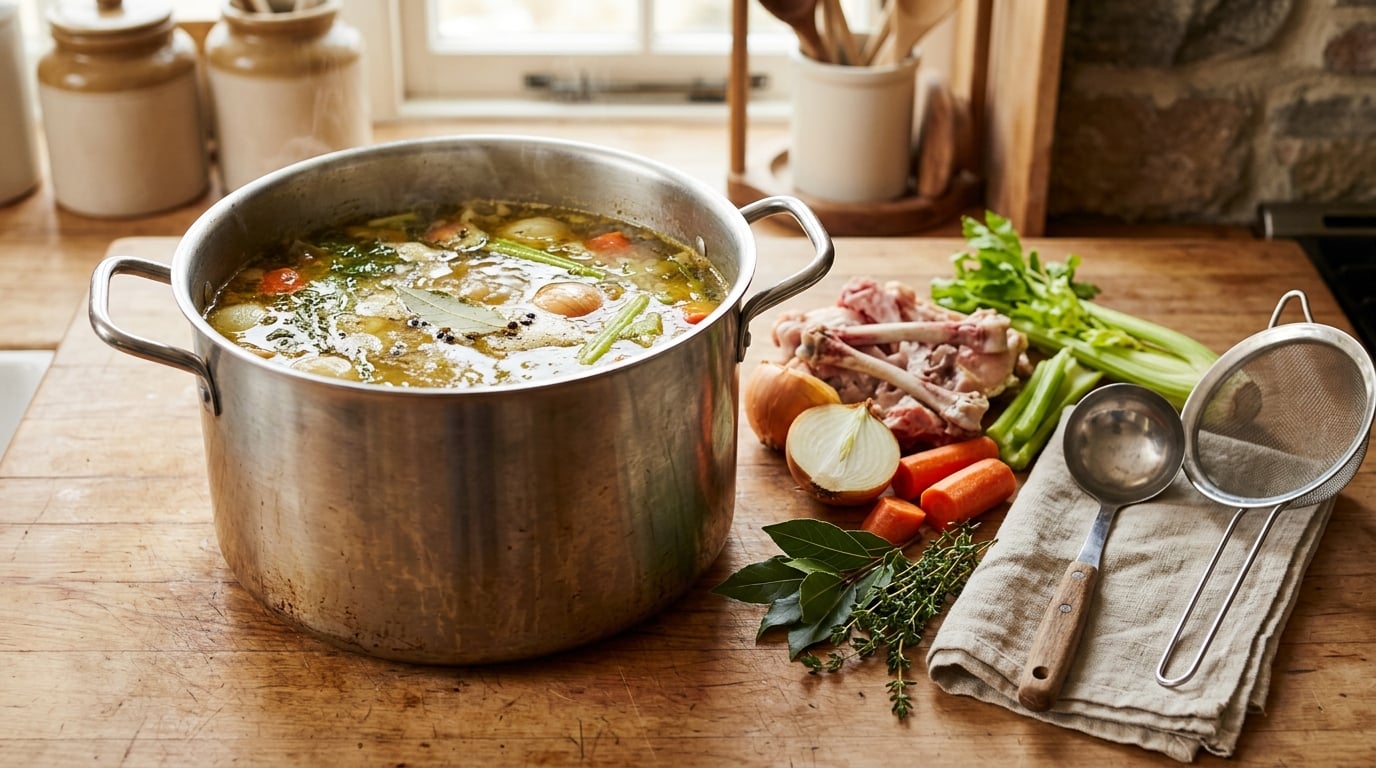
Learning how to make chicken stock from bones is about patience, not skill: cover leftover bones and vegetable scraps with cold water, hold them at a bare simmer for two to four hours, then strain. From prep to storage you have about half an hour of actual work and an afternoon of simmering, and one whole chicken carcass gives you roughly 3 to 4 quarts of finished stock.
That is the whole secret, honestly. There is no technique to master, no special equipment, and nothing to buy. The bones do the work as long as you give them time, a gentle heat, and enough water to move.
Once you know how to make chicken stock from bones, the good part is knowing what to do with it. A mug of it deglazes a pan for a quick sauce, it is the liquid for a pot of rice, and it turns weeknight vegetables into something that tastes like you planned ahead.
Table of Contents
- What You Need
- Step-by-Step: How to Make Chicken Stock From Bones
- Common Mistakes
- Frequently Asked Questions
- Do I need to roast chicken bones before making stock?
- How long should chicken bones simmer for the best flavor?
- Why is my chicken stock cloudy?
- Can I make chicken stock without vegetables?
- How much salt should I add to homemade chicken stock?
- How long does homemade chicken stock last in the refrigerator and freezer?
- Conclusion
What You Need
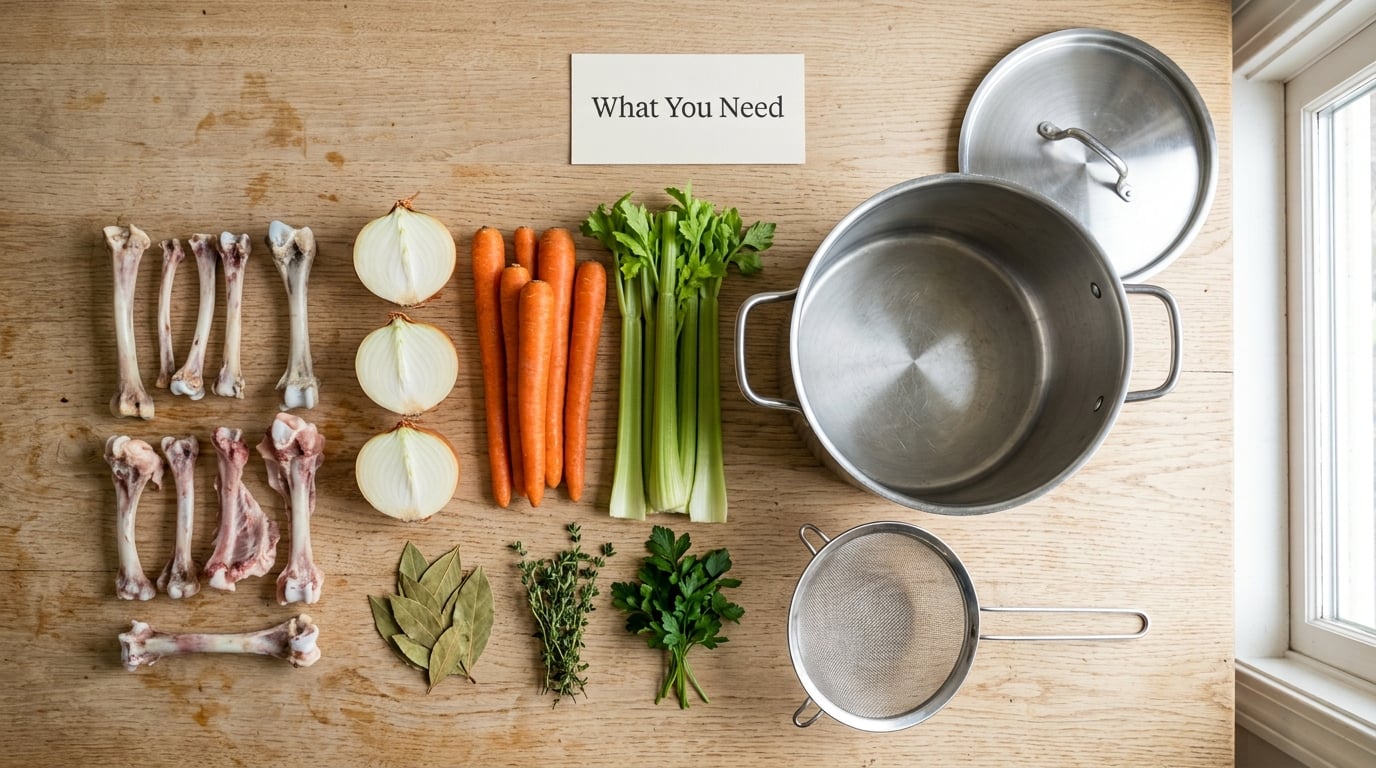
The ingredient list is short, and almost everything on it is optional except the bones and water.
- 1 whole chicken carcass, or 2 to 3 pounds of bones (backs, necks, wings, or feet)
- 12 cups (3 quarts) cold water, plus extra in case the bones soak it up
- 2 medium carrots, scrubbed and roughly chopped
- 2 celery stalks, roughly chopped
- 1 large onion, quartered with the skin on
- 2 bay leaves, 4 to 6 black peppercorns, and a few thyme sprigs or parsley stems
- Optional: 4 to 6 smashed garlic cloves, a 1-inch slice of ginger, a strip of lemon peel, or a small fennel bulb
The onion, carrot, and celery trio is called mirepoix, and it is the backbone of most Western stocks. Cooks who follow the classic 2:1:1 ratio use two parts onion to one part carrot to one part celery, and it gives you a rounder, sweeter pot than any herb can manage on its own.
Which Bones Give You the Most Gelatin?
Every bone makes stock. They just differ in how much collagen they hold, and collagen is what turns liquid into a soft set when it chills.
| Bones | Gelatin yield | Best use |
|---|---|---|
| Feet | Highest | Max body and a thick, glossy set; cooks call them liquid gold for a reason |
| Necks and backs | High | Deep flavor, the classic all-purpose base for soups |
| Carcass from a roast or rotisserie bird | Medium to high | Already seasoned, so the stock tastes finished |
| Wings and leg bones | Medium | Good flavor, lighter body |
| Breasts and wishbones | Low | Fine for flavor, but they will not set on their own |
Mixing is the easy fix. Add a handful of feet or necks to a carcass and you get both the flavor of the bird and enough collagen for a stock that quivers in the fridge.
One question I get asked constantly: can you use bones from chicken you already cooked? Yes. Roasted, braised, rotisserie, and fried bones all work. Braised and rotisserie bones carry seasoning into the pot, which means you can go easy on the salt and the herbs. The one exception is heavily spiced or cured poultry, like jerk or smoked chicken, since those flavors can overpower everything else.
Equipment and Optional Substitutions
An 8- to 12-quart stockpot is the main thing. Anything smaller crowds the ingredients and forces you to work in batches.
- Stockpot with a lid, 8 to 12 quarts
- Slotted spoon or ladle for skimming and stirring
- Fine-mesh strainer, ideally lined with a single layer of cheesecloth
- Heatproof measuring jug or pitcher so you can cool the stock faster
- Wide, shallow containers for cooling, plus lids and a marker for dating them
- Ice cube tray or silicone molds for freezing small portions
A thermometer is worth having for one reason: it tells you whether you are simmering at around 195 to 205°F, which is the range where collagen converts without the violent agitation that clouds the liquid.
Substitutions are easy here. No fresh herbs, use a teaspoon of dried thyme and a crumbled dried bay leaf, and use half the amount since dried herbs keep going. No celery, use the leafy tops from a bunch, or the green ends of a leek. Nothing but bones and water, which is exactly the old-fashioned method, and it produces the cleanest, clearest stock of all.
Many home cooks keep a bag of scraps in the freezer: onion ends, carrot peels, celery tops, mushroom stems, herb stalks. When the bag fills, that is your stock night.
Step-by-Step: How to Make Chicken Stock From Bones
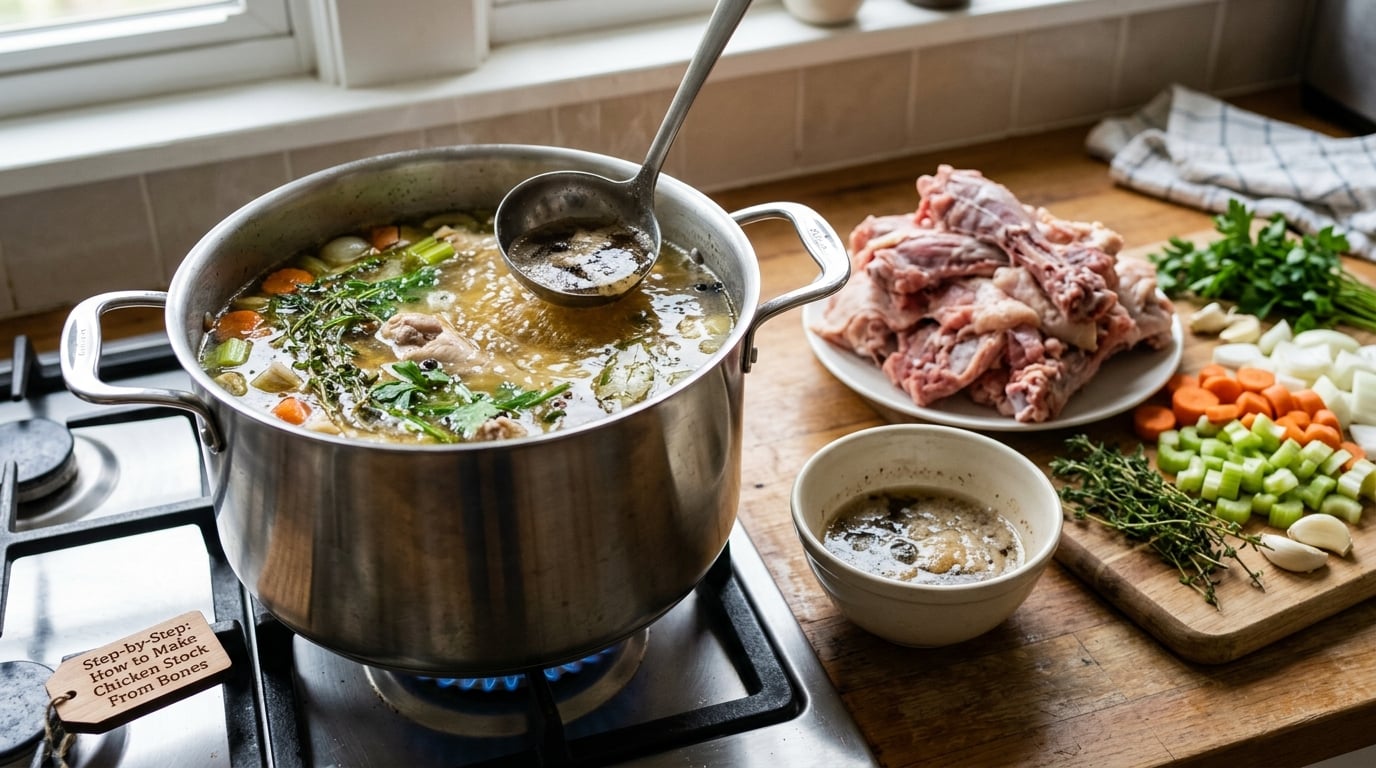
Read the whole method once before you start, because two details do most of the work: you start in cold water, and you never let the pot come to a hard boil.
1. Roast or Soak the Chicken Bones
Drain the bones if they came straight from the fridge, pat them dry, and decide whether to roast them. Roasting at 400°F for 30 to 45 minutes, until the surfaces turn deep golden, adds a roasted, almost nutty depth that no amount of simmering will replicate. Roast the vegetables alongside them for the last 20 minutes and you get caramelization on the carrots and onion, too.
Roasting is optional. Raw bones simmered for four hours give you a lighter, cleaner-tasting stock that some cooks prefer for delicate soups.
Soaking is the other option, and it only solves one problem. If your bones are noticeably salty, cover them with cold water, hold for about 30 minutes, then drain and refill with fresh water before they go in the pot. That pulls off surface salt without stripping the flavor from the bone itself.
You do not need to break the bones apart, though plenty of people do it to speed things up. Chopping increases surface area and shortens the simmer, but it also creates loose fragments that make straining miserable. Cut the thickest back and carcass in two or three pieces with a heavy cleaver and call it done.
2. Build the Stock Pot
Put the bones in the cold pot first, then the vegetables, then the herbs, and finally the water. Layering matters less than people think, but bones at the bottom heat more evenly and are less likely to float and roll around.
Add cold water until it sits about 2 to 3 inches above everything in the pot. Starting with cold water is not a superstition. Bone marrow and collagen are sealed inside the structure, and a slow heat with cold water lets them seep out gradually. Water added to already-hot bones hits the surface, seals it, and gives you a thinner pot.
Check the water level about 20 minutes in and top it up with hot water if it has dropped more than an inch. Every time you add cold water, you restart the slow extraction, so top up with hot water from a kettle.
3. Bring the Stock to a Gentle Simmer
Turn the heat to medium-high until the pot comes to the boil, then drop the heat until you see one or two lazy bubbles at the surface every second or two. That is a simmer. A rolling boil is roughly 212°F and it churns the liquid, emulsifying fat and protein into tiny suspended particles, which is the single biggest reason stock comes out cloudy and greasy.
As the water heats, gray foam and scum rise to the top. Skim it off with a slotted spoon for the first 20 to 30 minutes and the stock stays noticeably clearer. Get a little of the foam in and it is not a disaster, but keeping the pot clean while the liquid is still cloudy is a cheap win.
Set the lid slightly ajar. A tight lid traps steam, the pot boils itself dry, and the liquid gets bitter; a fully open pot loses so much volume that you would be topping it up all afternoon. A crack is the balance.
4. Simmer Until the Stock Is Flavorful
Two hours is a usable minimum and four hours is where most home cooks land. There is no clock where the stock suddenly becomes perfect at 2 hours 15 minutes, so plan on tasting at the two-hour mark and again at three and a half.
| Method | Time | Heat | What you get |
|---|---|---|---|
| Stovetop | 2 to 4 hours | Bare simmer, 195 to 205°F | Best control over clarity and the most flavor from long, slow heat |
| Slow cooker | 7 to 8 hours | Low | Set it before breakfast, taste it at dinner, zero fuss |
| Pressure cooker | 45 minutes | High pressure, natural release | Fastest path to a strongly gelatinous stock |
How do you know it is ready? Taste it. Good stock tastes round and savory rather than thin and watery, and it should taste slightly more intense than the liquid you started with. Put a spoonful in the fridge for ten minutes to check the set, or just trust the time and move on.
Long simmering is not the same as boiling. A hard boil scorches the bottom of the pot, drives off the fresh aromatic notes you want, and turns the surface greasy. If you can see the liquid moving more than a tremble, turn the heat down.
Herbs are the one thing with a clock. Bay leaves and rosemary become resinous and medicinal past about four hours, so fish them out with the other solids at the end. Thyme and parsley stems hold up longer.
5. Strain, Cool, and Store the Stock
Lift out the bones and solids with a slotted spoon, then pour the liquid through a fine-mesh strainer lined with cheesecloth. Do not press hard on the solids; squeezing pushes fine particles and fat through the cloth and dulls the clarity.
Straining is easier in two passes. The first pass removes the big pieces, and the second through clean cloth takes out the small bits and the fat film floating on top. If you want clear stock without any effort, chill it first and lift off the solid fat cap from the top of each container the next day.
Cooling is the part that matters for safety. Move the strained stock into wide, shallow containers so it cools quickly, set those containers in an ice bath, and refrigerate within two hours. Straight-sided glass or plastic containers are better than a deep mug, because a mug takes the whole afternoon to cool to a safe temperature in the middle.
Once it is fully cold, cover the containers and date them. Homemade stock keeps 3 to 4 days in the refrigerator, and reheating it to 165°F before use is the safe move. For a longer rest, freeze it in the shapes you will actually want: flat freezer bags for quarts, wide-mouth jars with a half inch of headspace, or an ice cube tray for one and two-tablespoon portions that go straight into a pan sauce.
Frozen stock keeps 3 to 6 months, and the quality is usually still excellent at the four-month mark. Defrost overnight in the refrigerator rather than on the counter, and use it within a day of thawing.
Make It in a Slow Cooker
This is the method I use most, because it does not ask you to stand at the stove. Put everything in a 6-quart slow cooker, fill with cold water to 2 to 3 inches above the ingredients, and cook on low for 7 to 8 hours. Skip the pre-boil, since the gentle heat does the same job without the foam.
You cannot skim a slow cooker, so the liquid will be a little cloudier than stovetop stock. Strain it twice through cloth and chill it, and the fat cap will handle the rest. The trade is worth it for a completely hands-off batch.
Make It in a Pressure Cooker
A pressure cooker is the fastest route to a stock that sets like jelly. Add the bones, vegetables, herbs, and cold water to the pot, leaving the pressure valve clear of solids. Cook on high pressure for 45 minutes, then let the pressure release naturally for another 15 to 20 minutes before you open it.
Natural release is not optional here. A quick-release valve dumps the pressure, and the liquid surges and boils violently, which is exactly the disturbance that clouds a pressure cooker stock. Open it, skim any foam that formed, and strain it while it is still hot.
Pressure cookers run hotter than a stovetop simmer and the bones move around more, so expect a deeper, slightly rougher liquid than the stovetop version. It is a trade almost everyone accepts for forty-five minutes instead of four hours.
Common Mistakes
Almost every disappointing batch of stock traces back to one of five things. Here is what went wrong and what to change.
Why Stock Turns Cloudy, Greasy, Bitter, Salty or Thin, and How to Fix It
Cloudy stock. A hard boil is the usual cause, followed by skipping the skim and adding starchy vegetables such as potatoes. Next time hold a true simmer, skim for the first half hour, skip the potatoes, and pour the finished liquid through cloth. For the batch you already have, chill it overnight and lift the clarified layer off the sediment.
Greasy or slick mouthfeel. That is emulsified fat, and it comes from boiling plus fatty bones such as wings and thighs. Simmer gently and skim, then chill the stock and scrape or lift the solid fat cap off each container. A fat layer of a quarter inch is normal and useful, but a slick film across the whole surface is not.
Weak, thin stock that will not gel. Almost always a bone problem, not a time problem. Breast bones and wishbones simply do not carry much collagen. Add feet, necks, or backs, simmer the full four hours, and check with a spoon test. If the flavor is right but the body is not, reduce it gently by a third in a wide pan, which concentrates both flavor and gelatin.
Salty stock. You either added salt too early or used bones that were brined. Stock is unsalted by design so you can season the dish you are building, since a sauce or soup reduces that salt further. For a batch that is already salty, dilute with unsalted stock or water, or add unsalted cream, tomato, or rice to the final dish.
Bitter stock. Two causes: boiling the bottom of the pot dry, and steeping herbs like bay, rosemary, or fennel for far too long. Pull the solids out earlier next time, keep a closer eye on the heat, and add a splash of acid at the end. A small squeeze of lemon often softens bitterness that no amount of simmering will.
Watery stock. The bones went in with too little water, or the pot was topped up repeatedly with cold water, restarting the extraction each time. Use enough cold water to cover the solids by 2 to 3 inches, and any top-ups should be hot.
What Not to Put in the Pot
Some ingredients actively work against a good stock.
- Salt, always. It concentrates as the stock reduces, and seasoned bones already bring plenty with them
- Brassicas, including cabbage, broccoli, kale, and Brussels sprouts, which turn sulfurous after a long simmer
- Potatoes and other starches, which break down and cloud the liquid
- Liver and organ meats, which go metallic and bitter after an hour of heat
- Tomatoes or large amounts of vinegar, which add acidity that flattens the flavor of a long stock
- Eggshells, despite the persistent claim. They add calcium, but so do bones, and they do not improve a stock
What to Do With the Strained Bones and Vegetables
Throwing the solids in the bin is a shame, because the meat is perfectly good. Pull the breast meat off the carcass before simmering if you want a roasted chicken and a pot of stock in the same afternoon. Even after four hours, the meat on a back or wing is tender and worth shredding into a soup, a sandwich, or a pot of rice.
The vegetables are softer and milder, so they are fine folded into a stew or mashed into a soup, though they will not go back into anything crisp. The bones go to the compost bin. Cooked bones splinter, so they are not safe to give to a dog, even though the raw idea of a chew treat is tempting.
Ways to Use Your Finished Stock
Use it within four days from the refrigerator, or freeze it the day you strain it. The easiest wins come first: cook rice in stock instead of water, and the grains come out savory with no extra work. Deglaze a pan after searing meat, reduce the liquid with a spoon of cold butter, and you have a sauce in the time it takes the meat to rest.
A cup of stock with a pinch of salt is a genuinely good drink, which is the fastest way to judge your own batch. It is also the liquid of choice for soup, stew, risotto, curry, and braised greens, and it makes weeknight mashed potatoes taste like they were made with care, the same way a restaurant does it.
How to make restaurant style mashed potatoes at home covers the technique where stock does the work in the pot, and for a fast pan-sauce partner, how to make an omelet that does not stick works on the same seasoned pan.
Frequently Asked Questions
Do I need to roast chicken bones before making stock?
No, and raw bones are how most stock was made for centuries. Roasting at 400°F for 30 to 45 minutes until the surfaces turn deep golden adds a roasted, nutty depth and a richer color. Skip it and you get a lighter, cleaner-tasting stock that some cooks prefer for delicate soups. Either way, start the bones in cold water and hold the pot at a bare simmer, never a rolling boil.
How long should chicken bones simmer for the best flavor?
Two hours is a usable minimum and four hours is where most home cooks land. Taste at the two-hour mark and again near the end rather than watching the clock. On a stovetop, keep the liquid between 195 and 205°F. A slow cooker needs 7 to 8 hours on low, and a pressure cooker needs 45 minutes at high pressure followed by a natural release.
Why is my chicken stock cloudy?
Three things cause cloudy stock: a hard rolling boil, foam you did not skim off in the first half hour, and starchy vegetables such as potatoes. A boil churns fat and protein into tiny suspended particles, which is also what makes the stock feel greasy. Simmer gently, skim early, skip the potatoes, and strain twice through a fine mesh lined with cheesecloth. Chill overnight and lift off the clear layer for the clearest result.
Can I make chicken stock without vegetables?
Yes. Bones, cold water, and time are the only required ingredients, and that is the old-fashioned method most professional kitchens use for a clean base. You will lose some sweetness and body from the mirepoix, so consider adding a bay leaf and a few peppercorns. Freezing onion ends, carrot peels, and celery tops in a bag until you have enough for a batch is the easy middle ground.
How much salt should I add to homemade chicken stock?
None at all. Unsalted stock is more useful because you can season the soup, sauce, or rice you are building, and most of those dishes reduce further and concentrate whatever salt you add. If your bones were brined, soak them in cold water for 30 minutes and drain before they go in the pot. Season the finished dish instead, and taste as you go.
How long does homemade chicken stock last in the refrigerator and freezer?
Homemade stock keeps 3 to 4 days in the refrigerator, and it should be refrigerated within two hours of straining. Cool it fast in wide, shallow containers set in an ice bath rather than in a deep mug. In the freezer it keeps 3 to 6 months in bags, wide-mouth jars with headspace, or ice cube trays. Defrost overnight in the refrigerator and reheat to 165°F before serving.
Conclusion
Start tonight with whatever bones are in your freezer. Put them in the pot with cold water, a rough handful of onion, carrot, and celery, two bay leaves, and let the pot come up to a simmer you can barely see.
Skim the foam for the first half hour, keep the lid slightly ajar, and give it four hours. Strain it twice, cool it fast in shallow containers, and freeze half of it in an ice cube tray. That is the entire process, and the second batch will be easier than the first.