
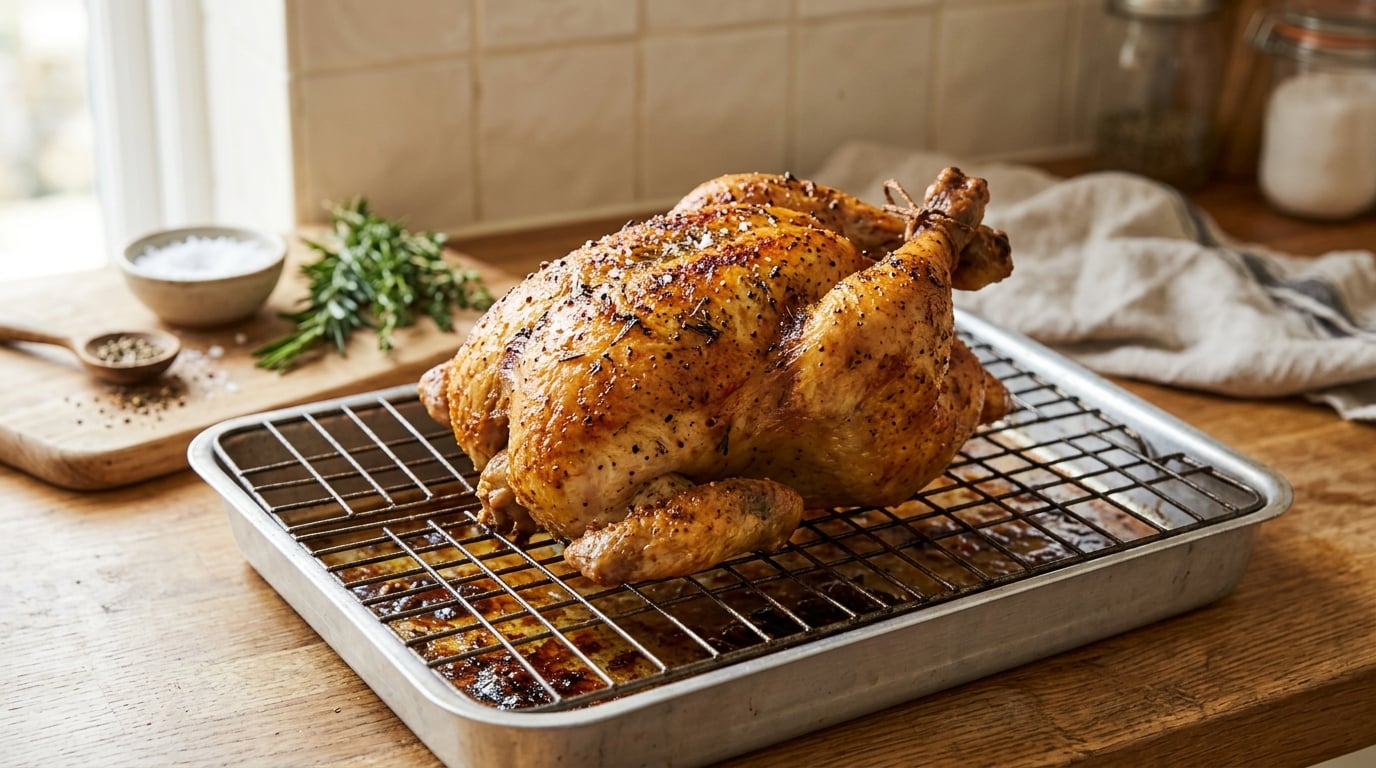
Roast chicken skin does not get crispy because moisture is blocking the process. Water on or under the skin turns to steam, and steam holds the surface too cool for fat to render and proteins to brown. A wet bird in a cool oven with foil over it gives you soft, pale, leathery skin every time.
The good news is that almost every failure comes down to four things: moisture, heat, fat and airflow. Once you know which one failed, the fix takes about five minutes of prep the day before.
Table of Contents
- Why Roast Chicken Skin Does Not Get Crispy: Common Causes
- What Makes Chicken Skin Crispy?
- Moisture and Fat: The Two Factors That Matter Most
- Quick Diagnosis: Which Mistake Are You Making?
- 9 Easy Fixes for Crisp Roast Chicken Skin
- 1. Pat the skin dry, inside and out
- 2. Salt it and leave it uncovered in the fridge
- 3. Let the skin air-dry completely
- 4. Preheat the oven fully
- 5. Roast hot
- 6. Start breast-side up on a wire rack
- 7. Leave space around the bird
- 8. Shield the breast only if it darkens too fast
- 9. Rest the chicken on a rack before carving
- The Best Method for Extra-Crispy Skin
- Should You Cover the Chicken While Roasting?
- Why Oven Temperature and Pan Choice Change the Result
- How to Tell When the Chicken Is Done Without Drying It Out
- Frequently Asked Questions
- Why is my roast chicken skin soft after cooking?
- Can I make chicken skin crispy without frying it?
- Does covering chicken with foil make the skin softer?
- What temperature gives the crispest roast chicken skin?
- Should I dry the chicken before roasting?
- How long should chicken rest before the skin gets soggy?
- Conclusion
Why Roast Chicken Skin Does Not Get Crispy: Common Causes
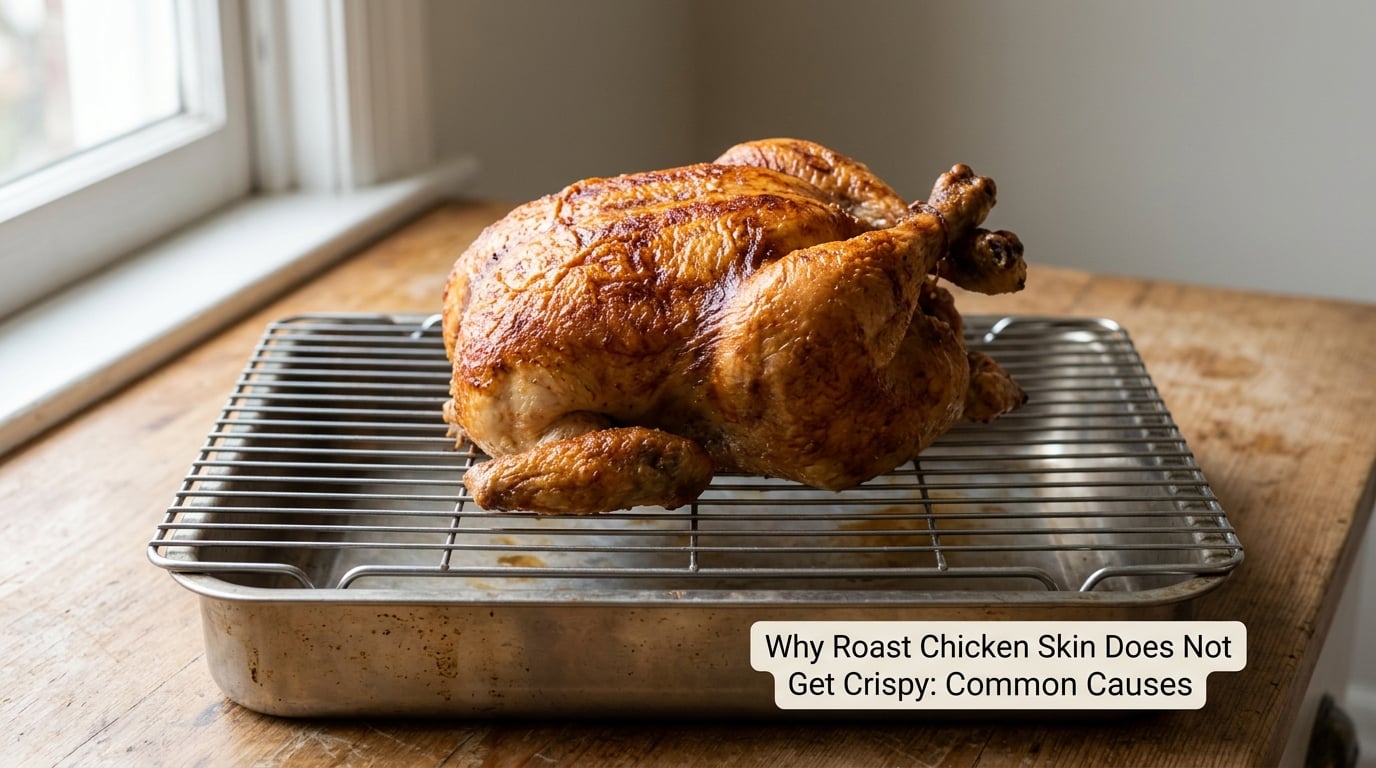
The short answer: chicken skin crisps when fat renders, water evaporates, and hot dry air browns what is left. Anything that interrupts that sequence leaves you with the same sad result. Here are the causes that show up over and over in home kitchens.
Wet skin straight out of the packaging
Most supermarket birds arrive with surface water trapped under the skin film. That water has to boil off before anything can brown, and a whole bird holds enough of it to stall the skin for a long time.
No salt, or salt applied at the last minute
Salt is not just seasoning here. It draws water out of the skin, and the difference between salted and unsalted skin is visible within a couple of hours of seasoning.
Heat too low and too slow
Cooking the bird at a low temperature for hours is the single most common reason for leathery skin. The fat renders slowly, moisture lingers, and the surface never gets firm.
Foil, a lid, or a roasting bag
Any covering traps steam. Cooks on cooking forums repeat the same line: foil is the enemy of crisp skin, because it holds moisture against the surface.
A crowded pan or the bird sitting in its own juices
When the breast rests in a puddle of drippings, the underside steams rather than browns. Air needs to move around the bird for the whole surface to crisp.
Starting skin-side down
Starting with the skin against a hot pan traps moisture between skin and meat. The result is the rubbery texture people describe on forums like r/AskCulinary.
Basting during roasting
Every brush of butter or oil puts fresh moisture back on a surface you just dried out. It also tends to tear the skin as you drag the brush across it.
A wet brine
Soaking the bird in salted water leaves the skin swollen and wet. It seasons the meat deeper, but it works against a crisp surface.
An unreliable oven
Ovens run hot or cold, and some run cool at the back. A bird that looks pale next to a recipe photo may simply have been cooking at 325F / 165C when you dialed 400F / 200C.
What Makes Chicken Skin Crispy?
Four things have to happen in order. Salt first, which loosens moisture inside the skin so it can migrate to the surface. Then heat, which melts the fat sitting between the skin and the meat. Then evaporation, which carries that water away as vapour. Then browning, where the dried surface proteins and sugars react and turn golden and rigid.
Skip any one of those and the skin stays soft. The interesting part is that the sequence explains most of the folklore: covering the bird, cooking it low and slow, or pouring liquid over it all interrupt step two or three.
Why Roast Chicken Skin Does Not Get Crispy at Low Heat
A low oven temperature can leave skin soft or greasy because the fat renders slowly while the water stays trapped. At around 250F / 120C the surface may never cross the roughly 400F / 200C needed for browning before the chicken hits a safe internal temperature, so you carve a bird that is perfectly cooked and completely limp-skinned.
Long cook times at low heat make it worse. Collagen under the skin keeps releasing water the whole time, and a covered pot of chicken is a steaming, humid environment, not a dry one.
Moisture and Fat: The Two Factors That Matter Most
Water and fat pull in opposite directions, and the balance between them is the whole game. Surface moisture prevents browning because the water has to evaporate first, and while it sits there the surface stays near the boiling point of water instead of climbing to browning temperature.
Fat behaves differently. Fat under the skin is your supply: it renders, spreads across the surface, and crisps. Fat sitting on the surface is a liability, because it drips into the pan instead of staying put to brown. The best results come from drying the outside thoroughly and leaving some fat attached beneath the skin.
That is why a bird roasted on a wire rack beats one lying in a roasting pan. Air runs under the skin, the rendered fat keeps moving, and nothing sits in a puddle.
Quick Diagnosis: Which Mistake Are You Making?
Match what came out of the oven to the likely cause. Almost every case lands on one of the rows below.
| What the skin looks like | Likely cause | Fix |
|---|---|---|
| Rubbery or leathery | Surface moisture or low-and-slow cooking | Air-dry uncovered in the fridge, then roast hot |
| Greasy and soft | Fat not rendering, or loose skin sliding in its own fat | Raise the oven temperature and rack the bird high |
| Pale but crisp | Low heat, or a light-skinned bird, or under-seasoning | Salt the night before, finish under the broiler |
| Golden on the legs, pale on the breast | Thicker breast, and breast sitting close to the drippings | Raise the bird on a rack, shield the breast early |
| Uneven, patchy crispness | Crowded pan, dark-sided metal, or inconsistent thickness | Use a light pan with space on all sides |
| Burnt in patches, raw elsewhere | Over-shielding or an oven running hot | Verify oven temperature with a thermometer |
| Sticks to the tray or tears when basted | Skin still damp, or basting too early | Dry thoroughly, skip the basting, use parchment |
Can you re-crisp skin on a chicken that is already cooked?
Yes, and it takes two minutes. Put the pieces skin-side up on a rack under the broiler, about 6 inches from the element, for 2 to 4 minutes, watching constantly. A handheld torch works too, though it is easy to scorch the fat before the skin dries. Do not use the microwave; it makes the skin leathery and cannot brown anything.
9 Easy Fixes for Crisp Roast Chicken Skin
1. Pat the skin dry, inside and out
Take the bird out of its packaging, remove the giblets, and blot every surface with paper towels. Pull the neck skin back and dry underneath it too, since that pocket holds water. This single step changes more results than any other.
2. Salt it and leave it uncovered in the fridge
Use about 1 tablespoon of salt per pound of bird, rubbed over the skin and the cavity. Refrigerate uncovered on a rack for 12 to 24 hours. Leaving raw chicken uncovered in the fridge is safe; the food safety rule is about refrigeration, not about covering, and crisper drawers hold humidity anyway.
3. Let the skin air-dry completely
After seasoning, leave the bird uncovered in the fridge. The salt pulls water out of the skin and it evaporates, leaving a dry, tacky surface. Cooks on r/smoking and r/BBQ report anywhere from 12 to 40 hours, and most agree a few hours already makes a visible difference.
4. Preheat the oven fully
Give it a full 20 to 30 minutes at roasting temperature and put the empty pan in while it heats. A hot empty pan hits the bird’s underside immediately instead of slowly warming the juices beneath it.
5. Roast hot
425F / 220C is a good working number for a whole bird, and 450F / 230C gives crisper skin if your oven is well insulated. Keep in mind the safety floor: the thickest part of the breast and the thickest part of the leg must still reach 165F / 74C, whatever temperature you choose.
6. Start breast-side up on a wire rack
Set the bird on a rack inside a rimmed pan so nothing touches the skin. Breast-side up exposes the largest area of skin to dry heat, and the legs sit higher where fat renders fastest.
7. Leave space around the bird
One bird per pan. If two birds are forced into the same pan, expect uneven results, and expect the breast of the taller bird to be pale while the legs brown.
8. Shield the breast only if it darkens too fast
Loosely tent a small piece of foil over the breast, secured so it cannot fall onto the skin, and remove it for the last stretch. This is the one acceptable use of foil during a roast.
9. Rest the chicken on a rack before carving
Resting keeps the juices in the meat instead of running out and pooling under the skin, where they undo your work. Leave it uncovered on a rack for 15 to 20 minutes.
The Best Method for Extra-Crispy Skin
Put the pieces together and it becomes one repeatable timeline. The night before, salt the bird all over with about 1 tablespoon per pound and set it uncovered on a rack in the fridge. Leave it there 12 to 24 hours if you can, and pat it dry again right before it goes in.
Heat the oven to 425F / 220C for a full 30 minutes with the empty pan inside. Roast the bird breast-side up on the rack, breast shielded loosely with foil if it colours quickly. Check with an instant-read thermometer in the thickest part of the thigh; when it is within about 5F of 165F / 74C, pull the bird and give it two to four minutes under the broiler, watching it the whole time.
Rest it uncovered on a rack. That sequence handles moisture, heat, fat and airflow in the order they matter.
Should You Cover the Chicken While Roasting?
Generally no. Foil, a tight lid, and roasting bags all trap steam around the bird, and that steam is exactly what keeps the surface soft. The bird stays in a humid pocket even in a hot oven.
The exception is a loose breast shield for a bird whose breast browns long before the legs are done. Leave the legs, thighs and any other skin-on parts uncovered, and never wrap the whole bird in foil to hold moisture.
Why Oven Temperature and Pan Choice Change the Result
Ovens lie. An oven set to 400F / 200C may really be at 375F / 190C, and a cheap thermometer will tell you the difference in a few minutes. Check it twice a year, and if it runs low, add 25F / 15C to your recipe rather than cooking longer.
Pan material matters too. A dark or shiny roasting pan absorbs radiant heat and browns the underside fast, which is useful but often means the breast needs shielding. A light-coloured heavy pan, ideally enamel or aluminium, spreads heat more evenly. Use a light pan with a wire rack if you want the whole bird to colour at the same rate.
Rack position and fan mode are the last two levers. Air circulating around the bird dries the skin faster, so convection helps crispness while shortening cook time; lower the temperature about 25F / 15C when you switch it on. A convection setting combined with a dark pan and foil is the recipe for a pale breast, so pick one variable at a time.
| Cooking method | Temperature | Notes on the skin |
|---|---|---|
| Conventional oven | 425F / 220C | The reliable baseline for a whole bird |
| Convection oven | 400F / 200C | Dries the skin faster; cook time drops |
| Rotisserie | 425F / 220C | Constant fat basting helps; keep the drippings minimal |
| Air fryer | 400F / 200C | Small cavity, so check the breast early; it browns in a hurry |
| Smoker, indirect | 275F / 135C, then 375F / 190C at the end | Finish hot and fast, as cooks on r/smoking recommend, to concentrate the crisp |
| Spatchcocked | 450F / 230C | Flat surface, more even browning, faster cook |
How to Tell When the Chicken Is Done Without Drying It Out
An instant-read thermometer is the only reliable answer, and it takes 30 seconds to use. Push it into the thickest part of the breast, avoiding the bone, and into the thigh where it meets the body without hitting the joint.
Both readings need to reach 165F / 74C for poultry. Many cooks pull the bird 5F early and let carryover heat finish the job, which keeps the breast from drying out and does not affect crispness. Rest 15 to 20 minutes on a rack, uncovered, before carving.
Frequently Asked Questions
Why is my roast chicken skin soft after cooking?
The most common reason is moisture. Water on or under the skin turns to steam in the oven, and that steam holds the surface too cool for fat to render and proteins to brown. Foil, a lid, a wet brine, a crowded pan, or cooking the bird skin-side down all add moisture. Pat the skin dry, salt it a day ahead, leave it uncovered in the fridge, then roast it hot on a rack.
Can I make chicken skin crispy without frying it?
Yes, and a hot oven does it well. Dry brine the bird about 12 to 24 hours ahead, air-dry it uncovered in the fridge, and roast at 425F / 220C on a wire rack with space around it. A short finish under the broiler crisps the top without frying anything. The key is evaporation, not oil, so skip basting.
Does covering chicken with foil make the skin softer?
Covering the whole bird does, because foil and roasting bags trap steam and keep the surface in a humid pocket. A small, loose foil tent over the breast is fine when the breast browns before the legs are done, but take it off for the last stretch. Leave the legs, thighs and any other skin-on parts uncovered for the entire cook.
What temperature gives the crispest roast chicken skin?
Around 425F / 220C for a whole bird, with 450F / 230C available if your oven holds temperature well. Convection ovens need about 25F / 15C less. Whichever number you use, the thickest part of the breast and thigh must still reach 165F / 74C, and an oven thermometer is the best way to know what your oven is really doing.
Should I dry the chicken before roasting?
Yes, twice. Blot the bird dry inside and out straight after unpacking, including under the neck skin, then let it air-dry uncovered in the fridge after salting. That second drying period is what turns a damp surface into a dry one. A few hours helps; 12 to 24 hours is better, and a wire rack in the fridge speeds it up.
How long should chicken rest before the skin gets soggy?
Rest it 15 to 20 minutes on a wire rack, uncovered, before carving. Resting lets the juices settle into the meat instead of running out and pooling under the skin, which is what makes cooked skin go soft again. Covering the bird while it rests traps condensation, and reheating leftovers in a microwave leaves the skin leathery instead of crisp.
Conclusion
If you do nothing else, do this: pat the chicken dry, salt it with about a tablespoon per pound, refrigerate it uncovered on a rack for at least 12 hours, and roast it breast-side up on a wire rack in a fully preheated oven at 425F / 220C. That is why roast chicken skin does not get crispy in most home kitchens, and the fix is mostly preparation rather than equipment.
Crispness comes from moisture, heat, fat and airflow working in that order. Keep the skin dry, give the oven time to preheat, leave the bird uncovered, and check the thickest breast and thigh for 165F / 74C before you carve.
Recipe and technique guides on the site cover the other half of roasting, like how to make French toast with brioche and how to make an omelet that does not stick.