
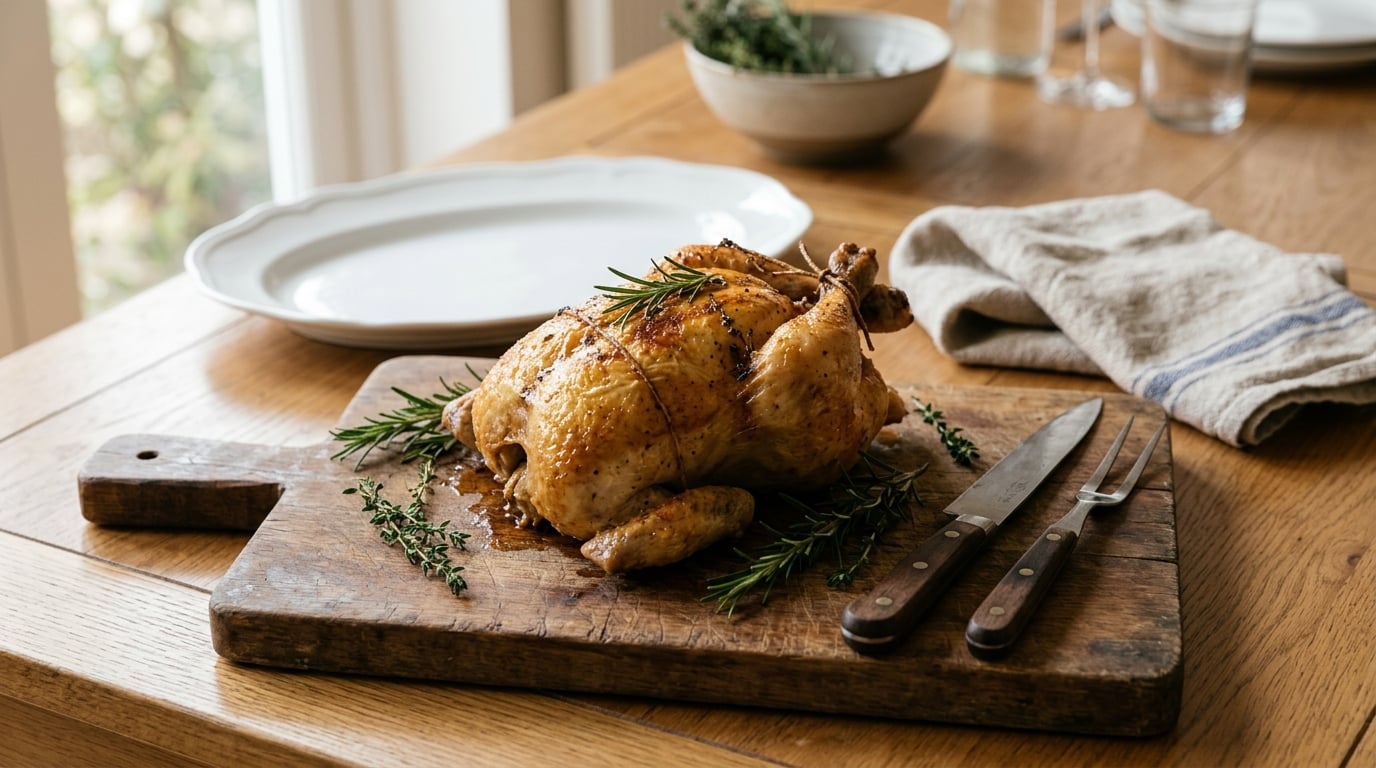
Knowing how to carve a roast chicken at the table comes down to sequence and patience: rest the bird 15 to 20 minutes, take the legs off at the joints, lift the breast meat off the keel bone, then slice across the grain. Done well, a whole roast chicken turns into a restaurant-looking spread in about ten minutes with a carving knife and a fork.
This guide walks through the full table-side carve in six steps, the mistakes that turn a good bird into dry shards, and what to do with the carcass afterwards. If you are hosting, our guide to how to set a table for a casual dinner party covers the rest of the evening.
Table of Contents
- What You Need
- Step-by-Step
- Common Mistakes
- Tips for Carving Like a Pro
- Frequently Asked Questions
- How long should a roast chicken rest before carving?
- What is the correct way to carve a whole chicken?
- Which way do you carve a chicken breast, with or against the grain?
- How do I find the joint when removing a chicken leg?
- Can I carve a chicken without a carving fork?
- Why is my carved chicken breast always dry?
- Conclusion
What You Need
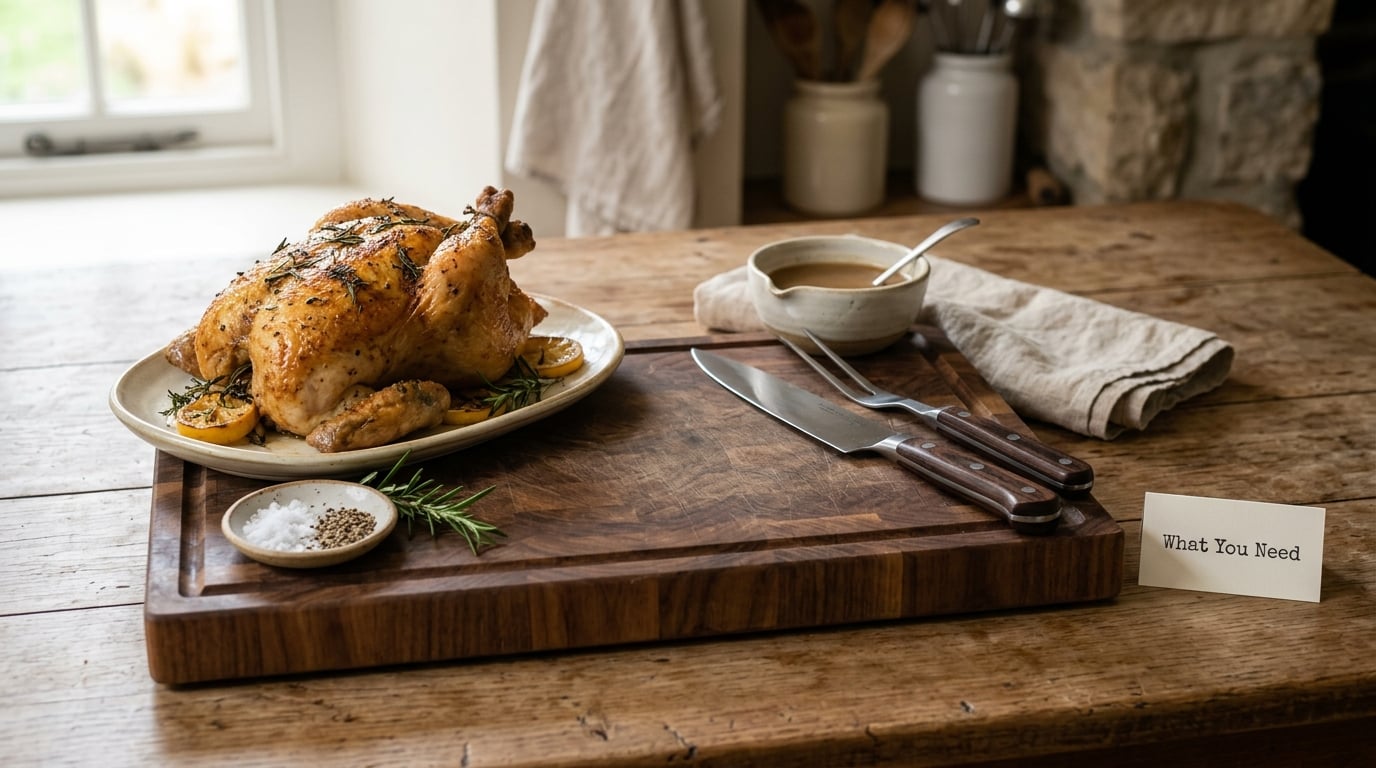
Good tableside carving needs fewer tools than most people buy. You need one long, thin carving knife, one carving fork, and a board with enough room for the bird to sit flat and still be stable with one hand on it.
- Carving knife, 8 to 10 inch. A long, narrow blade slides between skin and meat without pushing flesh off the bone. A chef’s knife works, but a thin blade is easier in tight spots around the joint.
- Carving fork. This is what keeps the bird from sliding and from shredding when you pull on a drumstick. A two-pronged fork is better than a dinner fork because the prongs stay out of the meat.
- Cutting board with a groove or juice channel. A groove catches the drippings that would otherwise make the board slippery. A damp towel folded under the board stops it moving on the table.
- Serving platter with a rim. You want a lip to hold the juices you pour over at the end.
- Long serving tongs or a large spoon. Both go straight to the guests you are serving.
- Honing steel. Thirty seconds before the bird comes out, not after.
Optional but useful: kitchen shears for anyone who finds the wing joint stubborn, a small cup for the resting juices, and a second pair of hands to run plates while you carve.
Two safety notes before you start. The bird must be fully cooked first, so check the thickest part of the thigh with an instant-read thermometer and look for 165 degrees Fahrenheit. And keep raw poultry, and the board and knife it touched before cooking, away from anything served uncooked.
Step-by-Step
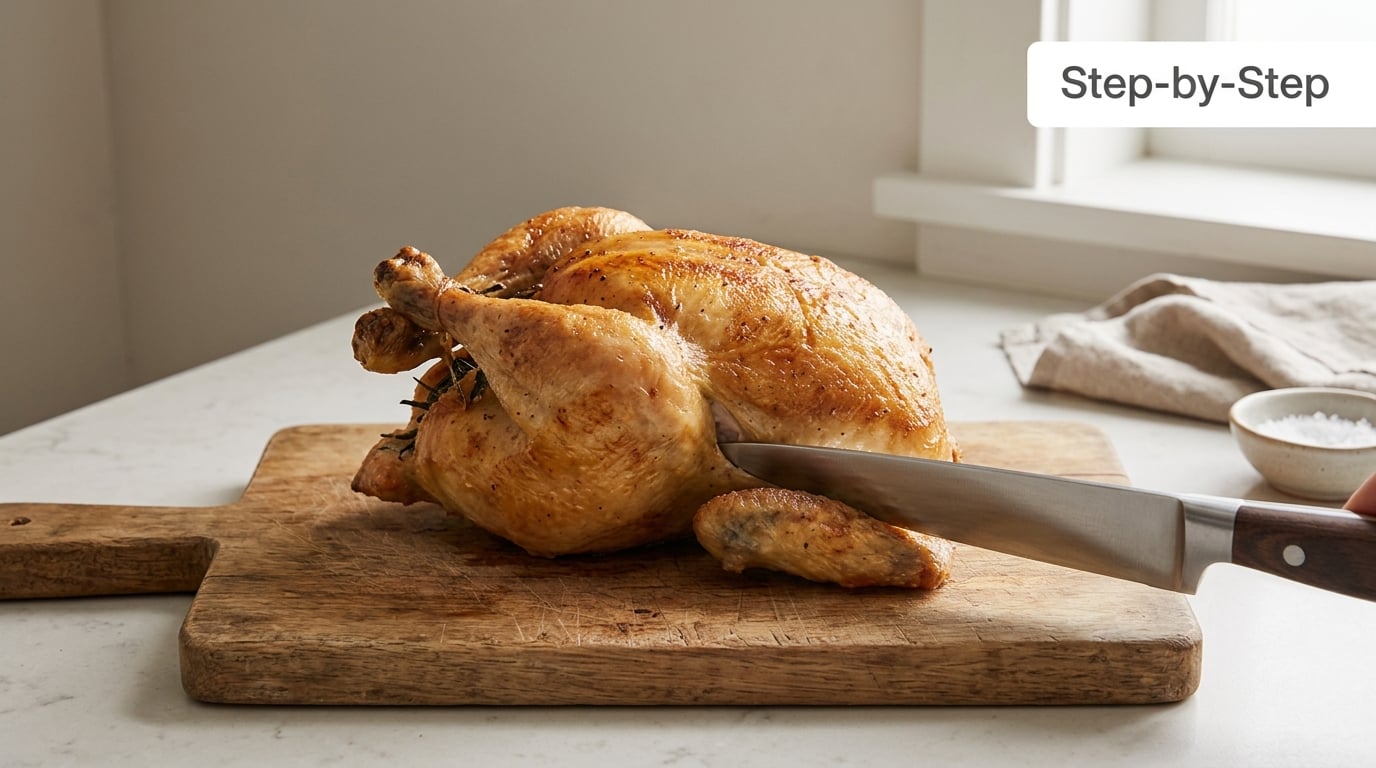
Work in this order every time: rest, remove the legs, split the thighs, free the breast meat, slice, arrange. The order matters because each step leaves you with a bigger, flatter surface for the next cut, and because the breast is the fragile part, so it stays on the bone until the bird is stable enough to handle.
Step 1: Rest the Roast Chicken
Rest the roast chicken for 15 to 20 minutes before carving, and up to 30 minutes for a large bird.
Resting matters because the muscle fibers relax and the juices that pushed out during cooking settle back into the meat. Cut into a bird straight from the oven and the liquid runs onto the board instead of onto the plate. That is the single most common reason a carved chicken tastes dry, and it costs nothing to fix.
Loosely tent the bird with foil during the rest so the skin does not cool and tighten. Put the roasting pan underneath to catch drips, or set the bird on a rack in a pan if you have one. When the rest is up, spoon the collected juices into a small cup and keep it for the platter.
Step 2: Position the Chicken for Carving
Set the bird on the board breast-side up with the drumstick ends pointing toward you. Leave the breastbone ridge running straight up and down, because every cut you make is easier when the bird faces you square-on.
Stabilize it before the first cut. Either press the carving fork down into the thigh on the near side, away from the cutting path, or fold a damp towel over the bird and grip it at the neck end. A bird that shifts halfway through a cut is how you get a torn breast and a sliced fingertip.
Before cutting, look the bird over and locate the four working areas: two legs, each with a drumstick and thigh; two wings; and the breast, split by the keel bone running down the center of the chest.
Step 3: Remove the Legs
Pull one drumstick down and away from the body, angled slightly outward, until the joint and the skin at the top of the thigh tighten and lift clear. That tension is your signal that the joint has moved out of the socket far enough to cut cleanly.
With the bird still pinned by the fork, cut through the skin on top of the thigh to expose the joint, then cut straight down through the joint itself. Use short, controlled presses rather than a sawing motion. Once the joint gives, the whole leg lifts away in one piece with the thigh and drumstick attached.
Repeat on the other side. If the knife keeps hitting bone, you are too high and too far back, cutting into the hip rather than the leg joint. Move your cut slightly forward and outward until the blade disappears into the gap instead of knocking against something hard.
Step 4: Separate the Thighs
Take the leg to the board and stand it on the drumstick end. Find the joint between the drumstick and the thigh, which is the narrowest point, then cut down through it in one confident stroke.
Whether to separate them is a matter of service, not technique. Leaving the thigh and drumstick together makes a generous serving for one person, which is what you want at a holiday table. Cutting them apart gives you more plates and more smaller portions.
Keep the skin on wherever you can. Skin on the thigh is the part guests reach for, and it is easier to keep the panel intact if you cut through the joint in a single pass instead of working the knife back and forth through the connective tissue.
Step 5: Slice the Breast
Turn the remaining carcass so the breastbone is facing you. Run the tip of the knife down along one side of the keel bone, staying as close to the bone as you can, until the breast meat lifts away from the rib cage. Repeat on the other side to release the whole breast.
Lay the breast skin-side down on the board. Slice across the grain, which for breast means perpendicular to the keel bone, cutting from the top down in even slices a quarter to half inch thick.
Use one long stroke per slice rather than short sawing motions, and let the knife do the work with a little downward pressure. Start at the narrow top end where the slices are smallest and work toward the wide end. The last few slices will fan out wider, which is normal.
You can also carve straight off the bone, straight down and away from yourself, but off-the-bone slices are wider, flatter and easier to lay on a platter. It is the same knife work either way.
Step 6: Arrange and Serve the Chicken
Set the platter down before you start arranging, and lay the pieces skin-side up so the crisp side shows. Put the two drumsticks at one end angled slightly outward, wings beside them, then fan the breast slices in overlapping rows with the leg and thigh pieces filling the gaps.
Pour the resting juices over the meat at the table. The smell alone tells guests the bird was handled well, and a small squeeze of lemon or a scattering of fresh herbs is enough. A bowl of pan gravy goes next to the platter rather than on it, so the skin stays crisp.
Serve within about 20 minutes of carving. Poultry left sitting out in the danger zone of 40 to 140 degrees Fahrenheit for more than two hours should be discarded, and that includes pieces sitting on the carving board.
Common Mistakes
Carving straight from the oven. This is the big one. Juices run out, the meat tears, and the slices look ragged. Fix: rest 15 to 20 minutes, or longer for a big bird, loosely covered.
Sawing through bone. If the knife is bouncing off something hard, you have found the wrong joint. Fix: reposition toward the gap and cut down through the joint with short pressing strokes, never back and forth.
Slicing with the grain. Breast is lean, so cutting along the fibers makes dry slices that chew tough. Fix: look for the fine lines in the meat and cut across them, perpendicular to the keel bone.
Carving with a dull knife. A blunt blade pushes meat ahead of it instead of cutting, and that is what shreds a breast. Fix: hone the knife before the bird comes out of the oven and rinse the steel afterwards.
Letting the bird slide. A wet board and a slippery skin turn a clean cut into a stumble. Fix: use a grooved board, a damp towel under the bird, and pin it with the fork on the side away from your knife.
Carving the whole bird at once. Carving more than you will serve for the next half hour just dries the meat out. Fix: slice the breast as you serve it and keep the rest tented.
Cutting into the breast while removing the leg. Dragging the knife too deep into the body takes a breast slice with the leg. Fix: keep the cut shallow and directly over the leg joint.
Tips for Carving Like a Pro
Hone the knife before the roasting is finished, not at the table with everyone watching. A dull edge is the number one reason a good bird looks badly carved.
Hold the carving fork with a relaxed grip in your other hand, pressing down into the thigh. Pinching the fork like a dart makes small tears; resting the weight of your hand through the fork spreads the pressure.
If you are left-handed, the sequence does not change at all. The bird faces you, the fork goes in the near thigh, and the knife works from the top of the breast downward. Only the handedness of the grip changes, and most carving handles sit fine in either hand.
Slice the breast to the number of guests, then give each person one leg portion and one breast slice or two, so everyone gets both white and dark meat on one plate. Dark meat stays moist much longer, which makes it the natural buffer if the table runs slow.
Save the carcass. Break it up, put it in a bag, and freeze it, or simmer it the next day for stock. It is the easiest part of the whole meal to use up and it is the part most often thrown away.
Keep leftovers in the fridge for no more than three to four days, in a covered container, and reheat to 165 degrees Fahrenheit. Covered reheated chicken in a sauce keeps noticeably better than dry breast warmed on its own.
Frequently Asked Questions
How long should a roast chicken rest before carving?
Rest a roast chicken for 15 to 20 minutes before carving, and up to 30 minutes for a large bird. During that time the muscle fibers relax and the juices settle back into the meat. Loose foil keeps the skin from tightening as it cools. Skipping the rest is the most common reason carved chicken comes out dry.
What is the correct way to carve a whole chicken?
The correct order is: rest the bird, remove the legs by finding the leg joint, separate the thighs from the drumsticks, free the breast meat by running the knife along the keel bone, slice the breast across the grain, then arrange everything skin-side up on the platter. Each stage leaves a flatter, steadier surface for the next cut.
Which way do you carve a chicken breast, with or against the grain?
Carve across the grain, not with it. For a breast that means cutting perpendicular to the keel bone, straight down from the top, in slices a quarter to half inch thick. Look for the fine parallel lines in the meat and cut across them. Slicing along those fibers gives you dry slices that feel chewy no matter how well you cooked the bird.
How do I find the joint when removing a chicken leg?
Pull the drumstick down and slightly outward until the joint tightens and the skin at the top of the thigh lifts. Cut through that skin, then cut straight down through the exposed joint. If the knife keeps hitting bone you are cutting into the hip, so move the cut slightly forward and outward until the blade drops into the gap.
Can I carve a chicken without a carving fork?
Yes. Fold a damp kitchen towel over the bird and grip it at the neck end to hold it still, or ask another person at the table to steady the far side with a fork or their fingers. The fork just saves you from a dry grip, so any firm anchor works. Keep your free hand clear of the knife path either way.
Why is my carved chicken breast always dry?
Three usual causes: carving before the bird has rested, slicing with the grain, or slicing so thin the meat has nothing left to hold together. Rest 15 to 20 minutes, cut perpendicular to the keel bone, and keep slices a quarter inch thick. If the bird is already overcooked and falling apart, shred it into a bowl and put it in tacos or a sandwich instead of trying to slice it.
Conclusion
Start with the rest, because that one habit decides how the meat tastes. Give the bird 15 to 20 minutes under loose foil, then work the sequence: legs off at the joint, thighs split, breast freed along the keel bone, sliced across the grain, arranged skin-side up with the resting juices poured over at the end.
Hone the knife before the oven timer goes off, and let a friend handle the plates while you carve. That is the whole job, and it takes about ten minutes once your hands know where the joints are.