
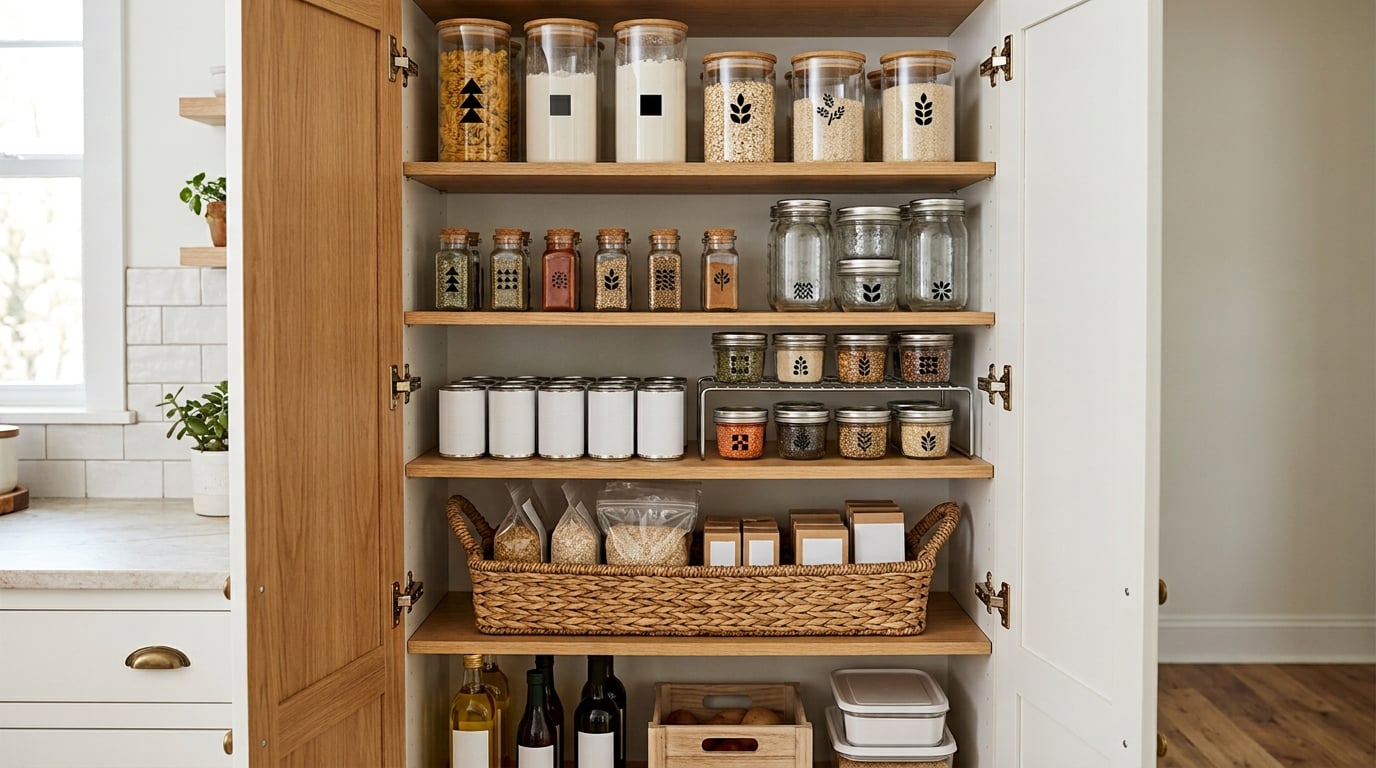
To organize a small kitchen pantry, empty it onto the counter, sort what remains by how often you use it, measure your shelves before buying a single container, then assign each group a zone at a height that matches how often you reach for it. Plan on a couple of hours for the first reset and about twenty minutes a week after that.
Small pantries rarely fail because there is not enough room. They fail because the back of a deep shelf is invisible, so you buy the same pasta twice, and because the containers you bought are a half-inch too wide for the shelf run. Fix the sorting and the measuring first and the shopping list mostly sorts itself out.
The order that works for me is clear, sort, measure, zone, label, maintain. Skipping straight to pretty bins is the one move that guarantees the system falls apart by week two.
What You Need
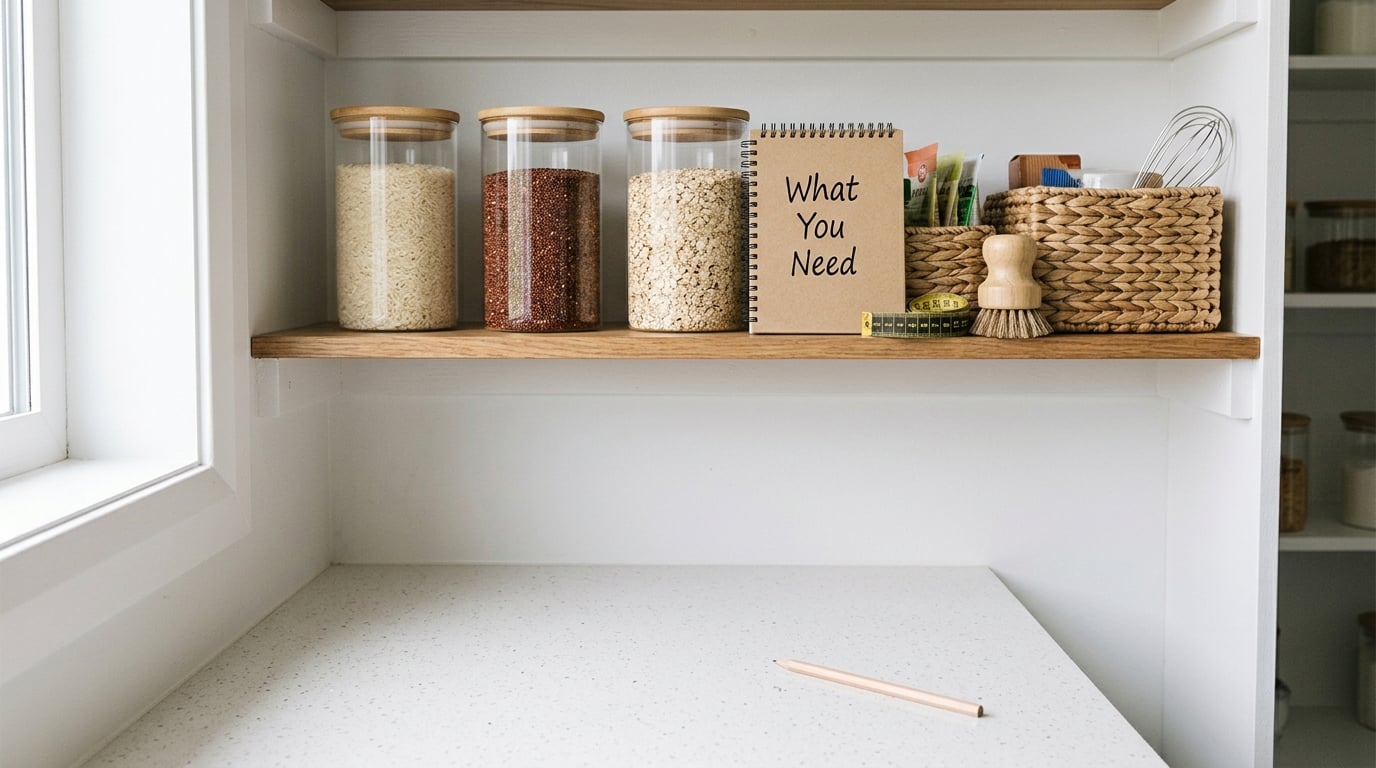
You need less than people expect. Grab these six things and you can finish the job in one sitting:
- A tape measure. You need shelf width, shelf depth, the vertical clearance between shelves, and the width of the door opening.
- Food-safe containers. Clear-sided, stackable, and sized to the food you actually have.
- Labels. A label maker, a marker that will not wash off, or a sheet of waterproof tape.
- One or two open bins or baskets. Enough to group packets, small sachets and loose items that otherwise scatter.
- A notepad or your phone. For the running restock list you will build as you sort.
- Cleaning supplies. Warm soapy water, a cloth, and a small brush for the shelf edges and corners.
Before you shop for anything, check what you already own. Empty jars, wipe-out tubs, a leftover basket and a cereal box cut down to one side all work. A system built from mixed containers still functions; a system built from containers that do not fit the shelf never gets used.
Step-by-Step: How to Organize a Small Kitchen Pantry
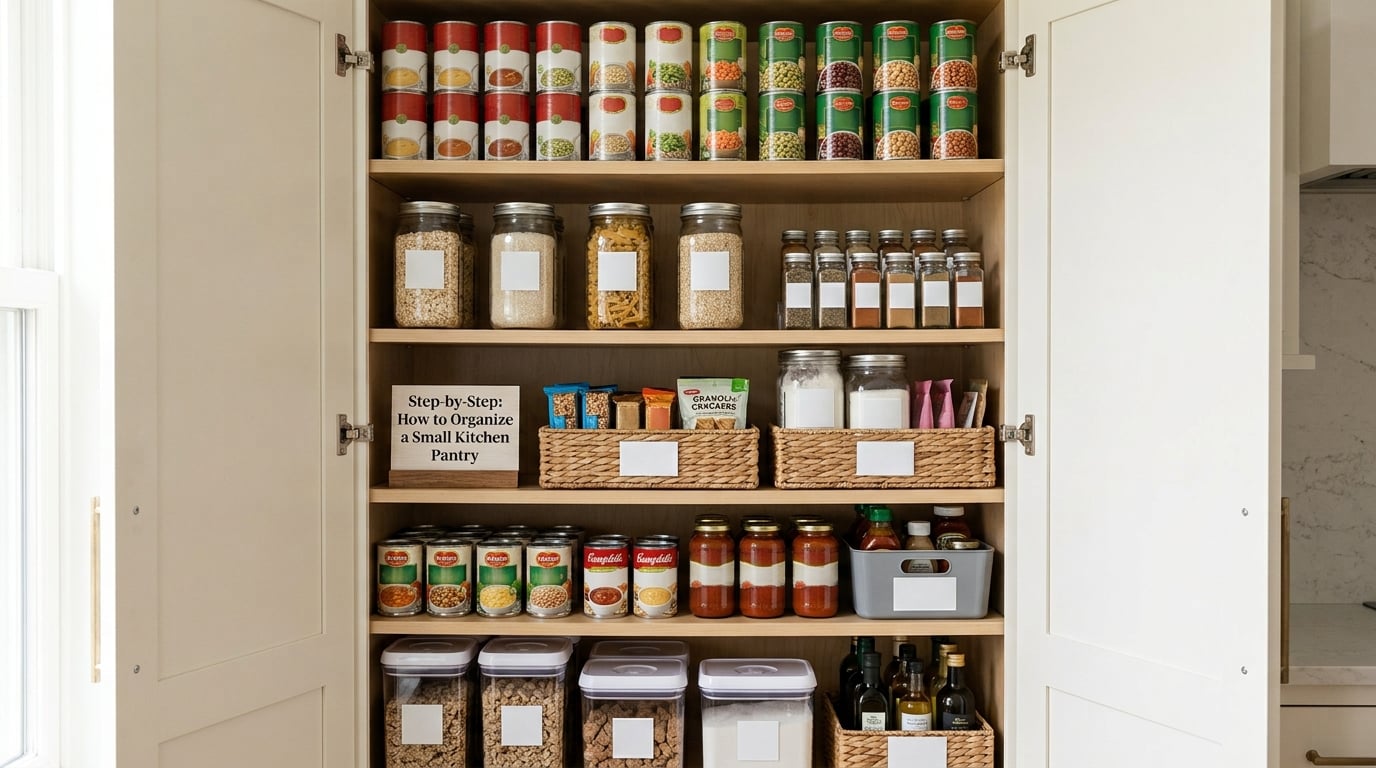
Step 1: Empty and Clean the Pantry
Take everything out and put it on the floor, the counter, or a sheet on the bed if you have to. Work in categories as you go, not shelf by shelf, so you can see duplicates before they go back in.
Discard anything past its date, anything that smells off, and anything dried out or discolored. For items you are unsure about, put them in a wait-and-see box on the counter. If nobody uses them in a month, they go out then.
Wipe the shelves and the back wall while everything is out. Look closely for moisture, crumbs, webbing, or a shelf that flexes under weight. Fix a leak or a pest problem now; restocking a damp pantry ruins the food you just sorted.
Step 2: Sort Foods by Use and Frequency
Sort by frequency first, because that is what determines shelf height. Make separate piles for everyday staples, breakfast items, snacks, baking supplies, canned goods, spices, backups, and things you use once or twice a year.
Pull out anything that needs refrigeration now: opened condiments, fresh spices, dairy, and anything the label says to keep cold. If it was living in your pantry, it was already the problem, not the solution.
Duplicates go into a single donate box. A jar of dried herbs in the back of the top shelf is not inventory, it is a decision you keep postponing.
Step 3: Measure the Space and Choose Containers
This is the step that saves money, because almost every small-pantry container purchase goes wrong here. Take five measurements and write them down:
- Shelf width between the cabinet walls. A 2-jar bin that looks right on a wide shelf will overhang a narrow one.
- Shelf depth front to back. Anything deeper than about half your shelf depth gets forgotten.
- Vertical clearance between shelves. This is your real constraint on container height, not the cabinet’s exterior height.
- Door opening width. If the opening is narrower than the shelf, the ends of every shelf are dead space you cannot reach past.
- Floor clearance if you store anything down low. Leave room to slide a bin out without tilting it.
Then pick containers against those numbers. Clear-sided bins show what is left without lifting the lid. Lidded containers keep crackers and cereal from going stale. One container type per shelf makes a small pantry read calmly instead of busy.
On material: glass looks better and keeps its smell from lingering, but it is heavy and it breaks. Plastic stacks and moves easily, which matters a lot on a top shelf. Use glass for things you reach for daily at eye level and plastic for anything high or heavy.
If you are organizing on a budget, start with a cardboard hack. Cut the front off a cereal or cracker box and slide the original packaging into a clear bin so the label still shows. It costs nothing, you can see what is inside, and when the food runs out you throw the whole thing away instead of washing a container that never quite dries.
The same logic covers mason jars, reused wipe-out tubs, and any basket already in the house. What matters is that the food fits the container and the container fits the shelf, not that everything matches.
Step 4: Assign Zones and Place Items
The height rule is what people searching for pantry zones are really asking about: daily essentials at eye level, heavy items low, rare-use items high.
Once height is set, group by use. The seven zones that work in almost any small pantry are:
- Everyday staples at eye level, front of shelf: the pasta, rice and breakfast cereal you grab daily.
- Breakfast together on the level you reach at 7am, not scattered across two shelves.
- Snacks and lunch assembly in one open bin, ideally at a height a child can reach safely.
- Canned goods in a single row, heavy, low, newer cans toward the front.
- Baking grouped: flour, sugar, chocolate, plus the small tins of leavening that get lost in a drawer.
- Condiments and oils together, using a door rack or shelf riser to gain a level.
- Reserves and occasional use high up: bulk buys you bought on purpose, holiday-only items, and the spare jar that makes a duplicate a feature rather than a problem.
Leave air above the bins. A zone crammed full cannot be restocked, and the only way to add something is to empty half the shelf. Keep tall items in one cluster and specialty supplies in one cluster so the middle of each shelf stays usable.
The back of a deep shelf is the biggest trap in a narrow pantry. A turntable helps only when its diameter is close to the shelf depth, because a small turntable still leaves you fishing around the edge. If your shelf is deep and your door opening is narrow, the ends of every shelf are unreachable no matter what you buy, so keep the ends empty and put nothing you need quickly at those two spots.
The door is free storage most people leave on the floor. A tension-mounted rack, an over-door hook set, or a slim pocket organizer can carry spices, oils, and packets without taking shelf space. Just check the door swing before you hang anything, and skip it entirely on a door that catches on the frame.
If a household shares the pantry, give each person one zone rather than asking everyone to use one shared system. People keep a shelf of their own far more reliably than they keep a rule.
Step 5: Label, Face Forward, and Restock
Label the bins and the shelf edge. Write the contents on the front, and put the date you decanted it on the back of the container where you can see it when you lift the lid but it does not clutter the shelf.
Skip paper sticker labels on plastic tubs. They lift in humidity and in dishwashers, and a shelf of peeling labels looks worse than an unlabelled shelf. A marker on the container itself or a strip of waterproof tape holds much longer.
Turn every package so the name faces forward. Rotation is first in, first out: buy two, put the new one behind the old one, and the older one gets used first without you tracking dates.
Keep one running list on the door or your phone. Every time you notice you are nearly out of something during the week reset, add it. Shopping from a list instead of a memory is the single biggest fix for duplicate purchases.
Step 6: Maintain the System
Two minutes a week keeps this alive. Set a fixed day, put it with the bins or a hook, and do the same three things: check dates, return displaced items to their zones, and add anything nearly out to the restock list.
Once a month, do a slightly longer pass. Pull the first bin of each zone, check whether anything is untouched, and pull duplicates that never get used. If a product has survived three monthly reviews untouched, it is not in your household’s rotation and belongs somewhere else.
Most systems that collapse by week two collapse because upkeep takes more effort than the old way. Keep one spare of each container type you use most so a cracked lid or a lost lid is not a reason to abandon the bin.
Common Pantry Mistakes That Ruin Small Spaces
- Buying a set before measuring. A 20-piece set gives you two or three sizes that fit and a stack of empties in a closet. Buy individual sizes, in the quantity you need.
- Grouping only by food type. Ten kinds of pasta on two shelves means digging for the one you want. Group by use and height instead.
- Pushing everything to the back. The back third of a deep shelf is the reason you buy duplicates. Use a turntable there, sized to actually match the shelf depth, or pull the food into a front bin.
- Using labels that peel. Write on the container instead.
- Overfilling zones. If you cannot slide a bin out without stacking the next zone on top, the zone is too full.
- Storing cleaning chemicals above or beside food. This one comes up more often than it should. Put chemicals in a separate cabinet, ideally below food, and keep the pantry for food only.
- Blocking your own step stool. If nothing can be pulled down from the top shelf without moving three things, the top shelf is decorative.
- Expecting a shared system. One system maintained by four people is not a system. Zones per person is.
Two more worth naming. If you are renting and cannot drill, tension-mounted over-door racks, adhesive hooks and freestanding shelf risers cover most of the door and vertical space without touching the walls. And if you have wire shelves, thin liner sheets stop small packets from sliding through and stop cans from scratching.
Frequently Asked Questions
How do I organize a very small pantry with limited shelf space?
Measure first, then sort by use. Most small pantries lose space to duplicates buried at the back, not to a shortage of shelf area. Group everyday staples at eye level, canned goods low, occasional items high, and decant what you use often into clear containers so you can see what is left. Leave a little air above each zone so you can restock without emptying a shelf.
What containers are best for a small kitchen pantry?
Clear-sided, stackable containers that match your measured shelf width, depth and vertical clearance. One container type per shelf keeps a small pantry looking calm. Use airtight lidded bins for crackers, cereal and open bags, open baskets for packets and snacks, and tall bins for pasta. Plastic is lighter and safer on a high shelf; glass suits everyday items at eye level.
Where should I put food in a small pantry?
Put what you use every day at eye level with the name facing forward, heavy cans and bottles on the lowest shelf, and rare-use or reserve items on the top shelf. Group each category in one place rather than spreading it across shelves. In a family, give each person their own zone so the system survives being used by other people.
How often should I clean and reorganize my pantry?
Do a two-minute reset once a week: check dates, return anything displaced, and add nearly empty items to a restock list. Once a month, pull the front of each bin and pull out duplicates and anything untouched for months. A full clear-and-rebuild is only needed a couple of times a year, or after a change in who eats what.
How do I stop buying duplicate pantry items?
You can only buy a duplicate if you forget what you have, so make inventory visible. Decant dry goods into clear containers and turn every package to face forward. Keep one written restock list on the door or your phone, add to it during the weekly reset, and buy only from that list. A separate reserve shelf also tells you the extra jar is already there.
What foods should not be stored in a pantry?
Do not store anything that needs refrigeration, including opened condiments, fresh spices, dairy, and perishable leftovers. Keep cleaning products in a separate cabinet, ideally below food rather than above it. Long bulk items such as a large bag of flour that will not fit a container do not need to live in the pantry either; a chest freezer or a garage shelf handles them better.
Start with the tape measure, not the shopping cart. Five numbers, twenty minutes of sorting, and the whole system falls into place around what you actually have. Everything after that is upkeep, and upkeep is the easy part once the zones make sense.